
Mount Colden in the Winter
What up Road Trip Warriors!? This past Sunday on 2/23/2020, I summited my twenty-fifth Adirondack High Peak! Mount Colden is a beast of a mountain to hike in the winter, but the rewards at her summit are astounding! I was able look at Mount Marcy from a completely different perspective atop Mount Colden. Here is a all the information you’ll need for this astounding Adirondack High Peak!!
Summary of Mount Colden
- Difficulty: Strenuous
- Length: 6.3 miles to summit, 12.6 miles round trip
- Elevation: 4,714′ above sea level
- Hiking Time: 7-8 hours
- Elevation Gain: Approximately 2,535′
- Photo Opportunities: There were a few key spots I enjoyed photographing while on this hike. Marcy Dam is always a great spot to capture some landscape photos and varying weather can create dramatic scenes. Lake Arnold is another picturesque location and at about 3,800′ above sea level, it is one of the highest bodies of water in the Adirondacks. Lastly, my favorite spot for whipping out the camera was the summit of Mount Colden. From the summit you are awarded with commanding views of the MacIntyre Range (Wright Peak, Algonquin Mountain, and Iroquois Mountain). You also have a brilliant view of Mount Marcy that just seems to tower above the surrounding mountains.
Trailhead for mount colden hike
The trailhead for Tabletop Mountain can be found at the Adirondack Loj. Follow Route 73 towards Lake Placid and Adirondack Loj Road will eventually be on your left. You will reach it well before reaching the ski jumps. Follow the road for about 3 miles and you will have reached the Loj. It costs $12 to park for the day. Whether you’re driving this road in the winter or the summer, take it slow on the corners to be safe. Once parked, don’t forget to sign in at the wooden structure at the trailhead! It is for your own safety!
To Marcy Dam (2.3 Miles from Trailhead)
Marcy Dam is roughly 2.1 – 2.3 miles from the Adirondack Loj. It is a pretty spot and a good stopping point to take a break in your hike if needed. I’ve taken a lot of pictures here and shared them on prior posts. To check out my favorites, view the post on Tabletop Mountain. Fog and snow had unexpectedly rolled in changing the way the landscape looked.
Anyways, when Marcy Dam is frozen, rather than taking the wooden bridge to cross it downstream, you can walk/snowshoe right across it to the other side. Doing this will save you a few minutes. At the other side of Marcy Dam you’ll reach a sign. See below.
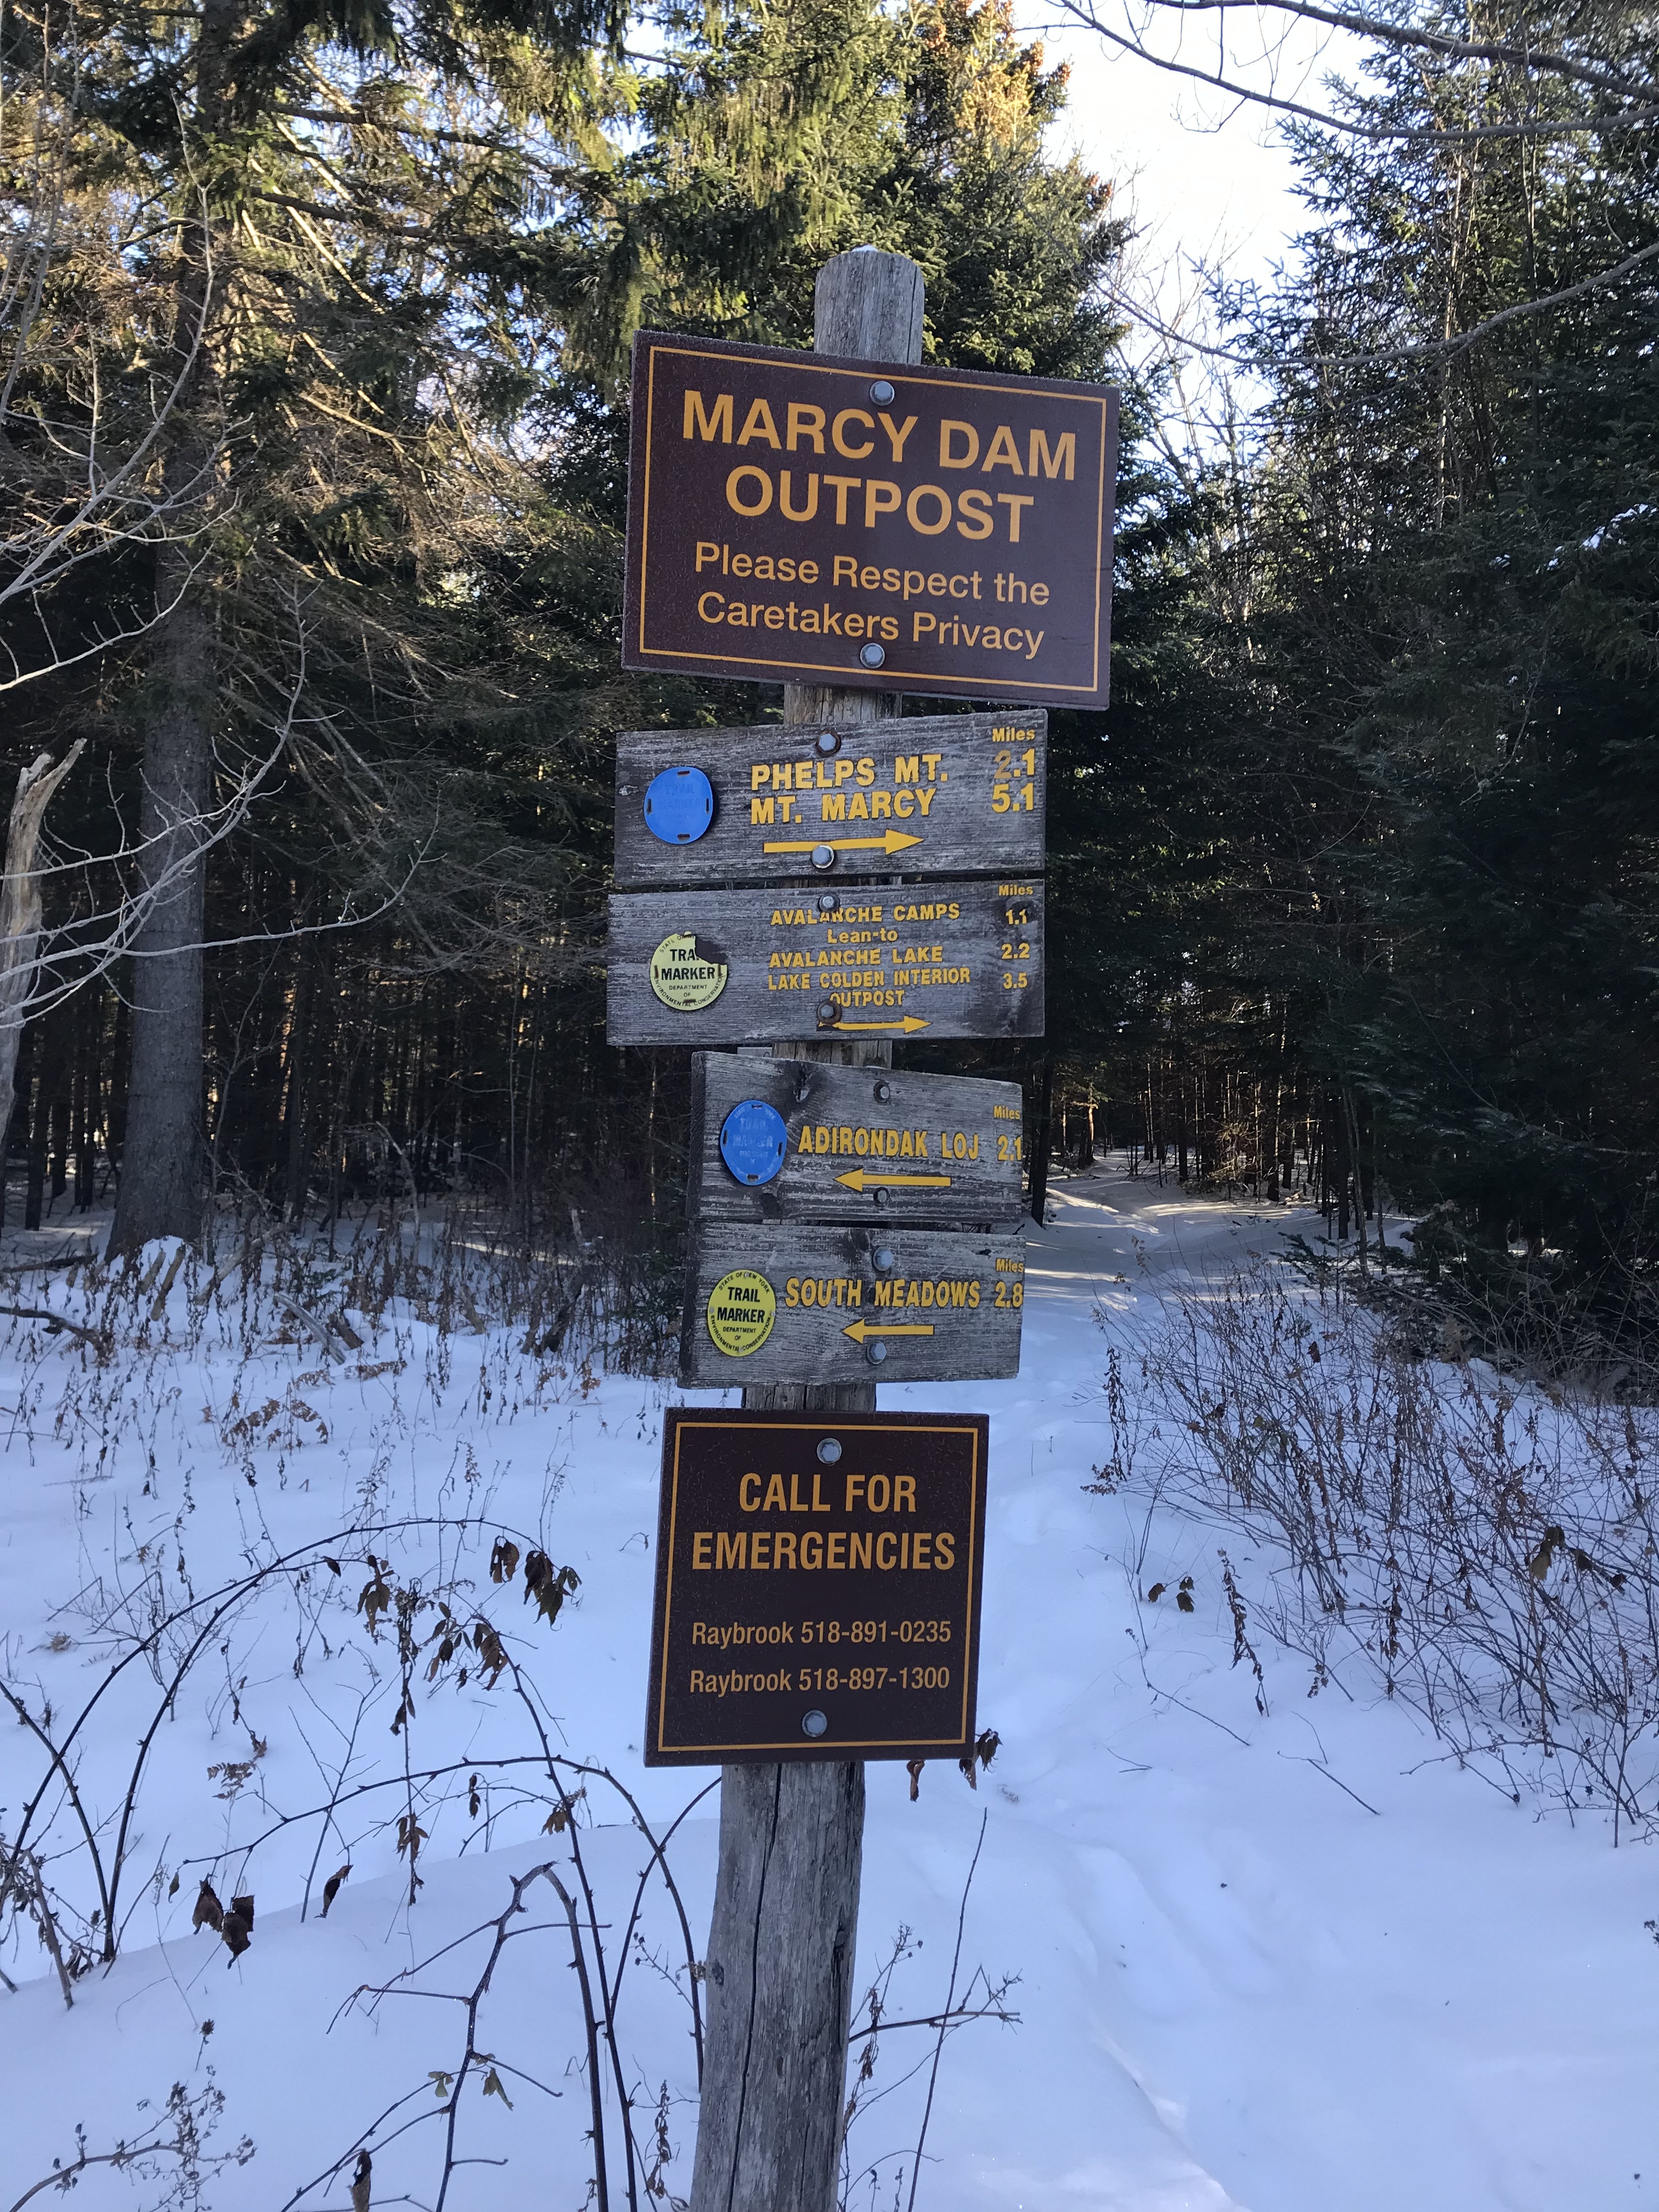
If you are planning to do Mount Colden (I hope so if you’re reading this post), you’ll continue towards the Avalanche Camps/Avalanche Lake. You’ll follow the trail until you reach the next sign where the trail splits and you will turn left to head towards Lake Arnold.
To Lake Arnold
After turning left at the sign above, the trail is a steady to steep climb. It doesn’t really let up from this point. There isn’t any bouldering/scrambling (at least in the winter due to all the snow), but that doesn’t make it any easier. Take your breaks as needed, hydrate, and keep pushing forward to Lake Arnold.
From Lake Arnold to the Summit
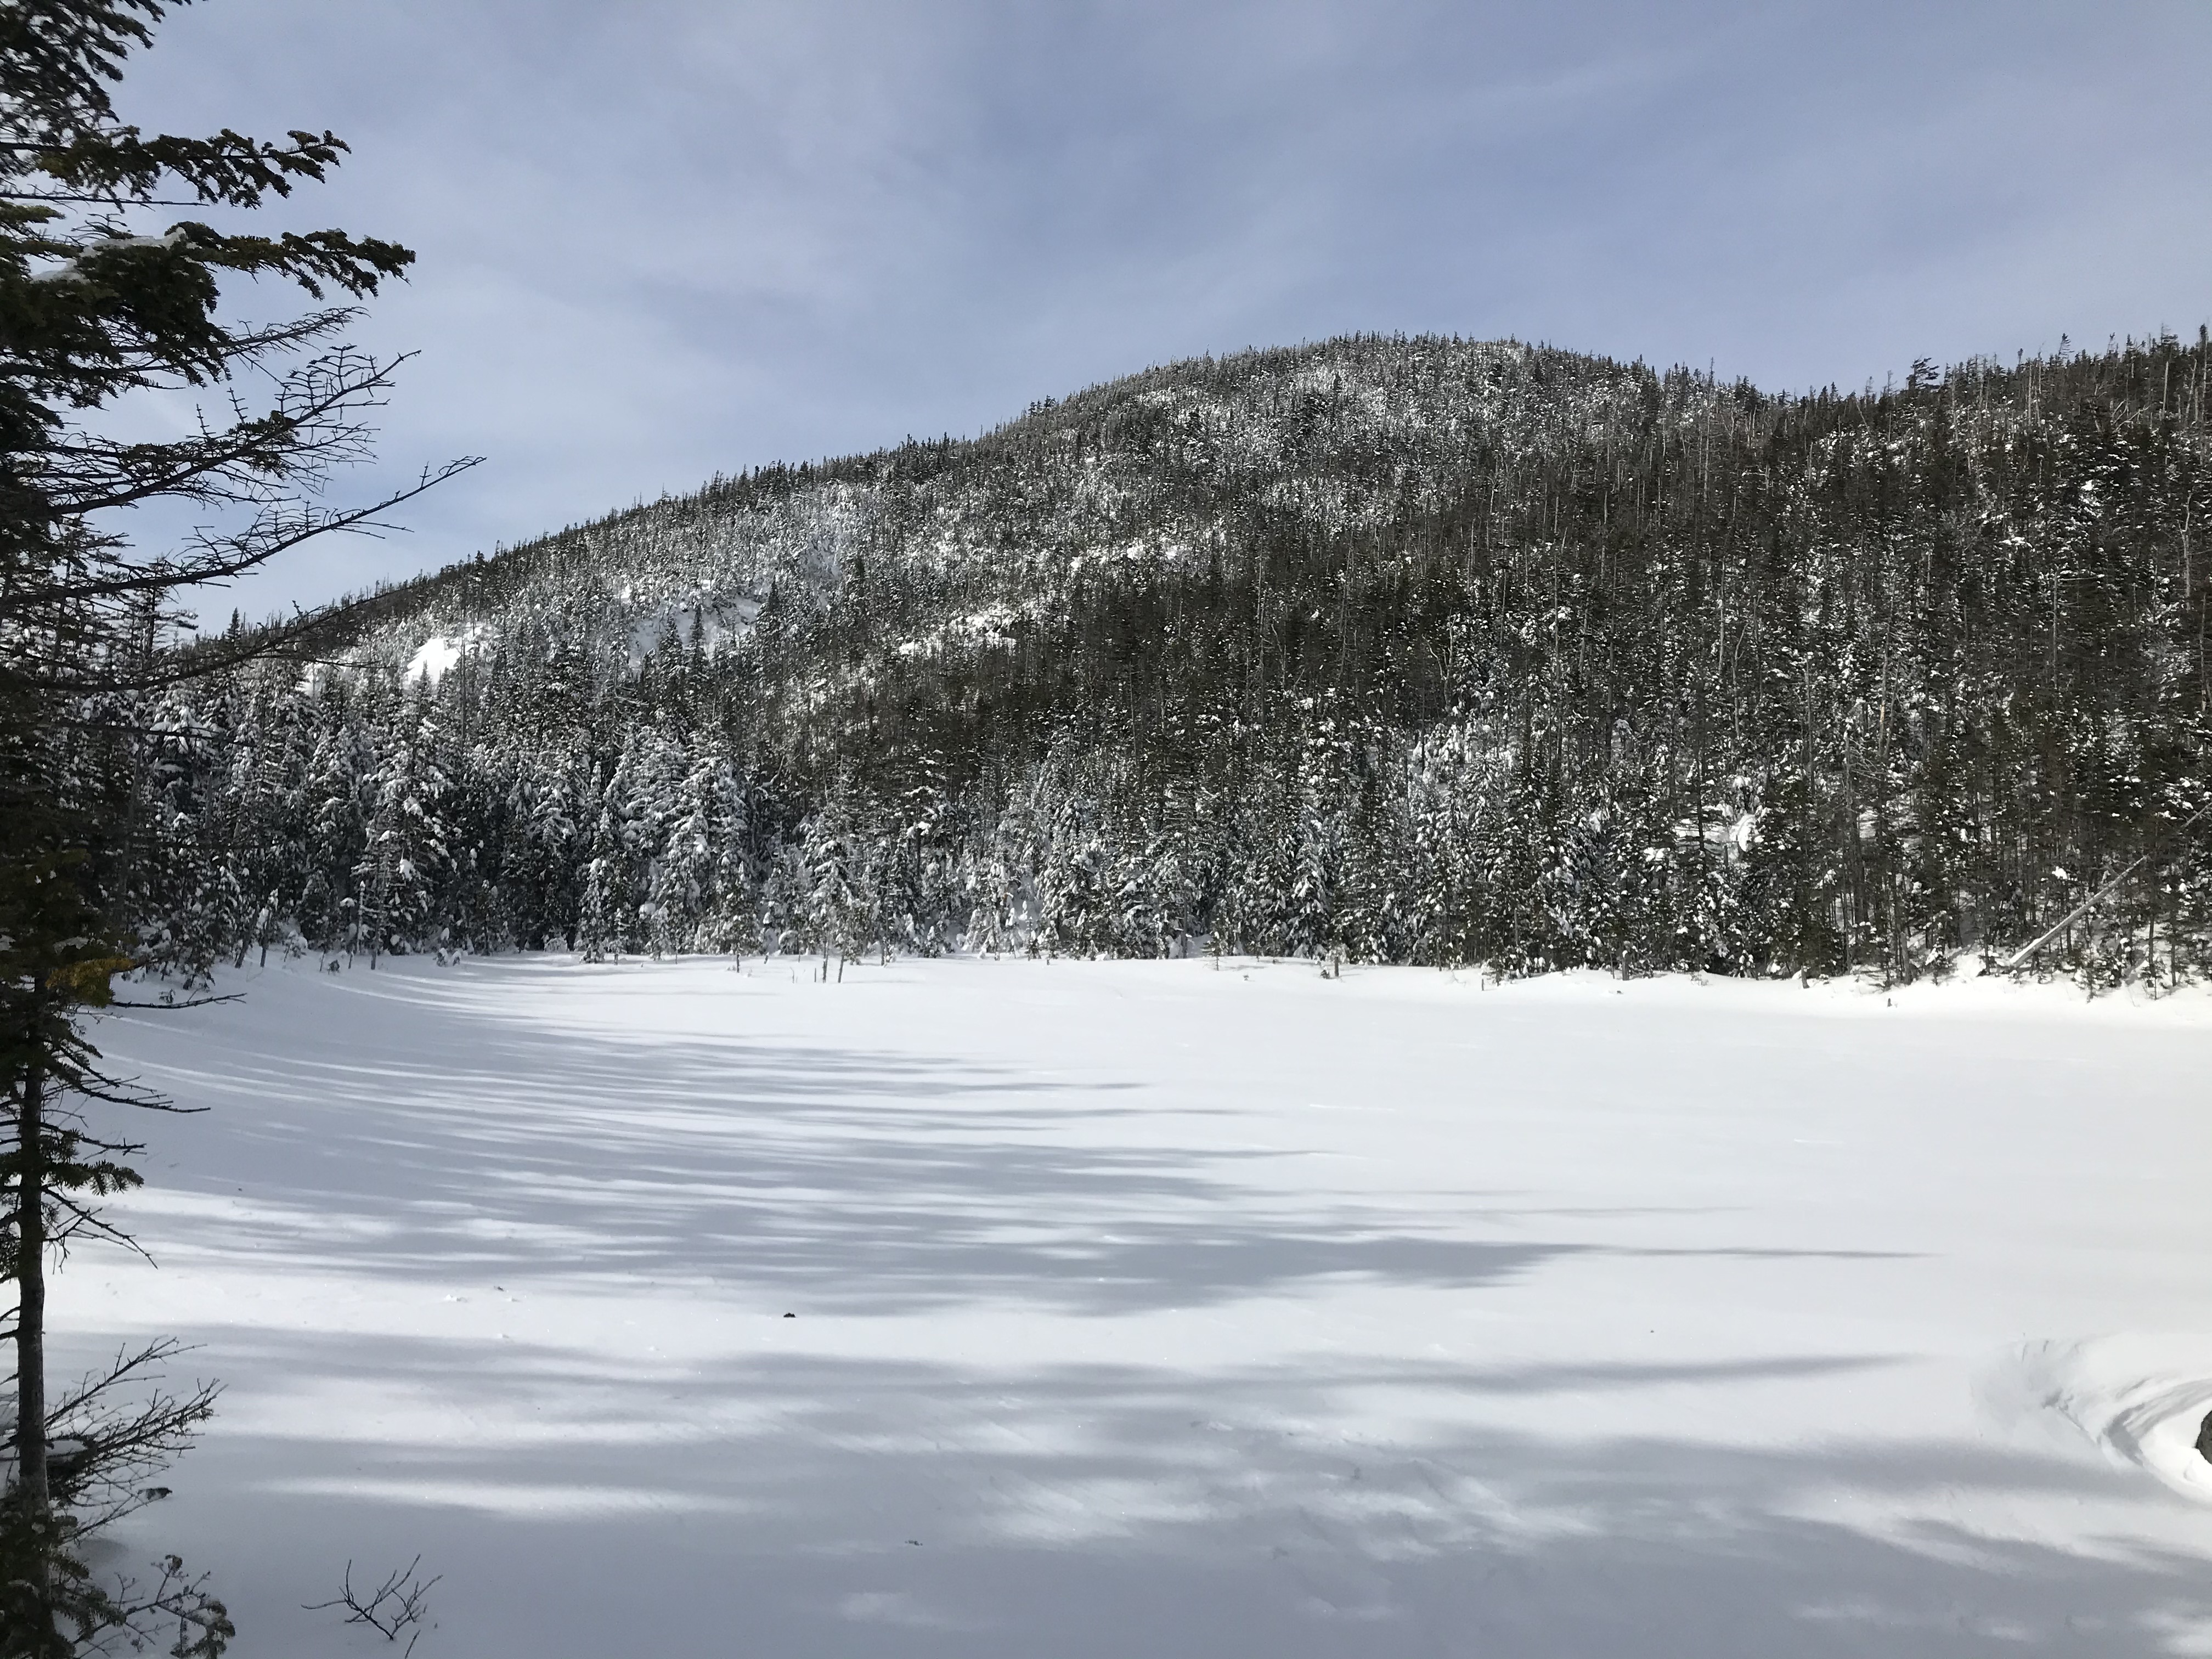
After getting through the rough 1.5 miles, Lake Arnold is worth checking out! It is one of the highest bodies of water in the Adirondacks. It was pretty stunning, and I am sure it is more impressive when it isn’t frozen. After taking a couple pictures of the lake, I continued forward. See the photo of Lake Arnold below.
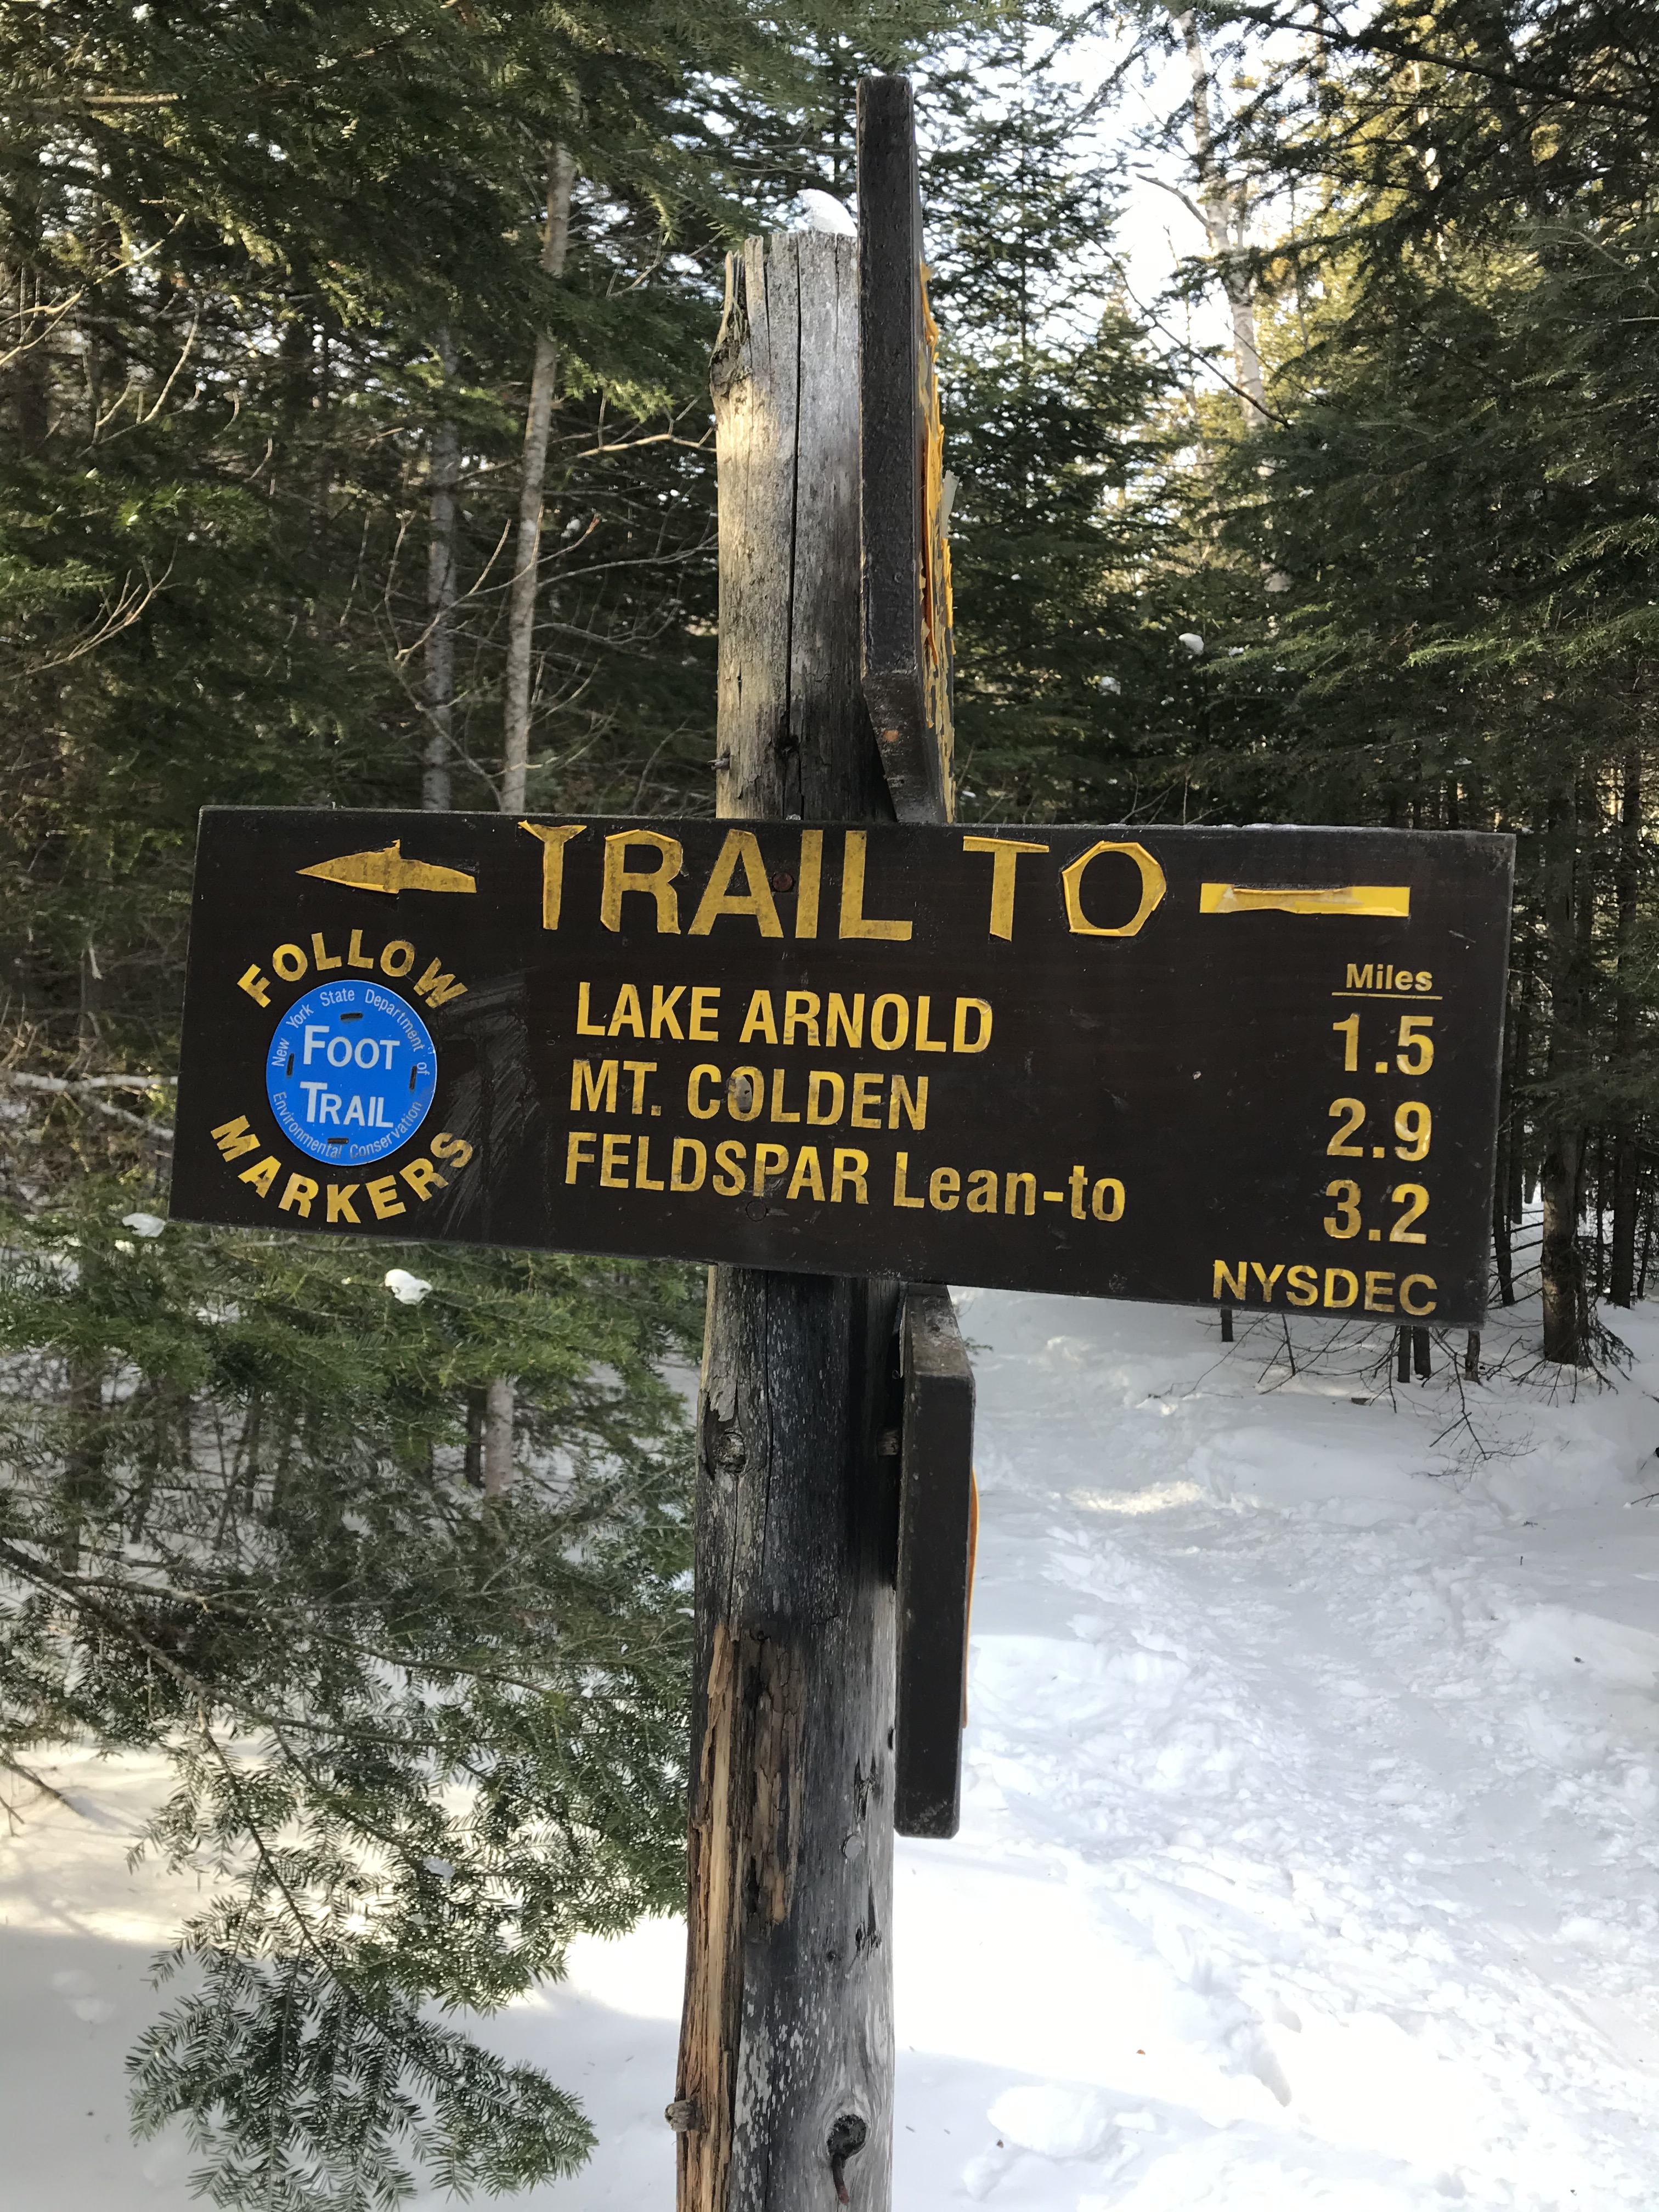
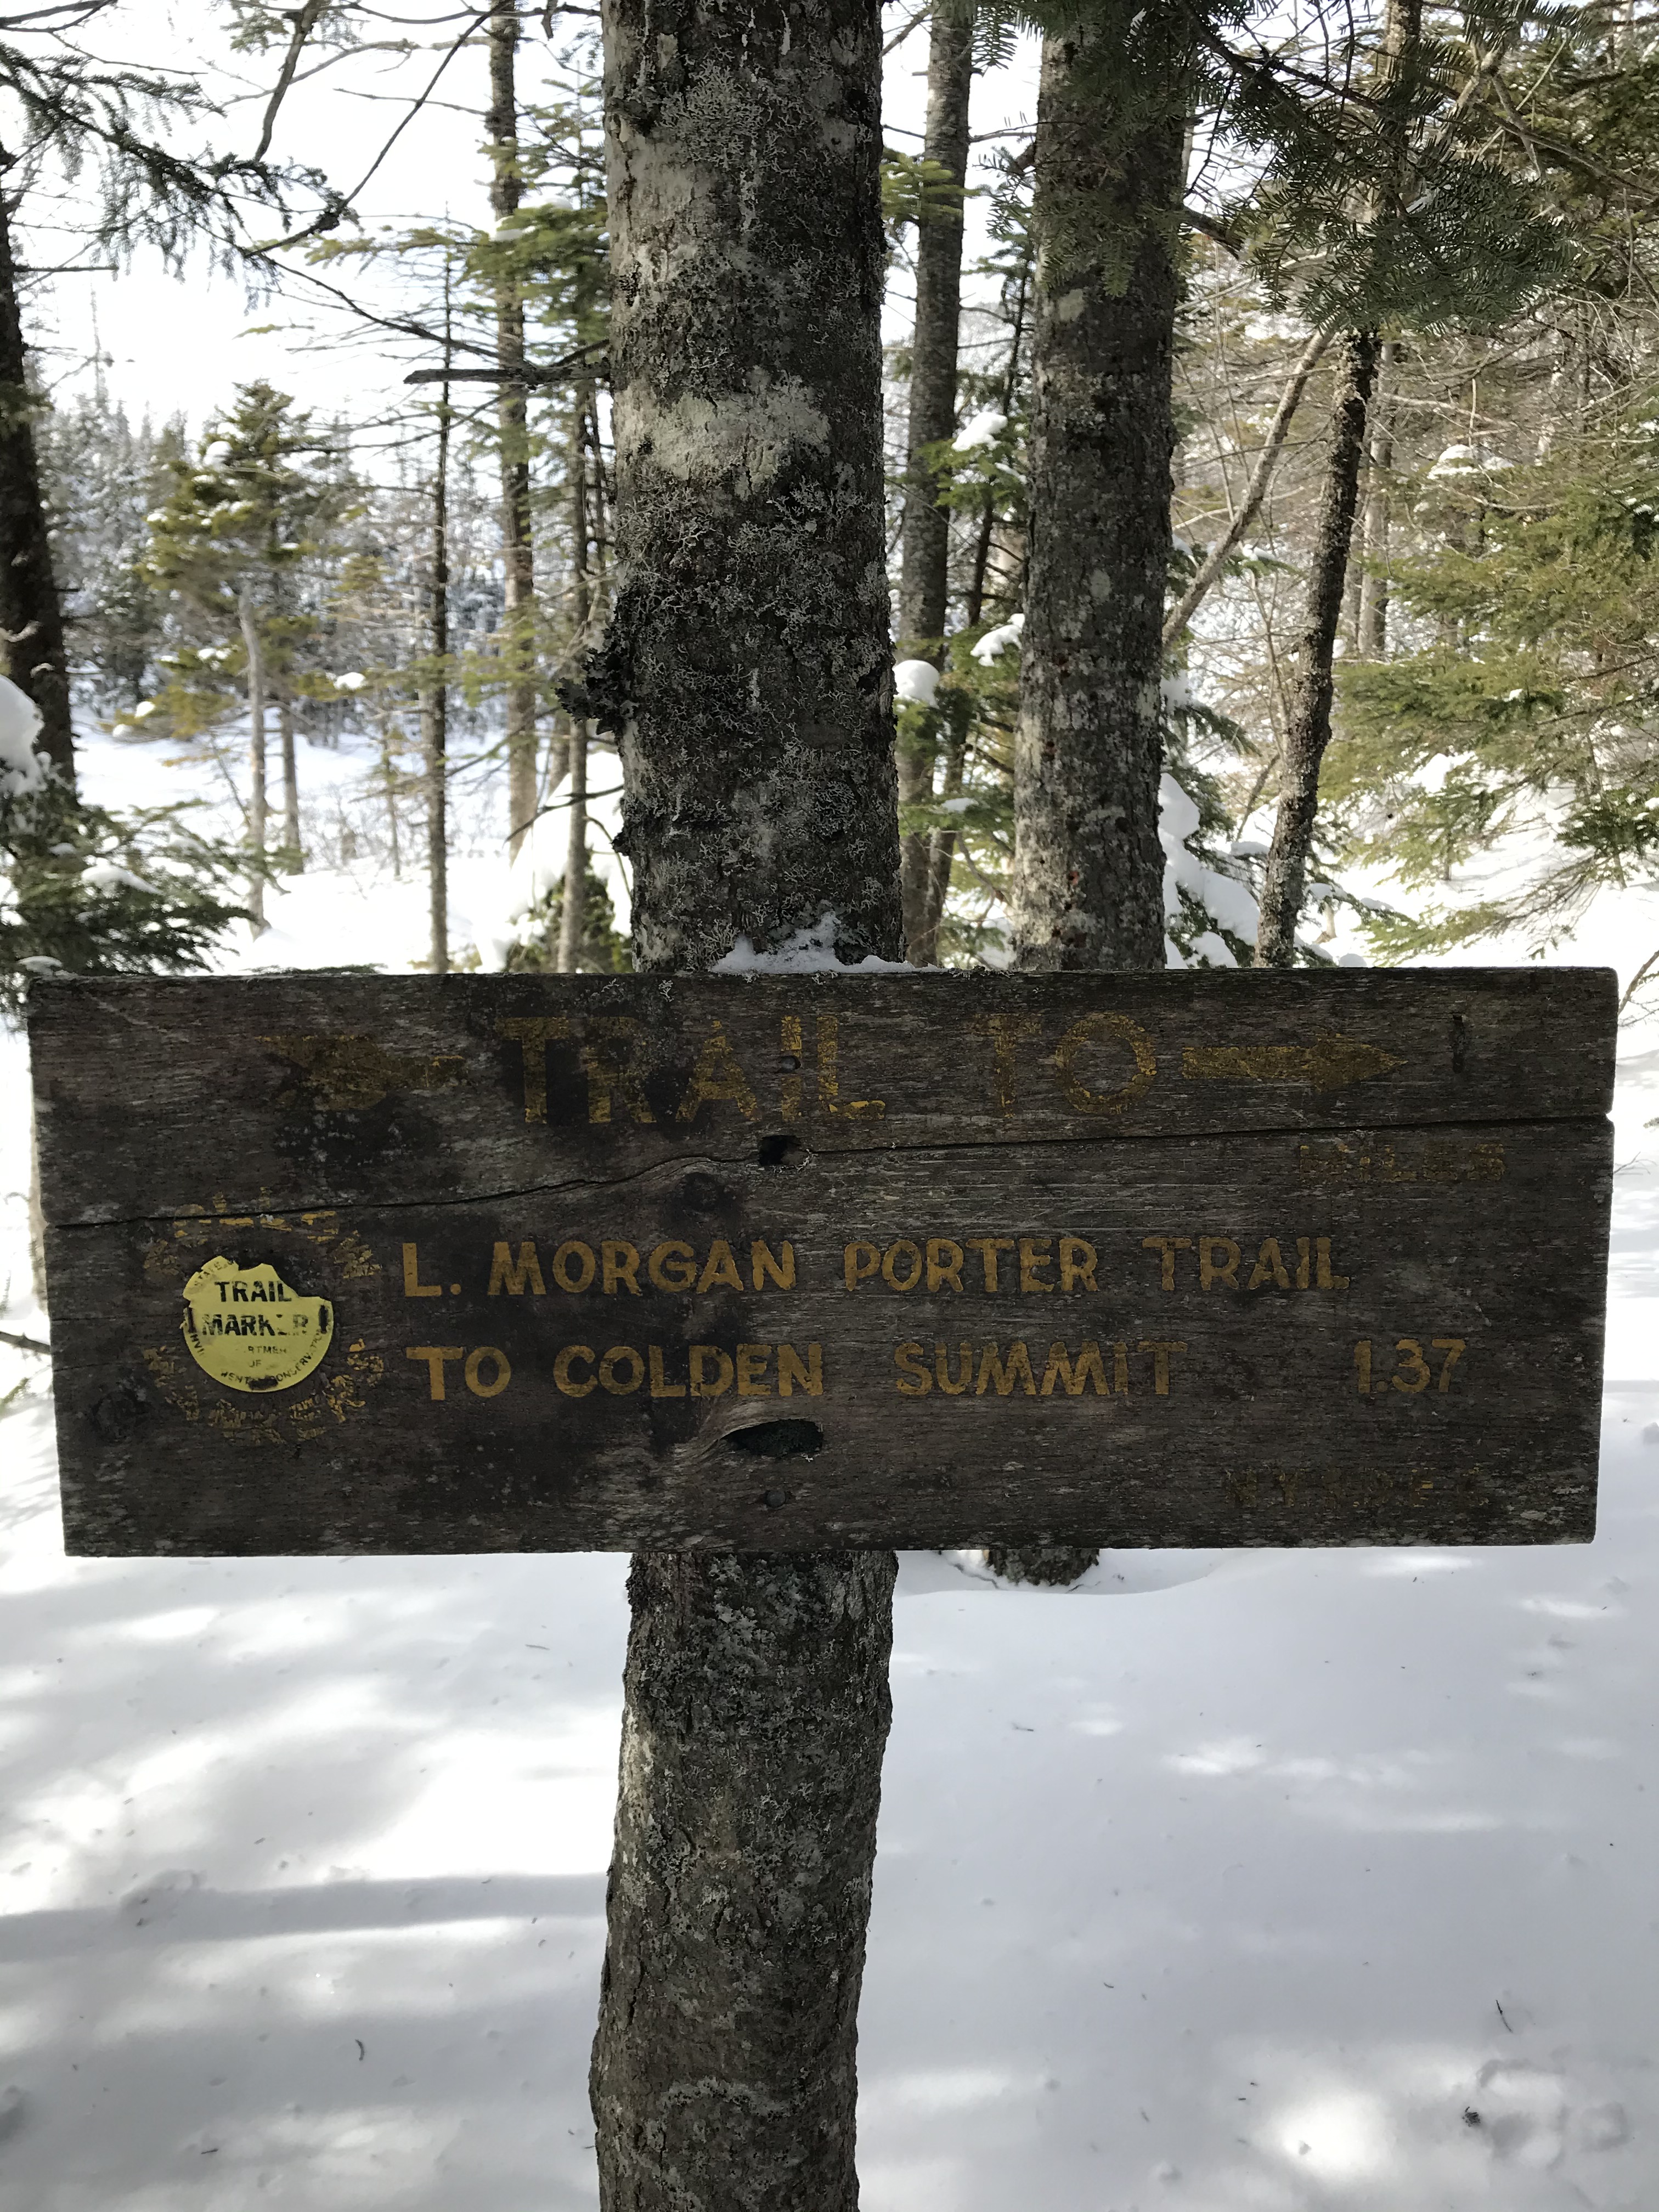
There are two trail signs near the lake itself. The first you’ll see is directly below.
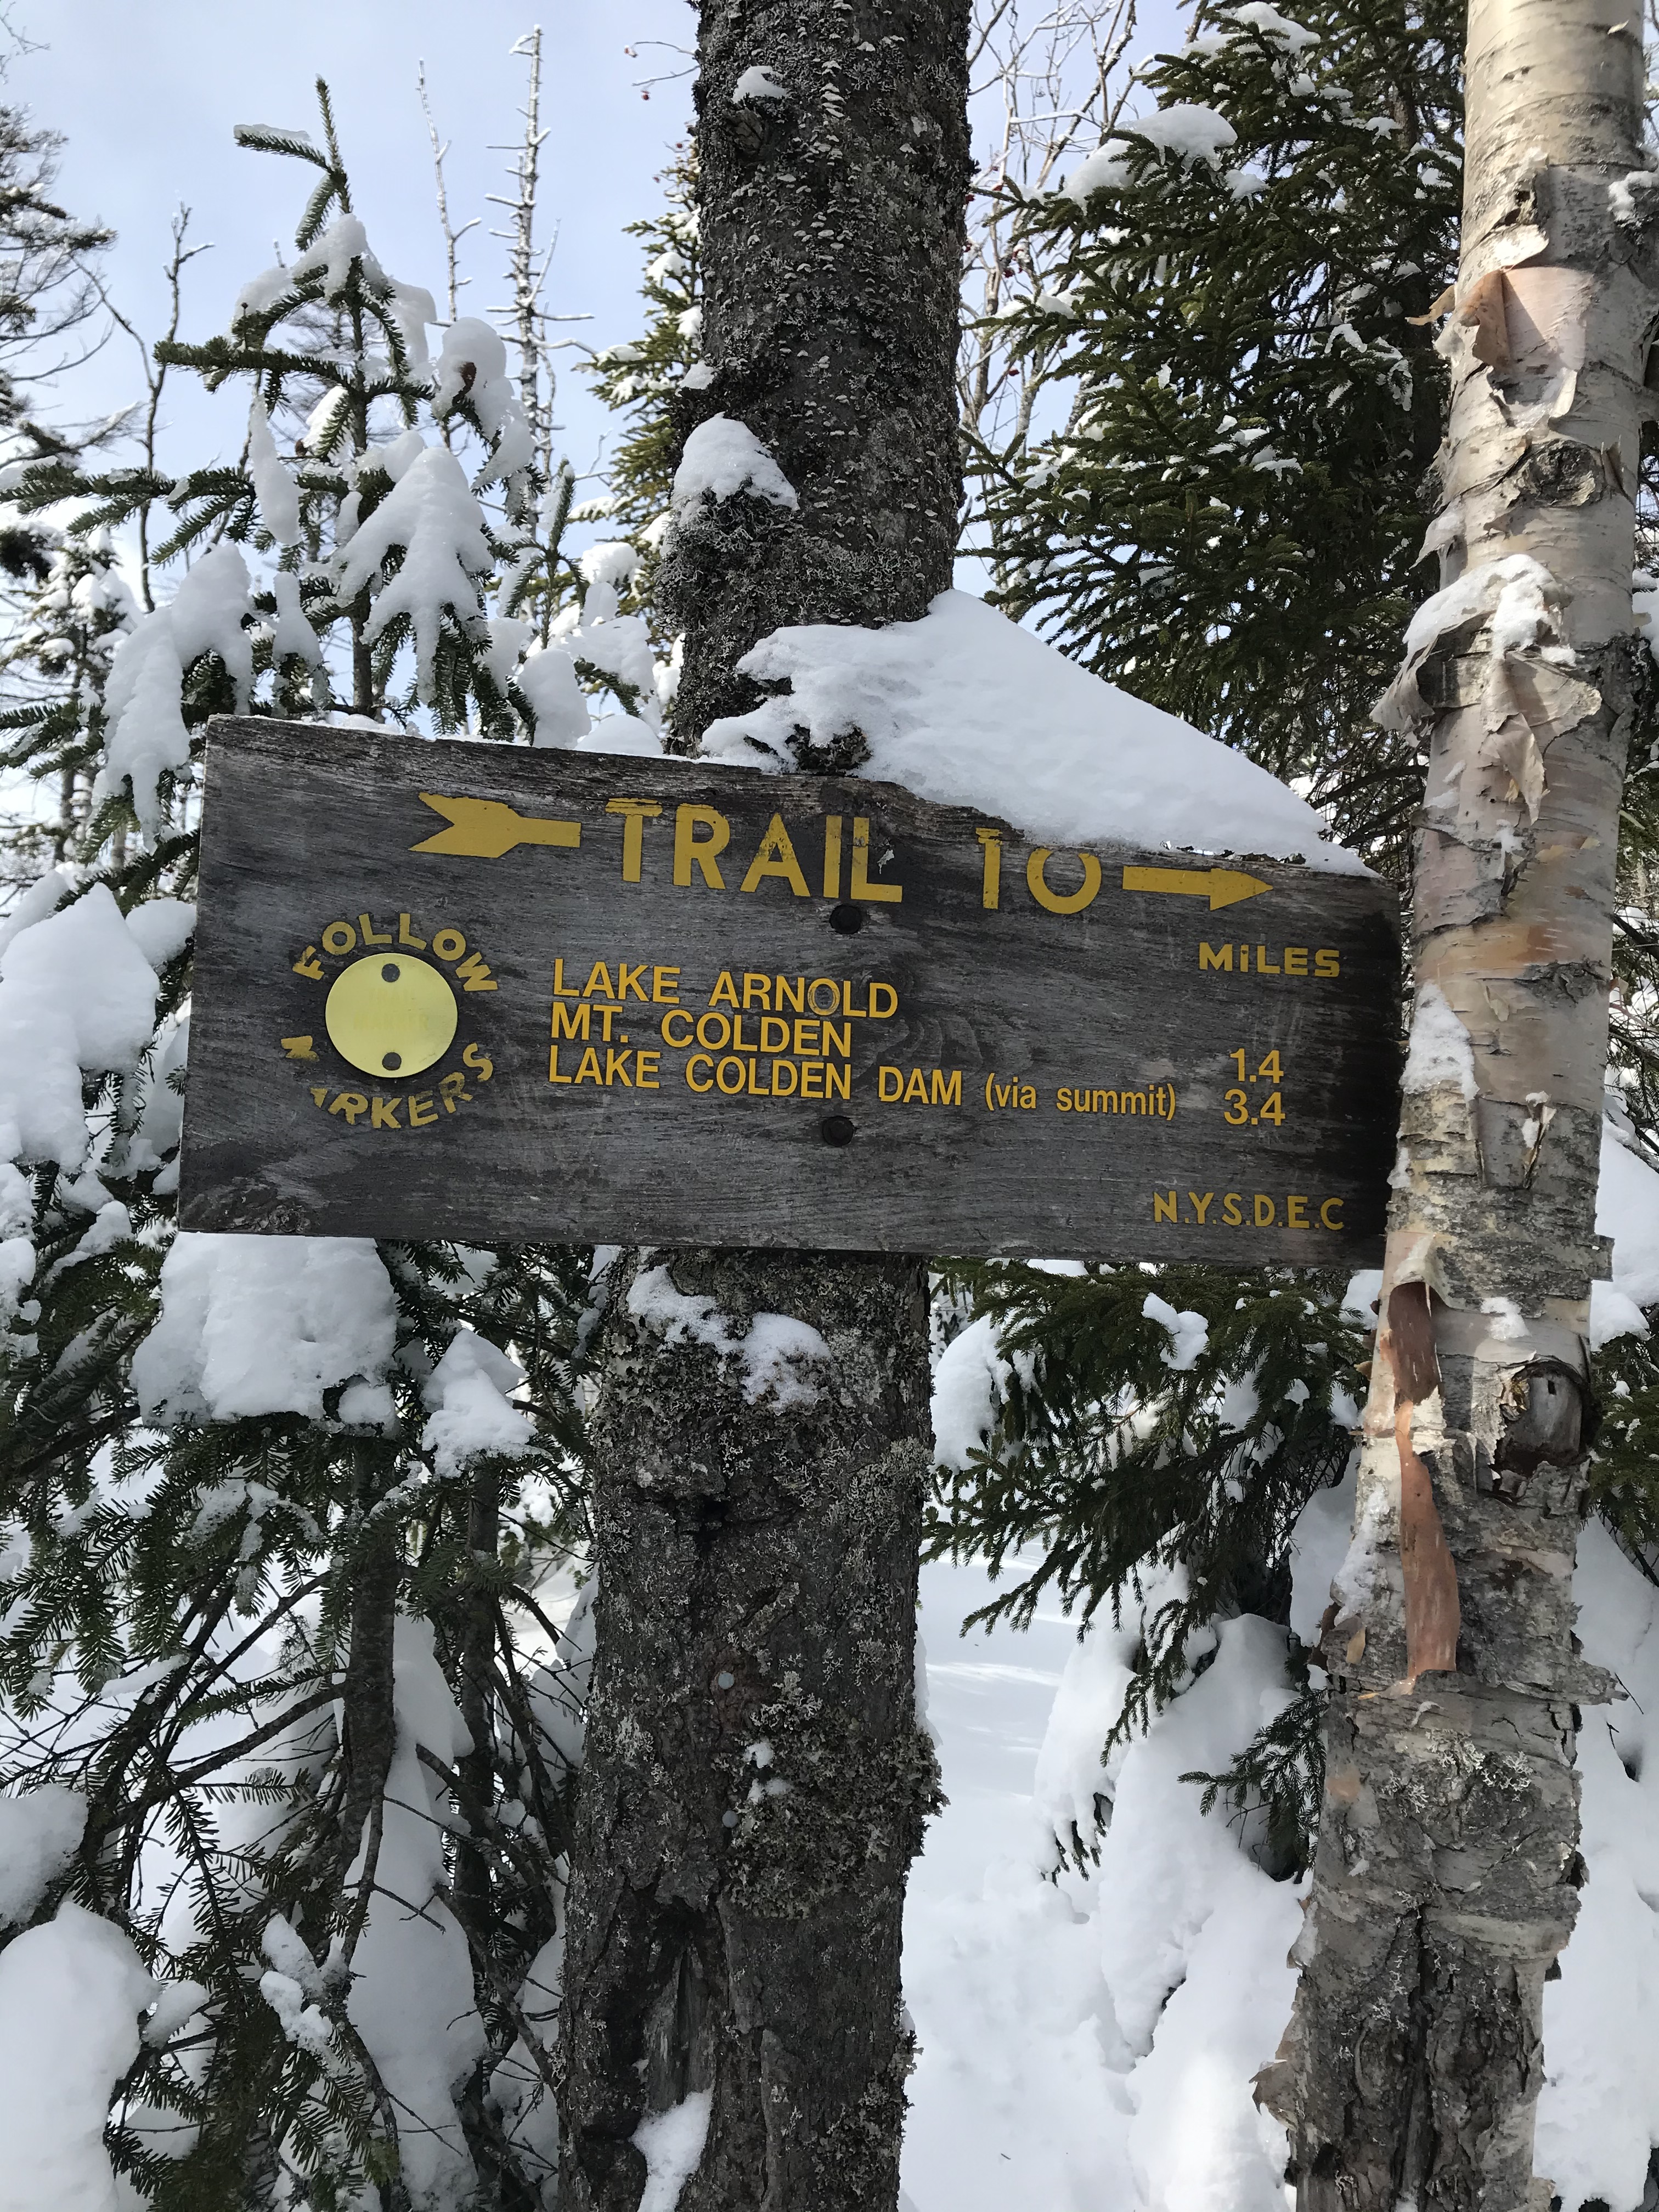
Almost immediately after passing the lake and following the trail there is another sign you’ll see that appears to be slightly more dated.
Push to the Summit of mount colden
The last mile to the summit of Mount Colden is daunting in the snow. It is steep, slippery, and your leg muscles will be feeling it as you ascend. My calves and quads were in rough shape following this hike, and I believe it primarily had to do with the last mile. Also, having the proper gear here is KEY! Micro-spikes and snowshoes are a must. If you don’t have them you really shouldn’t even be hiking in the High Peaks.
On a side-note, there is a false summit before reaching the actual summit of Mount Colden. It is pretty bare, open, and on the day I hiked it, windy. You’ll know it is a false summit because the actual summit towers above you in the very near difference. You may also see other hikers coming down from the top of Mount Colden. It looks more intimidating and strenuous than it is from the false summit. One final push and you’ll be taking in the frozen beauty of the Adirondack wilderness at 4,714′.
Mount Colden Summit
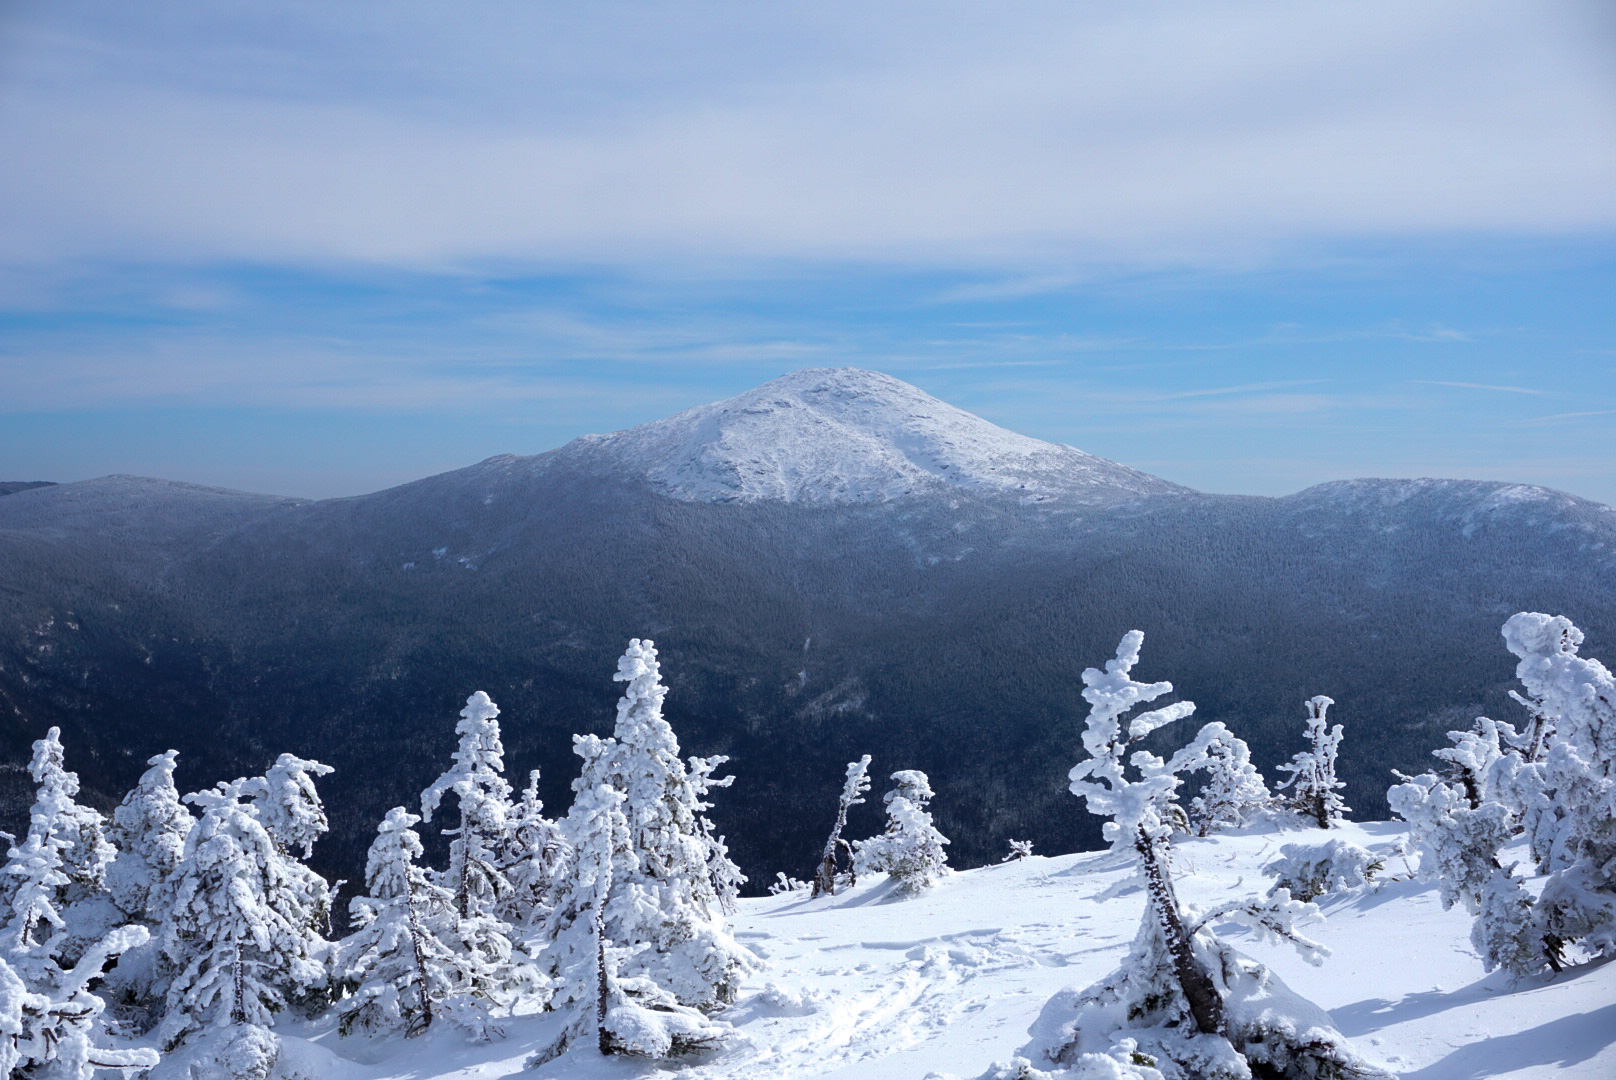
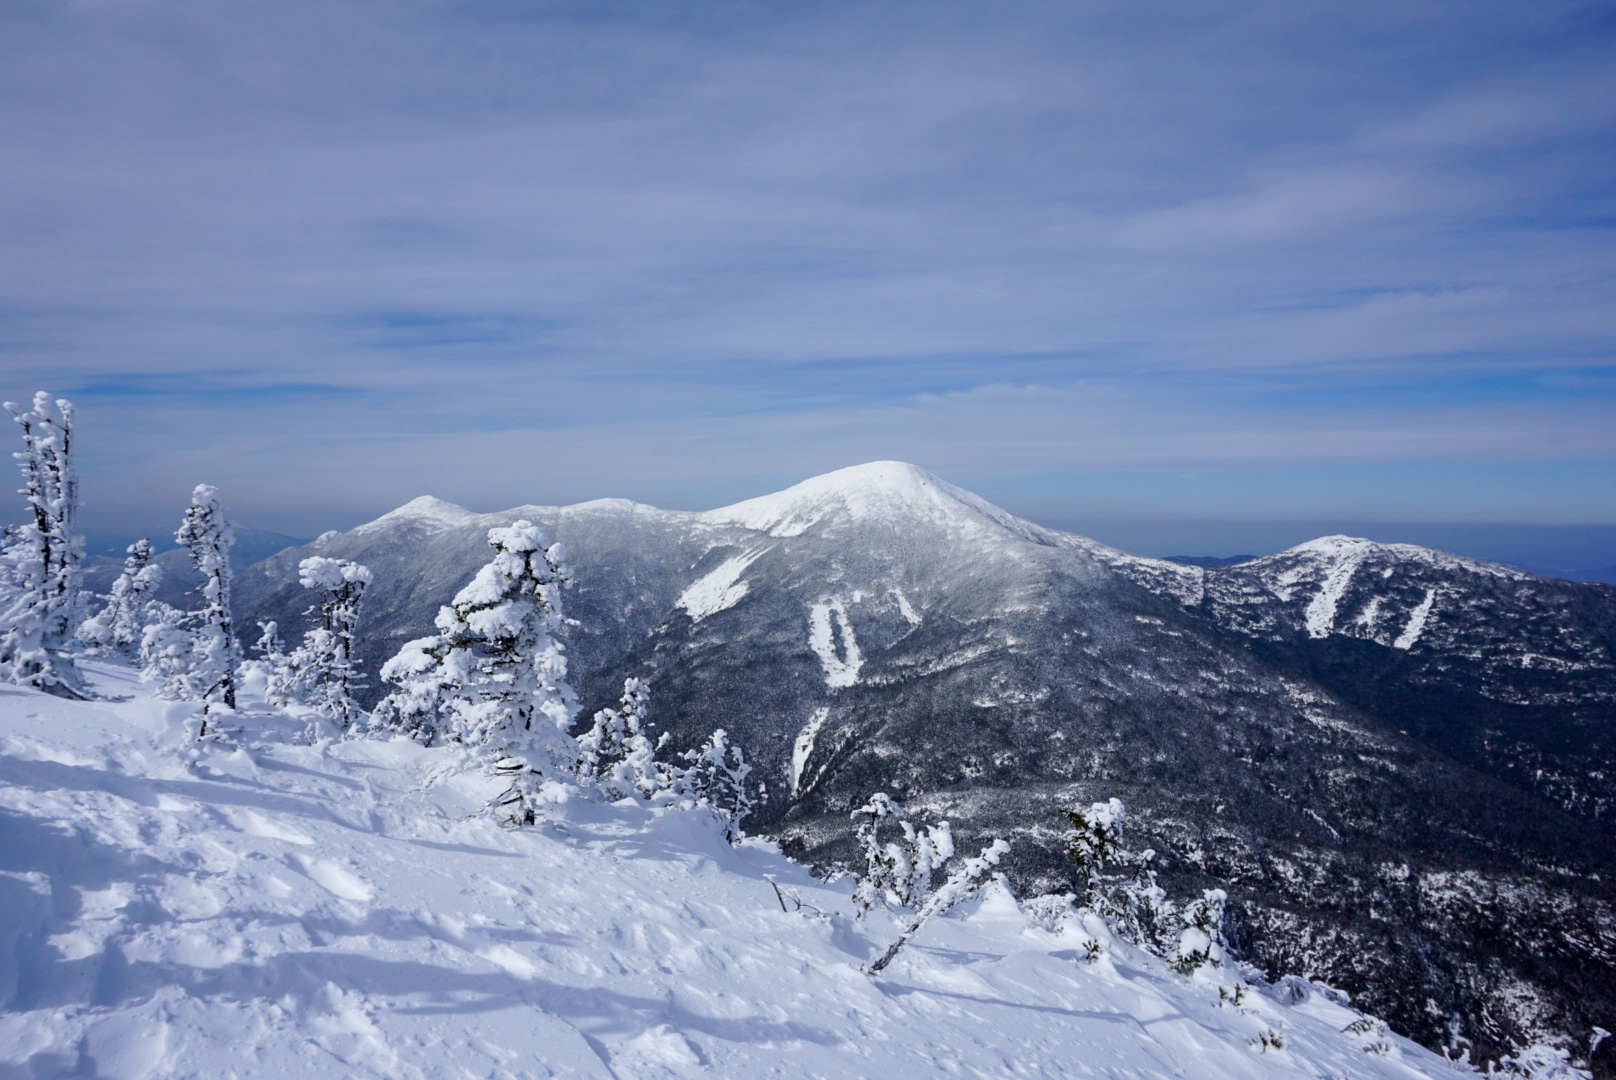
This Adirondack High Peak might be my favorite winter summit yet. The commanding views you are rewarded with are phenomenal. Mount Marcy towers above the surrounding forest, the full MacIntyre Range is easily visible, and Giant Mountain can be seen in the distance as well as many other High Peaks. One could spend all day on the summit of Mount Colden and still not want to leave. See below for some of the favorite images I captured while on top of the 11th highest High Peak in the Adirondacks!
Below is an action shot my brother, Alex, took while I snowshoed up. He takes some pretty great adventure photos himself. Check out his work on instagram (@bonacio_th) and his twitter (@t_hikers).

This picture below is one of my favorite winter photographs I captured while hiking in the High Peaks. It is Mount Marcy frozen over. It is difficult to describe how you feel when you witness a dramatic landscape like this in person. I hope the photograph was able to capture some of that magic.
Lastly, below you can see the MacIntyre Range. The highest mountain in the range, and in the middle, is Algonquin. The mountain on the far right is Wright Peak, and the mountain on the far left is Iroquois.
Important Note: When you are on the summit of Mount Colden in the winter (and any other mountain in the winter), do NOT go near the trees off trail! They are likely to be spruce traps. If you did not know what a spruce trap is, it is when snow accumulates under a tree heavily, but it is not packed in. It could be very deep and if you step in one by accident it will be very difficult to get out. I am speaking from experience. Near the summit of Gothics Mountain a couple years back I ended up mid-stomach deep in snow! Your best bet is to avoid these at all costs.
Getting Back to the Trailhead
If you’d like, you could turn Mount Colden into a long loop and continue hiking along to take a different route back to your vehicle. I treated it as an out-and-back hike, heading back the same way I hiked up the mountain. Follow the same signs you saw along your ascent and you’ll get back to the Adirondack Loj just fine.
Dog-Friendly
This hike is dog-friendly, but I don’t recall seeing any when I hiked the mountain. It can tougher for dogs in the winter with the added elements of snow and ice. Use your judgement during the winter season when bringing the furry friends.
Fam-Friendly
In regard to hiking Mount Colden in the winter, I don’t recommend attempting it unless you’re familiar with winter hiking, have the appropriate equipment/gear, and are in excellent physical shape. During summer I could say this hike is family-friendly depending on everyones’ fitness level. The Lake Arnold route is 12.6 miles round trip so keep that in mind.
Clothes/Gear Worn
- Timberland Hiking Boots
- Nike Compression Leggings
- Athletic shorts
- Adidas Joggers
- Underarmour long-sleeve
- Athletic T-shirt
- Athletic Long Sleeve Pullover
- LL Bean Outer Shell Jacket (on summit for wind protection)
- Winter Beanie
- EMS Hiking socks (warmest pair they make)
- Gloves (with hand warmers in them from Stewarts)
- Gaiters
- Kahtoola microspikes
- LL Bean snowshoes
Gear/Food Brought
- 2.5L of water
- Peanut butter granola bars, and peanut butter sandwiches, little bit of pasta
- Extra EMS hiking socks from Eastern Mountain Sports
- LL Bean mid-layer (switched into this on summit)
- Extra Wind-breaker jacket
- Balaclava
- Bandana
- Extra shirts, compression shorts, and underarmour
- Wind/Rain Pants
- Emergency tents and blankets
- Knife
- Paracord and two carabiners
- Water-proof matches
- LifeStraw (water filtration, costs about $20)
- Trekking poles
- First-Aid Kit
- Garmin inReach (satellite device that has a GPS, can send texts, send SOS, and has many other helpful features)
RTW Note
Hey Road Trip Warriors! Thanks for checking out this post on ascending Mount Colden in the winter! I hope you find the information helpful and enjoyed the photos! If you liked this post, SMASH the subscribe button, HIT the like button, and leave a comment! I have plenty more coming at you!
Remember to practice Leave No Trace principles!
-Ant