Adirondack High Peak 22/46
What up Road Trip Warriors!? I just snagged my 22nd High Peak, leaving 24 left to complete. Panther Peak was easily the muddiest Adirondack High Peak I have hiked. It is extremely remote, and a long hike to reach the summit which offers very little views. Here is all the info I gathered from hiking Panther Peak!
Summary of Panther Peak
- Difficulty: Strenuous (I do not recommend to inexperienced hikers or if you are out of shape)
- Length: 12.5 miles round trip according to pureadirondacks.com
- Elevation: 4,442′ above sea level
- Hiking Time: It took about four hours and twenty minutes to reach the summit from the trailhead. We took occasional water breaks, but not too many. It is a long hike no matter the amount of rests you take. We hung out on the summit for a bit before heading down. It took us about three-and-a-half hours to get back to the trailhead. We started at 8:30 AM and made it back to the car by 5:00 PM
- Elevation Gain: 3,762′ according to pureadirondacks.com
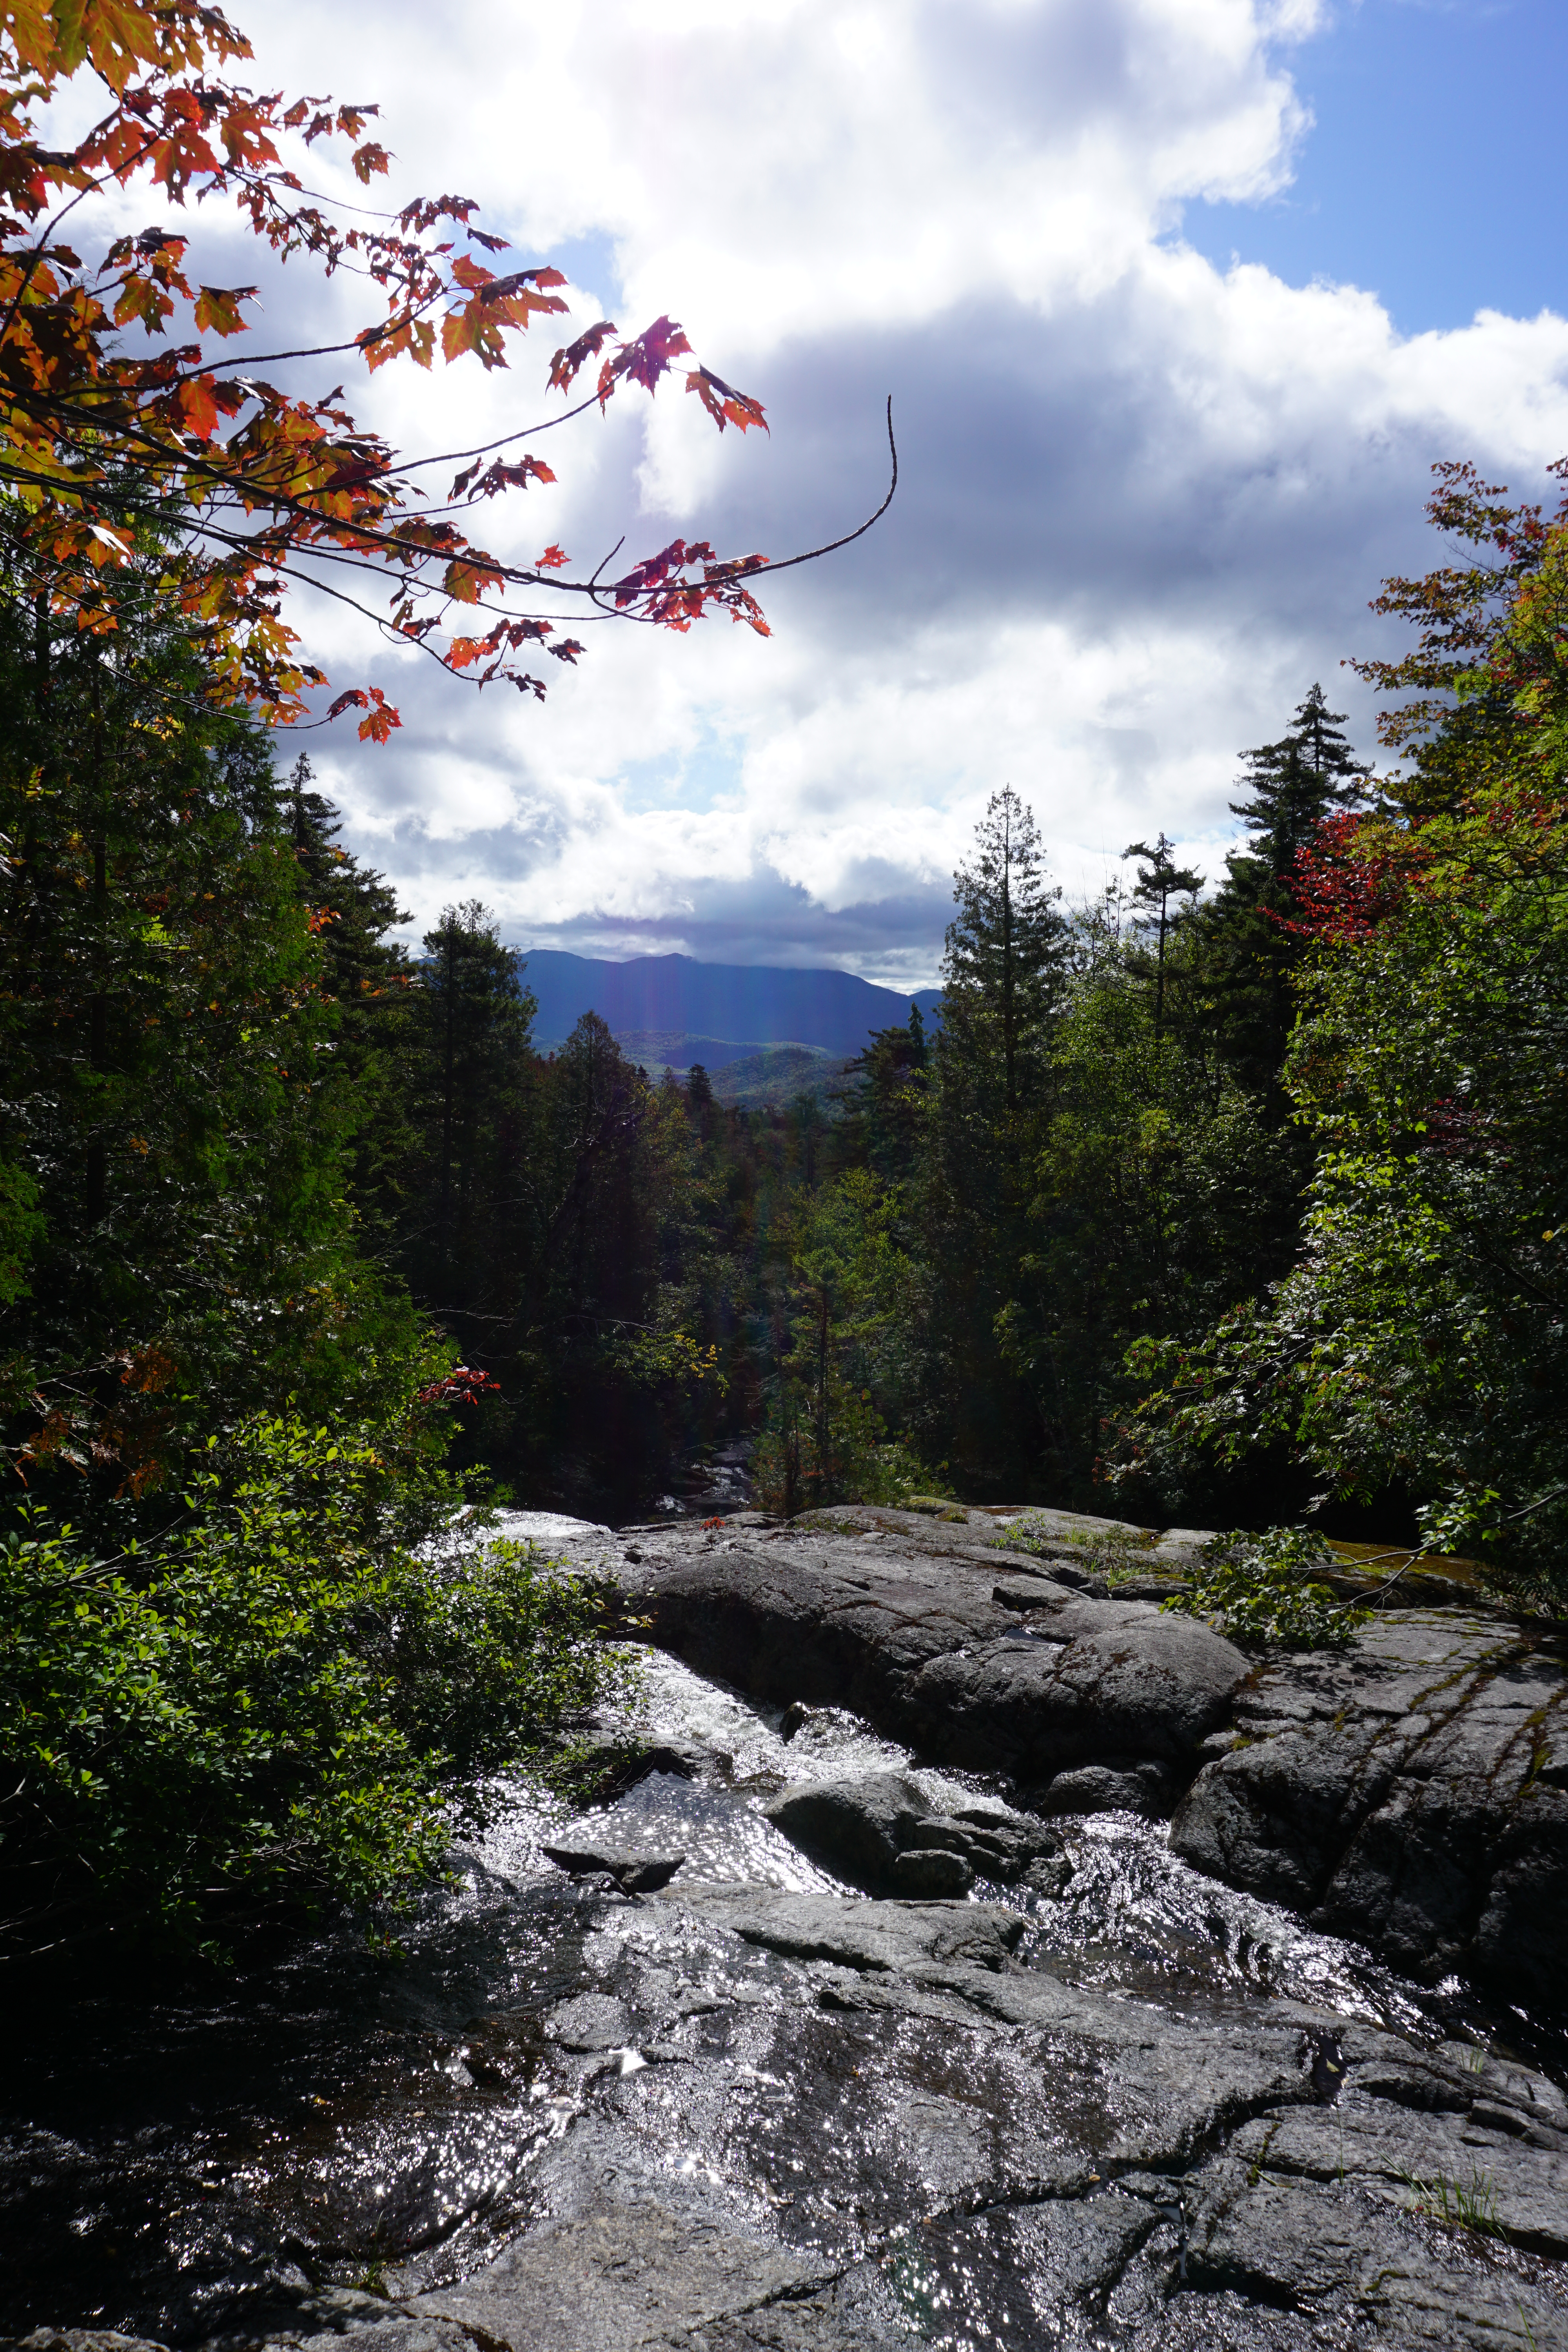
- Photo Opportunities: Before Bradley Pond, as you’re making a gradual ascent, you’ll find a beautiful, long waterfall on your left. It is hard to miss. Step out near the water to get some pictures. Up a little further is another spot to step out into the opening where the water is cascading down the rocks. You’ll see some mountains in the clearing.
Trailhead
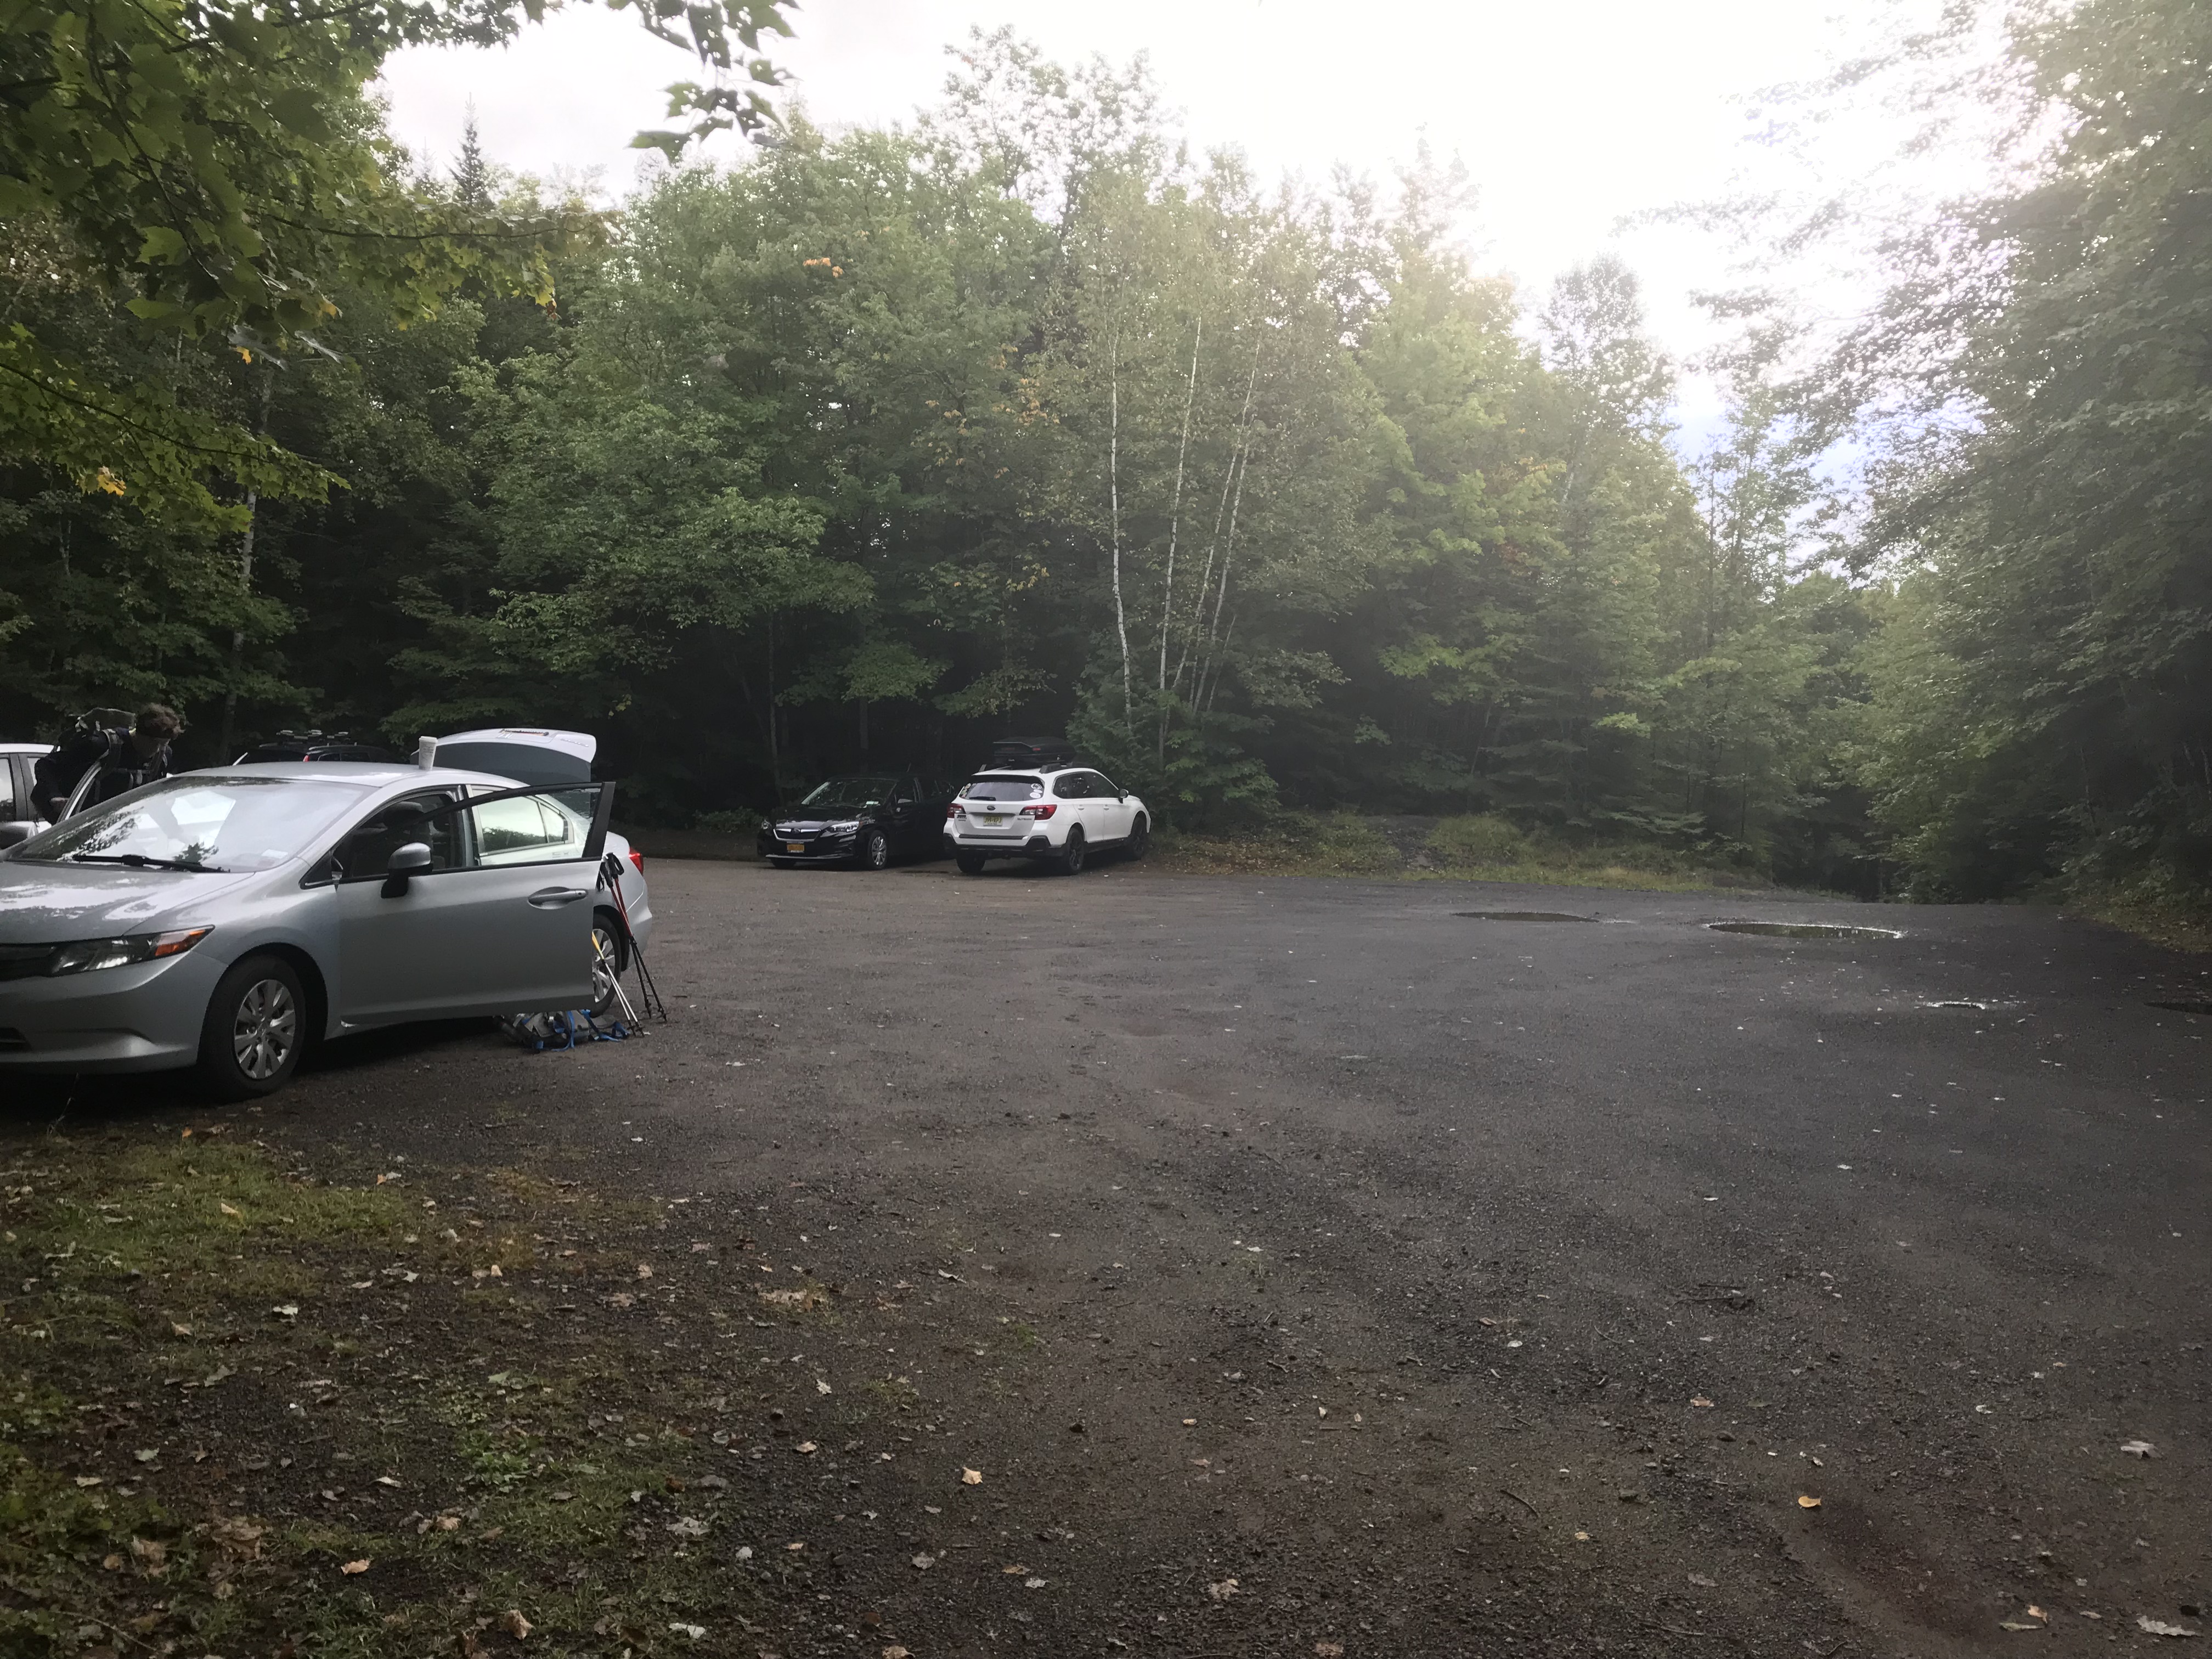
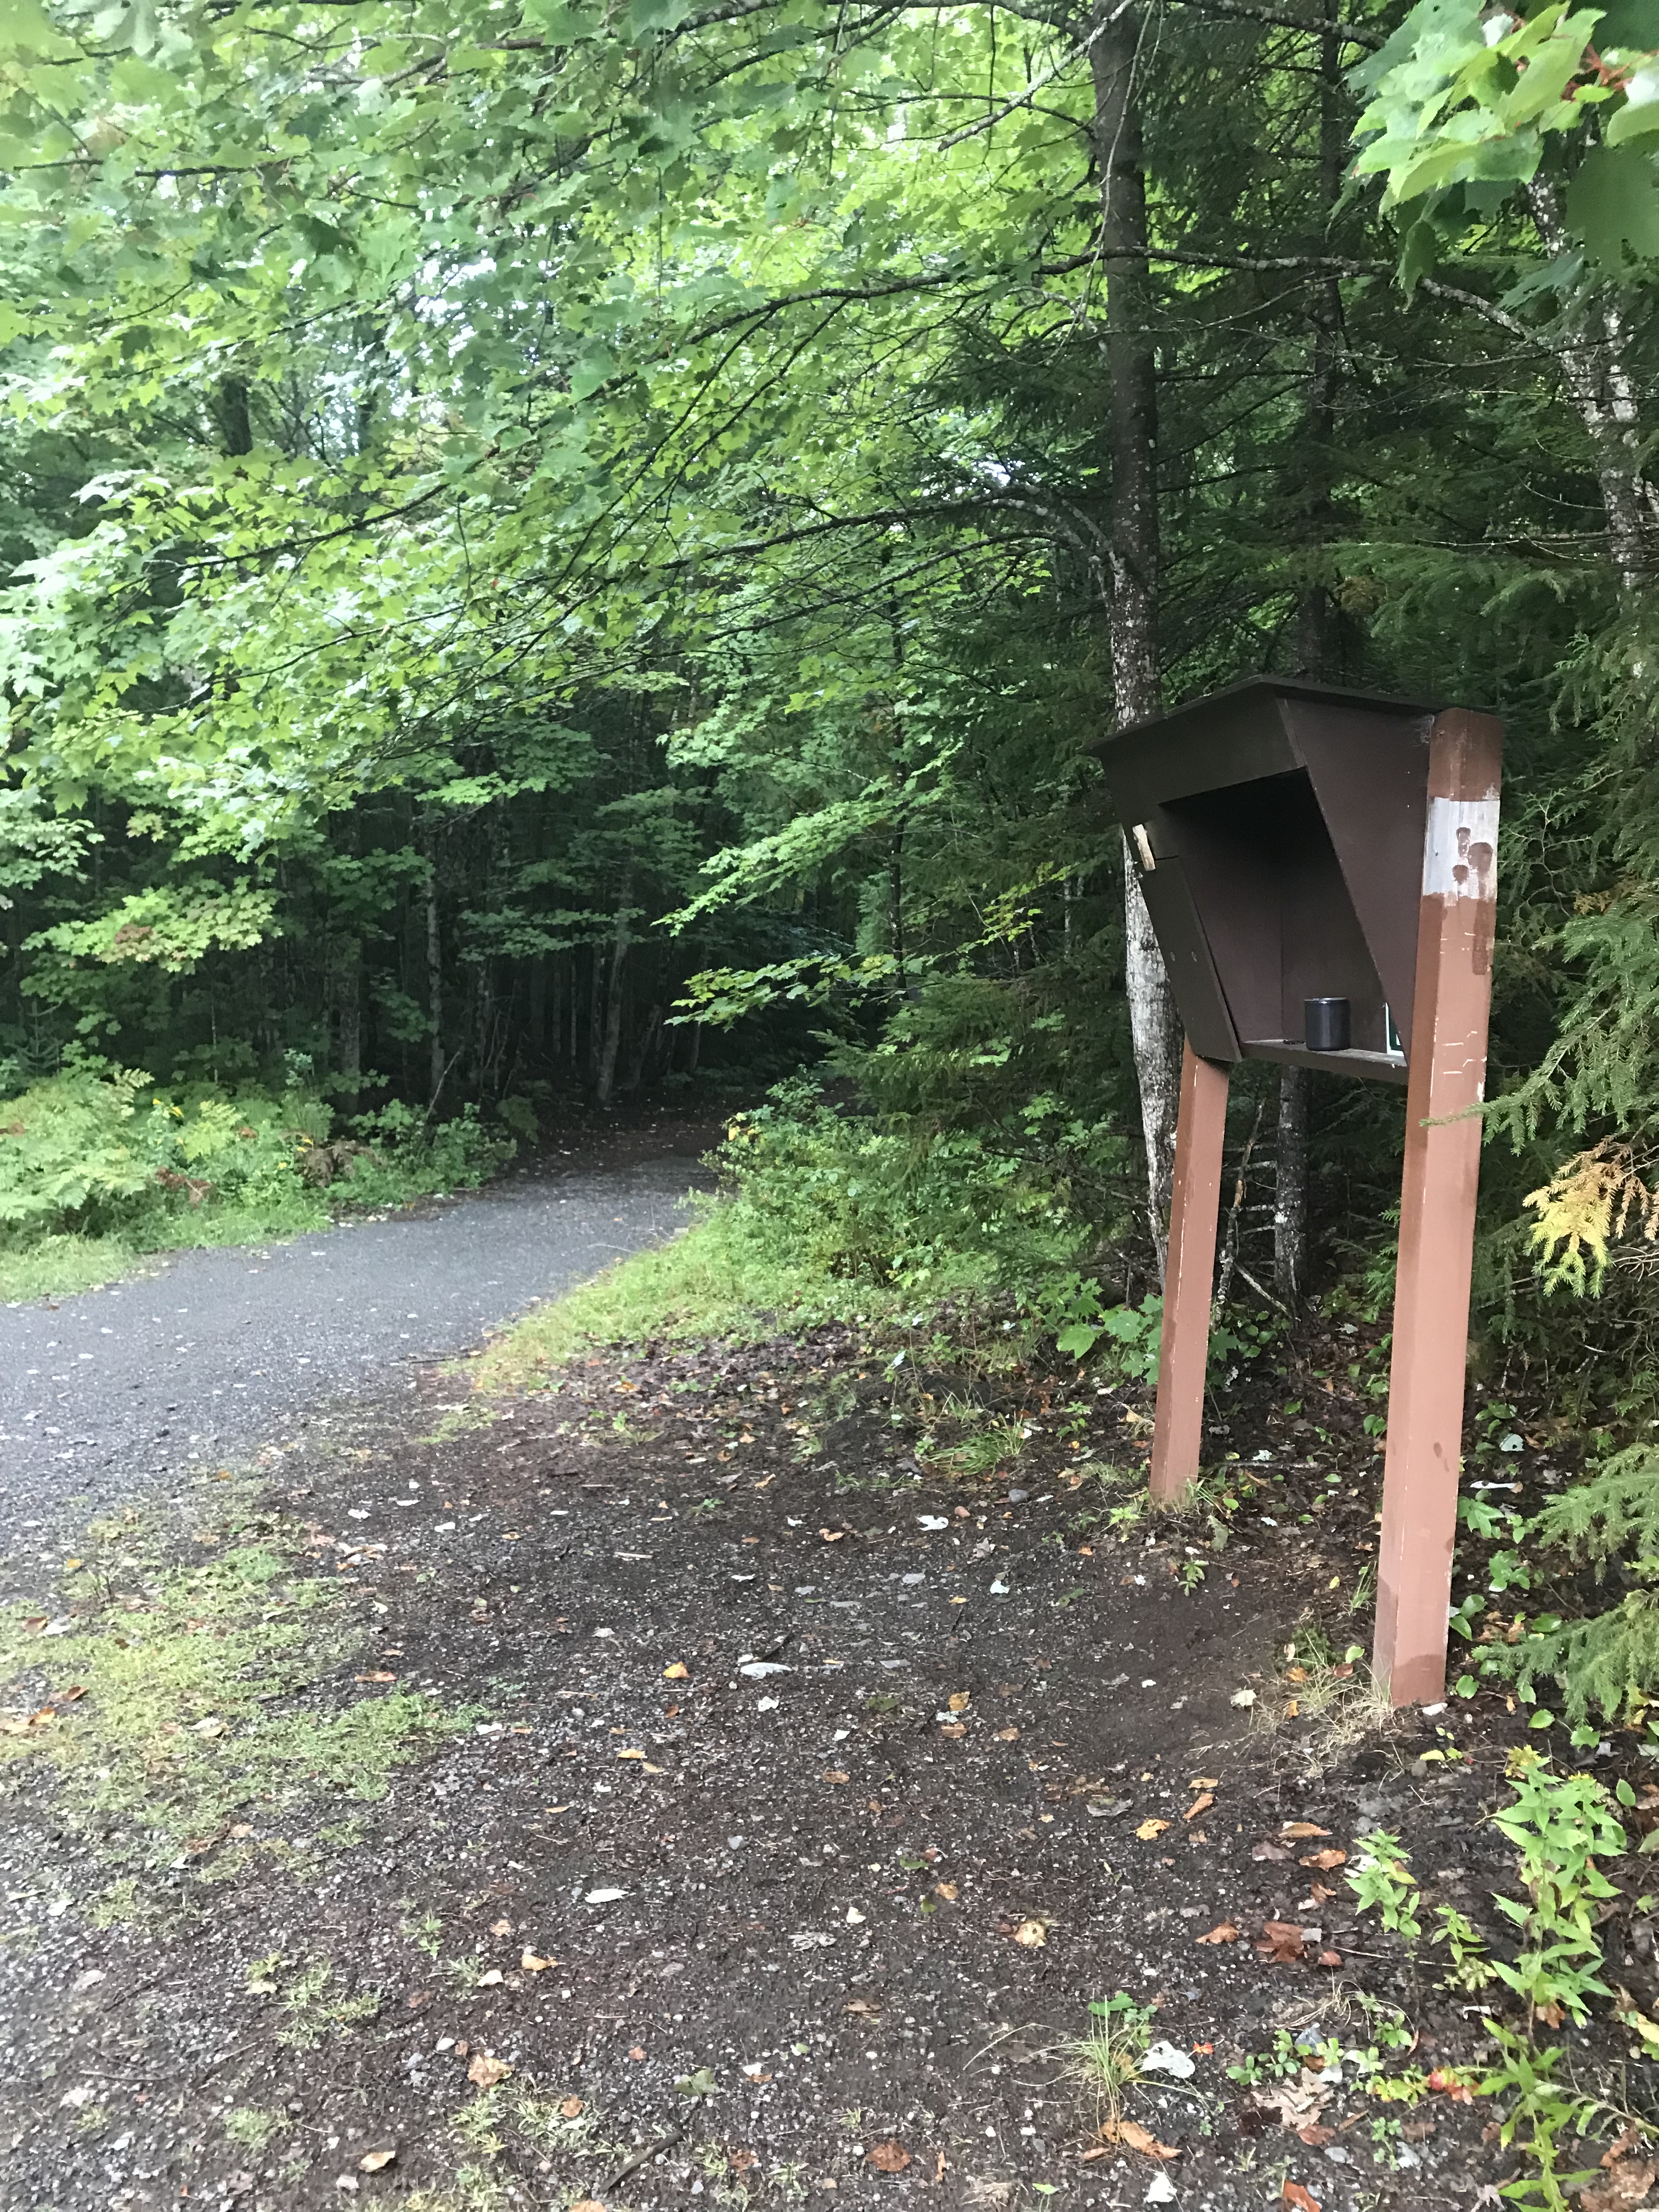
Take I-87N and get off at exit 29 towards Newcomb. If you are heading north, after getting off the exit, take a left on Blue Ridge Road and stay on the road for about 18 miles. You’ll eventually see a sign that is for Tahawus. Take a right here and follow the Tahawus Road for a few miles. You’ll eventually come across a road on your left, and the parking lot for the Santonini Range trailhead will be on your immediate right. Here is a picture of the parking lot below along with the trailhead register. I apologize for the lighting, took a quick shot on my iPhone without looking at it.
Starting the Hike
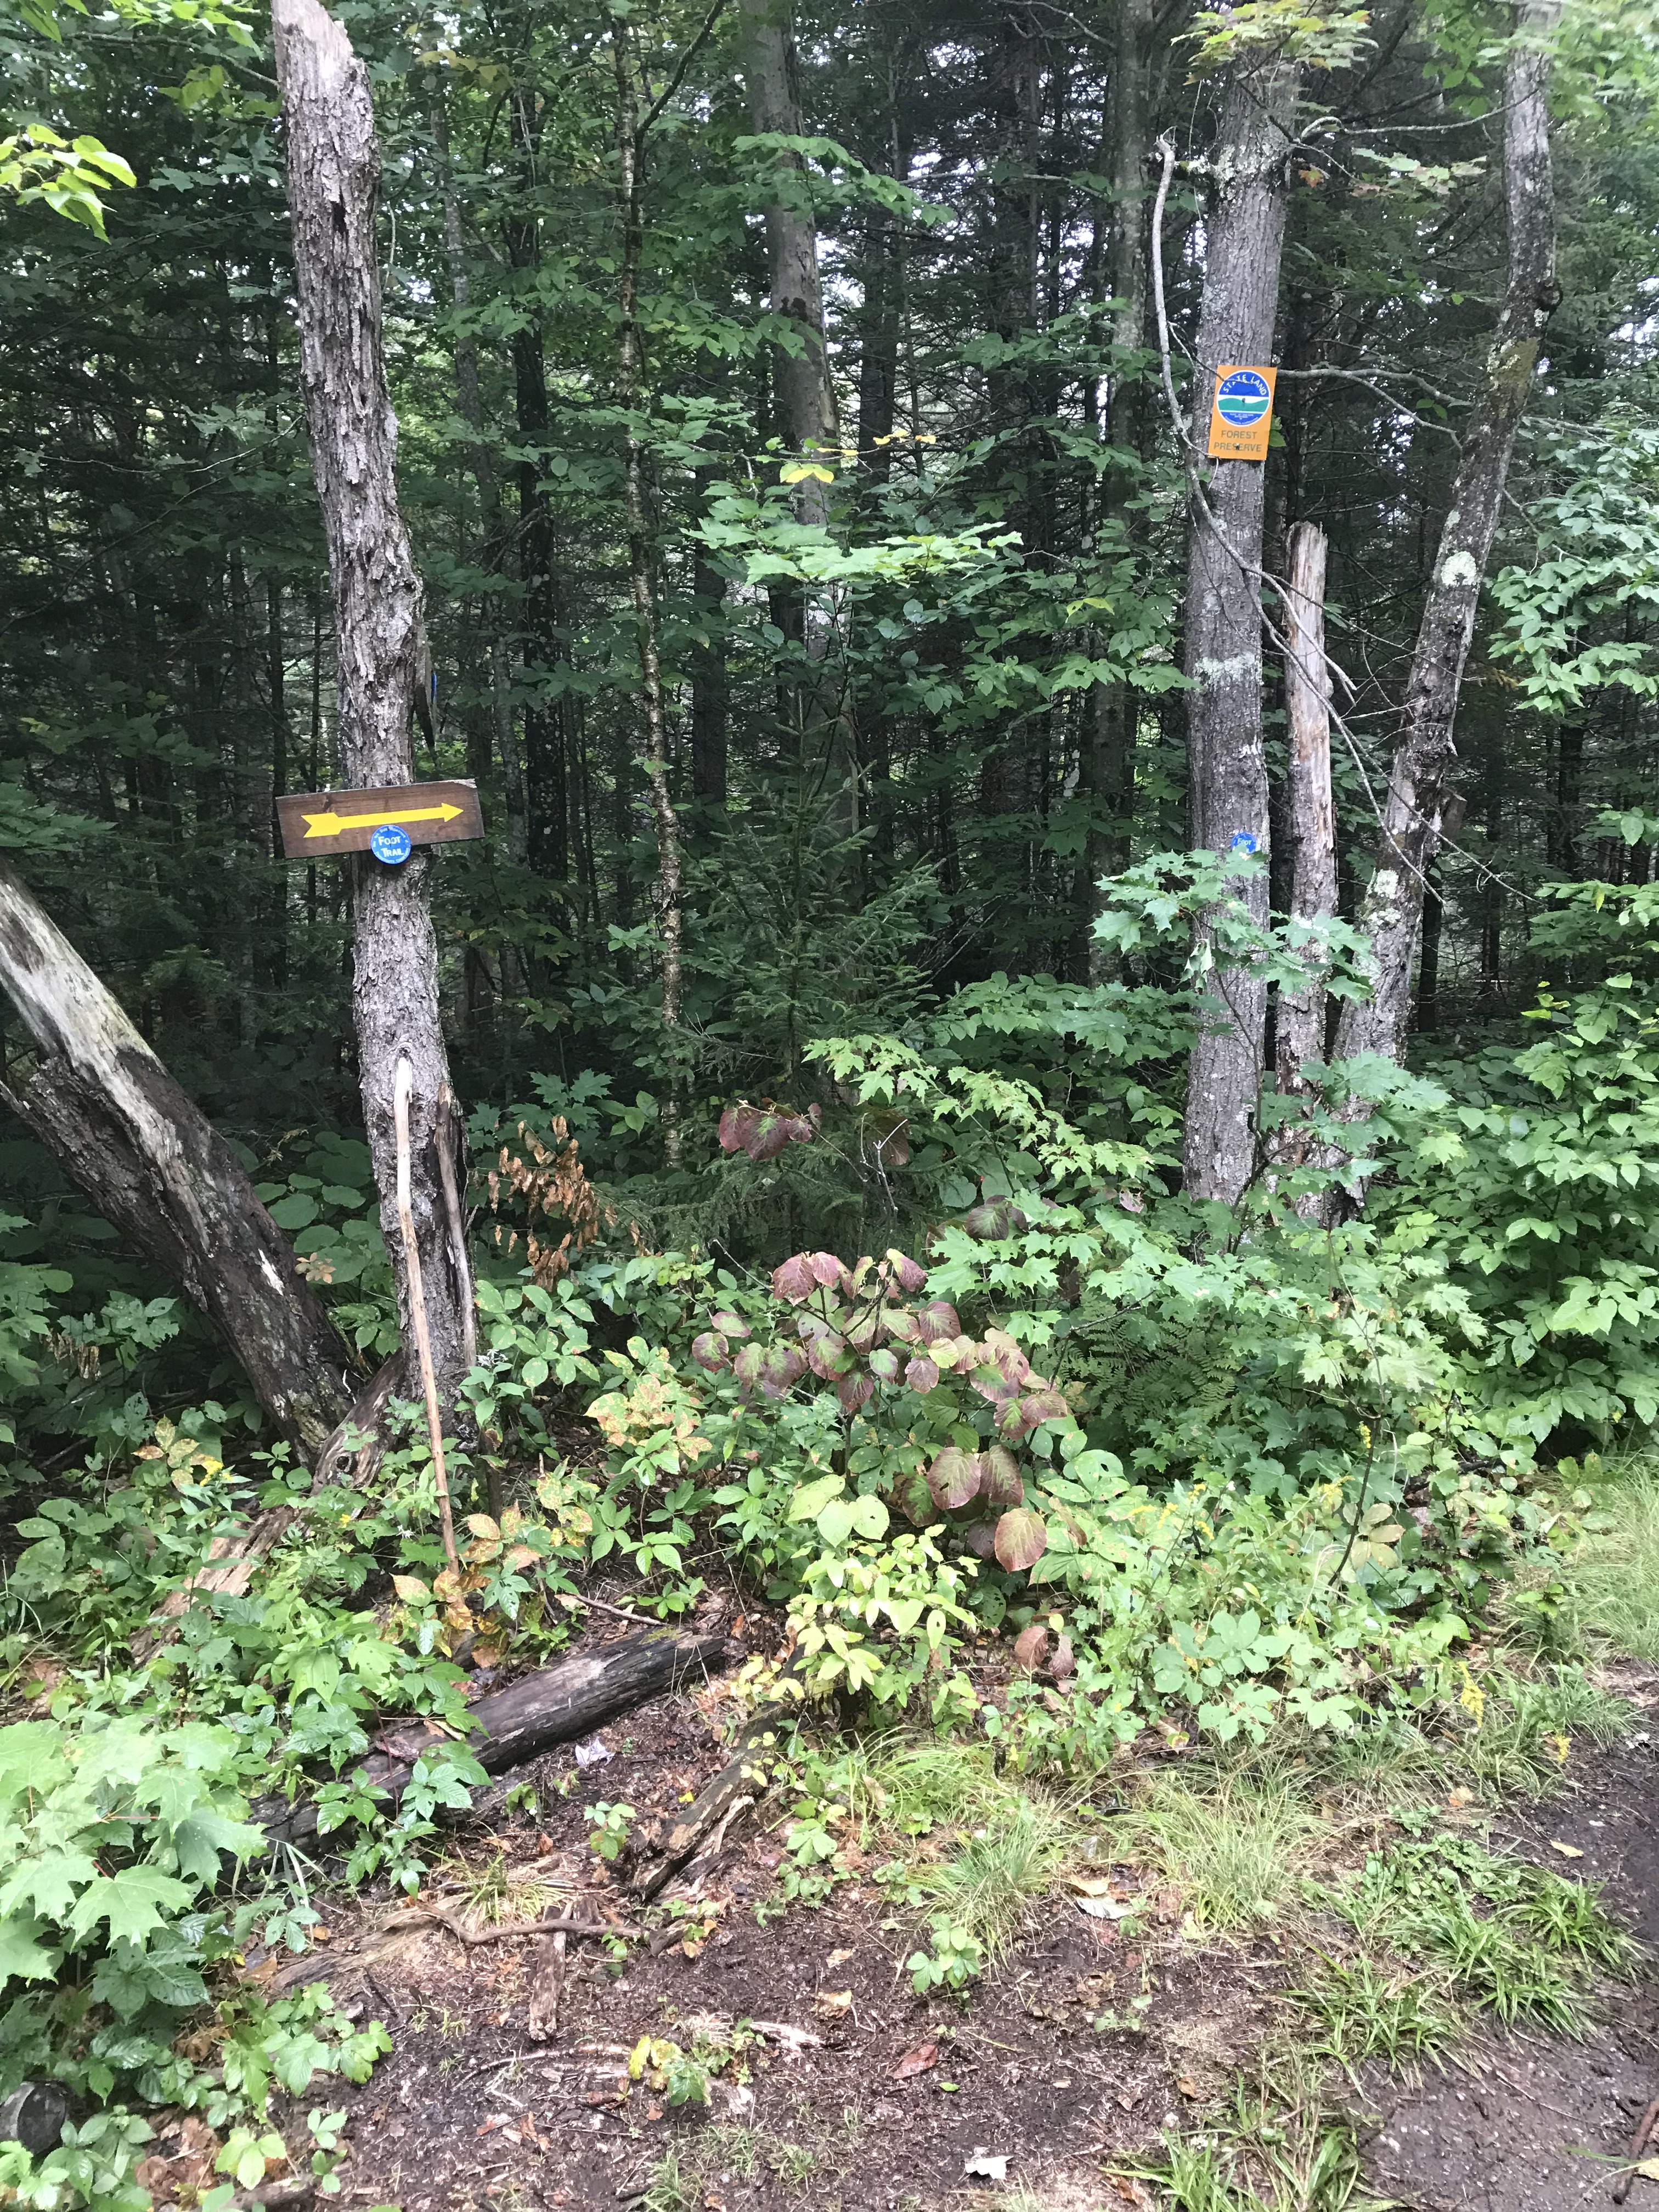
After signing in at the trail register in the photo above, you’re going to follow the non-vehicular gravel road for what it seems to be two miles. It is definitely longer than a mile-and-a-half. As you’re walking it, you’ll eventually reach a pond on your left, with the road blown out in front of you. There is a large metal pipe. You’ll cross this obstacle and continue on the road until you reach a sign with a blue marker. This will be where you depart from the gravel road and head onto the trail in the woods. Below is a photo of the signs you’ll see when it is time to turn for the trail in the woods.
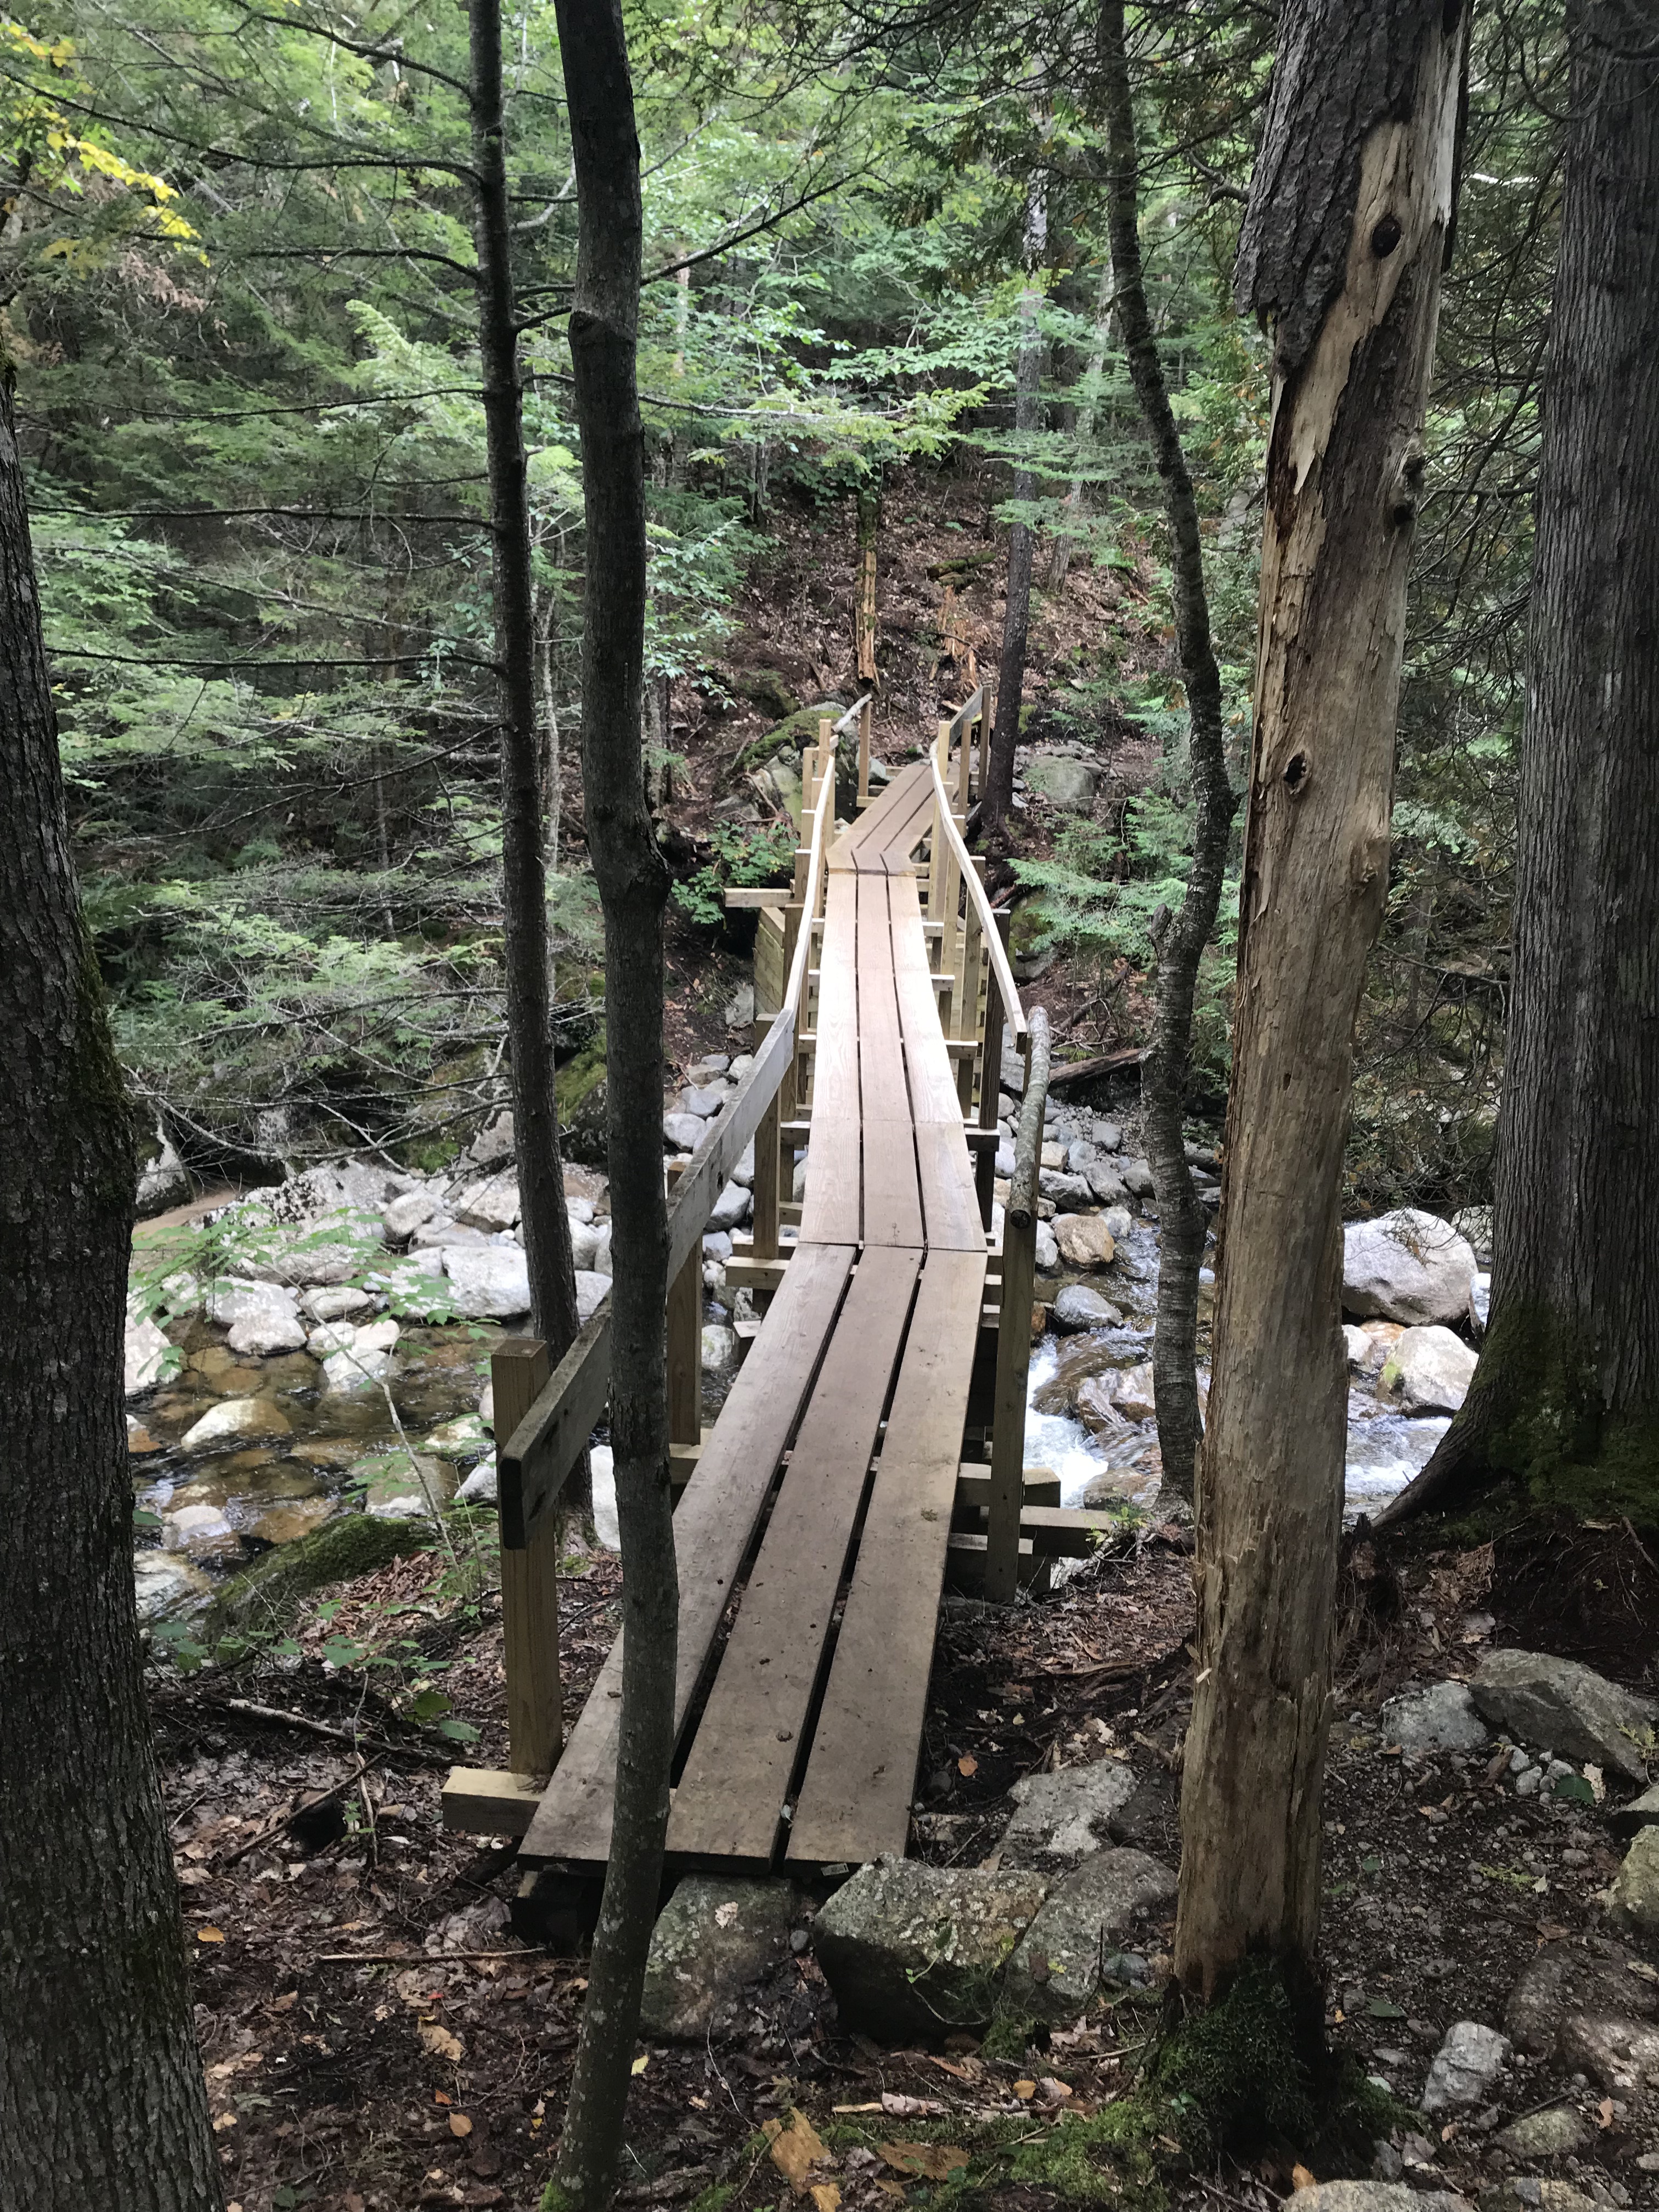
Following the Blue Markers
I know on many websites it is mentioned that the Santonini Range is an unmarked trail, and it is….for the most part. The trail is actually well-marked with blue markers (the same marker under the arrow sign above) until you reach Bradley Pond. There is a classic Adirondack wooden bridge you will cross over a stream. We stopped here to take some videos and pictures.
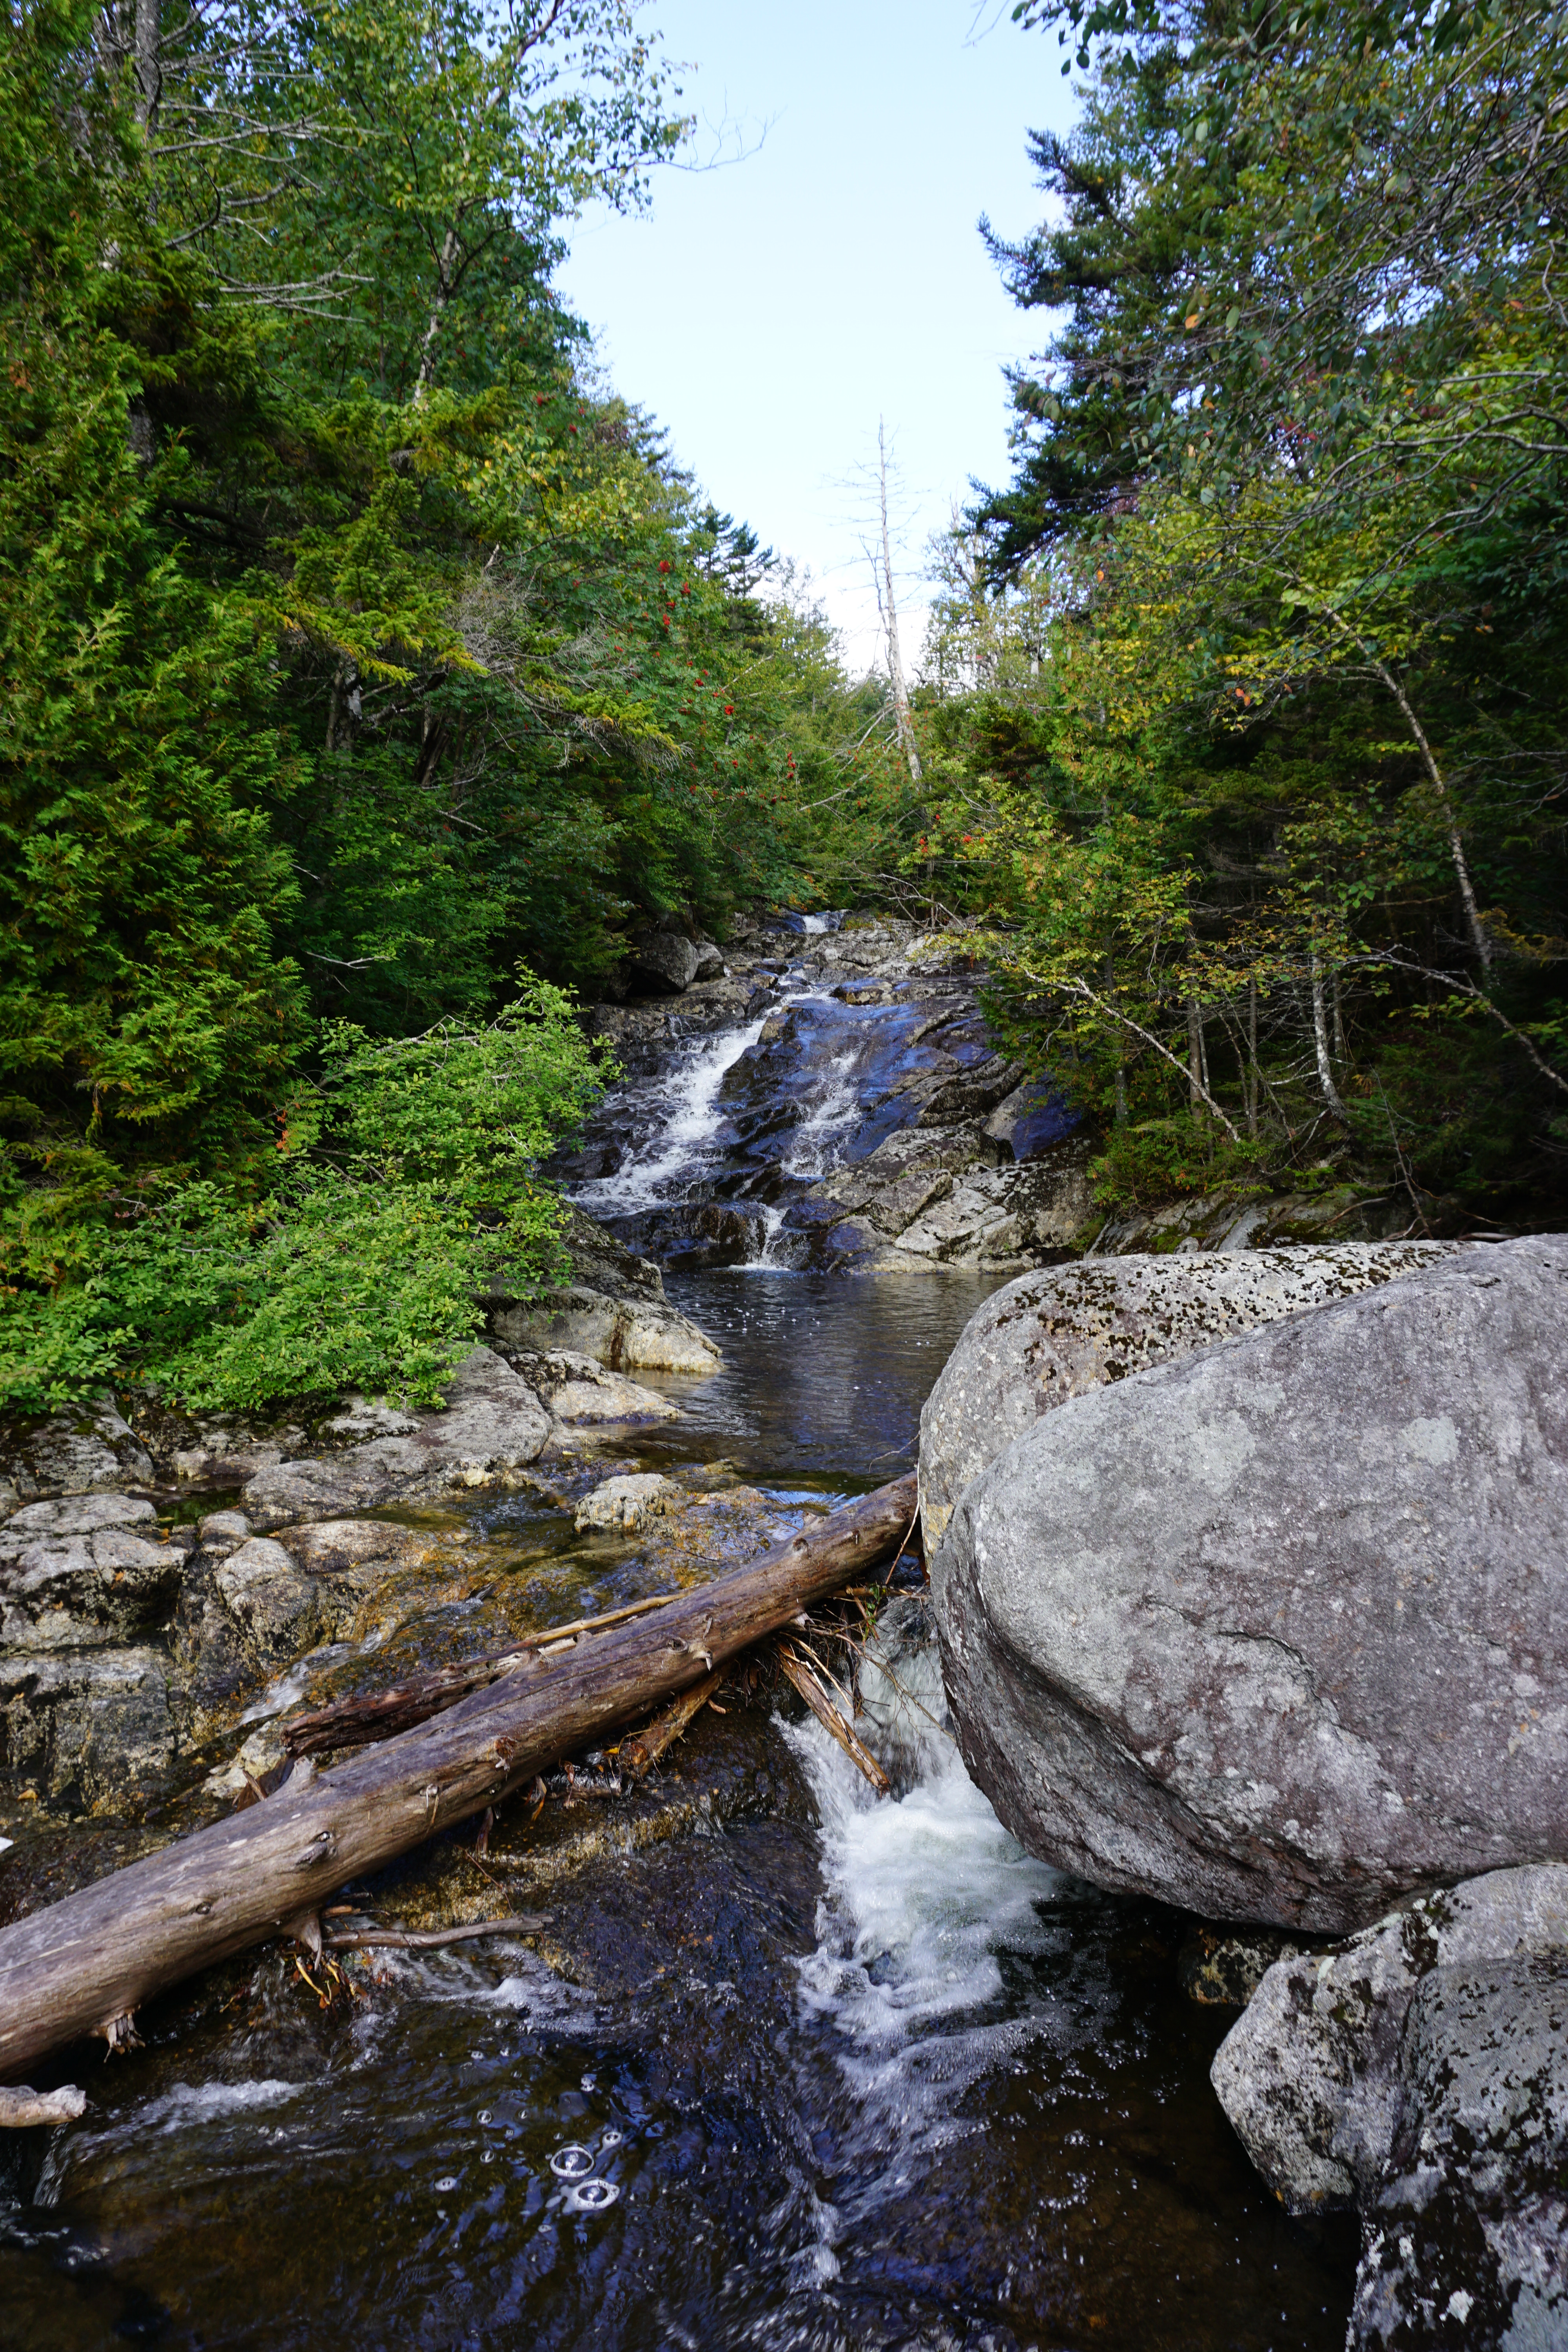
A Lovely, Long Waterfall
As you continue the gradual climb along the trail, you will hear running water along the left-side of the trail. Eventually there will be a couple openings where you can walk out to view water cascading down the rocks. It is a long waterfall and the perfect place to rest, hydrate, and eat. At the bottom of the falling waters is a natural pool that looks quite enticing.
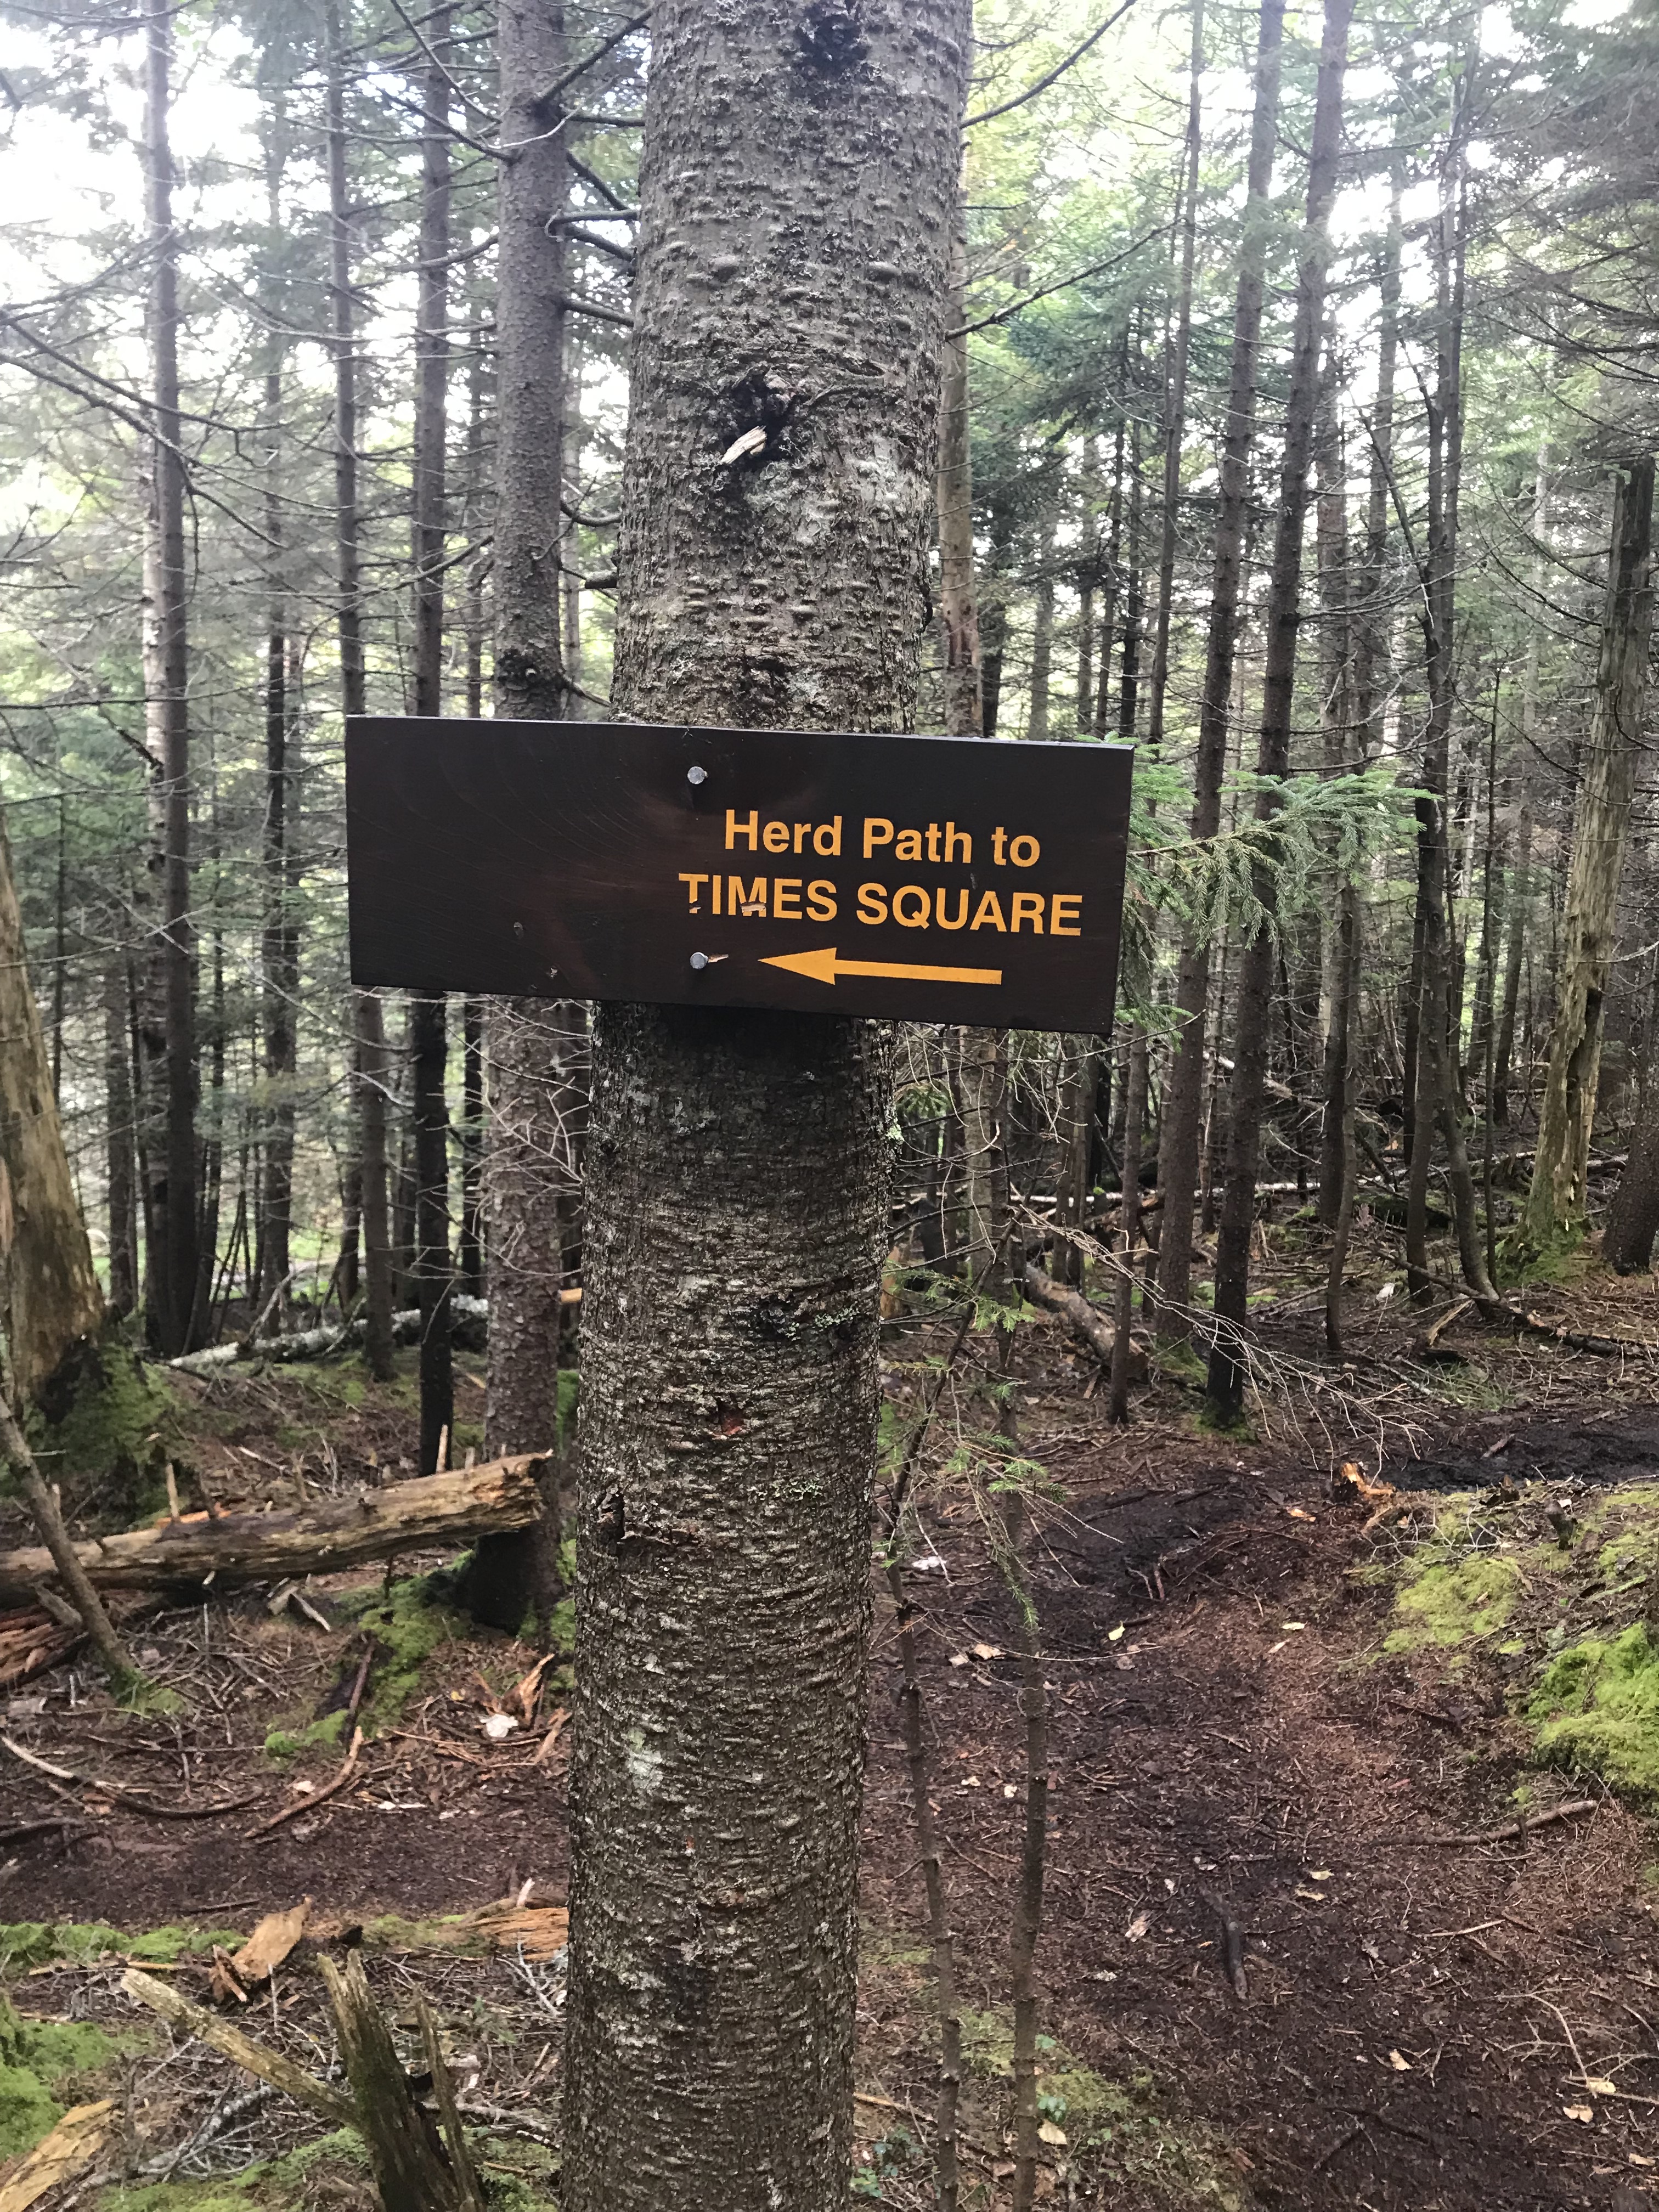
Bradley Pond and Sign to Times Square
After hiking for some time, you’ll see Bradley Pond through the woods. Continue following the trail around it. You’ll never get that close to the pond if you stay on the trail. Eventually you will reach the sign in the photo below. After reaching this sign, the trail does become an unmarked herd path. Despite this, it is pretty well-blazed and easy to follow after other hikers have used it all summer.
If you’d like to camp out (which is definitely a huge help in tagging these three High Peaks), there are campsites near Bradley Pond. We did not do this and only made it to the summit of Panther Peak. Obviously, the choice to camp out is yours to make.
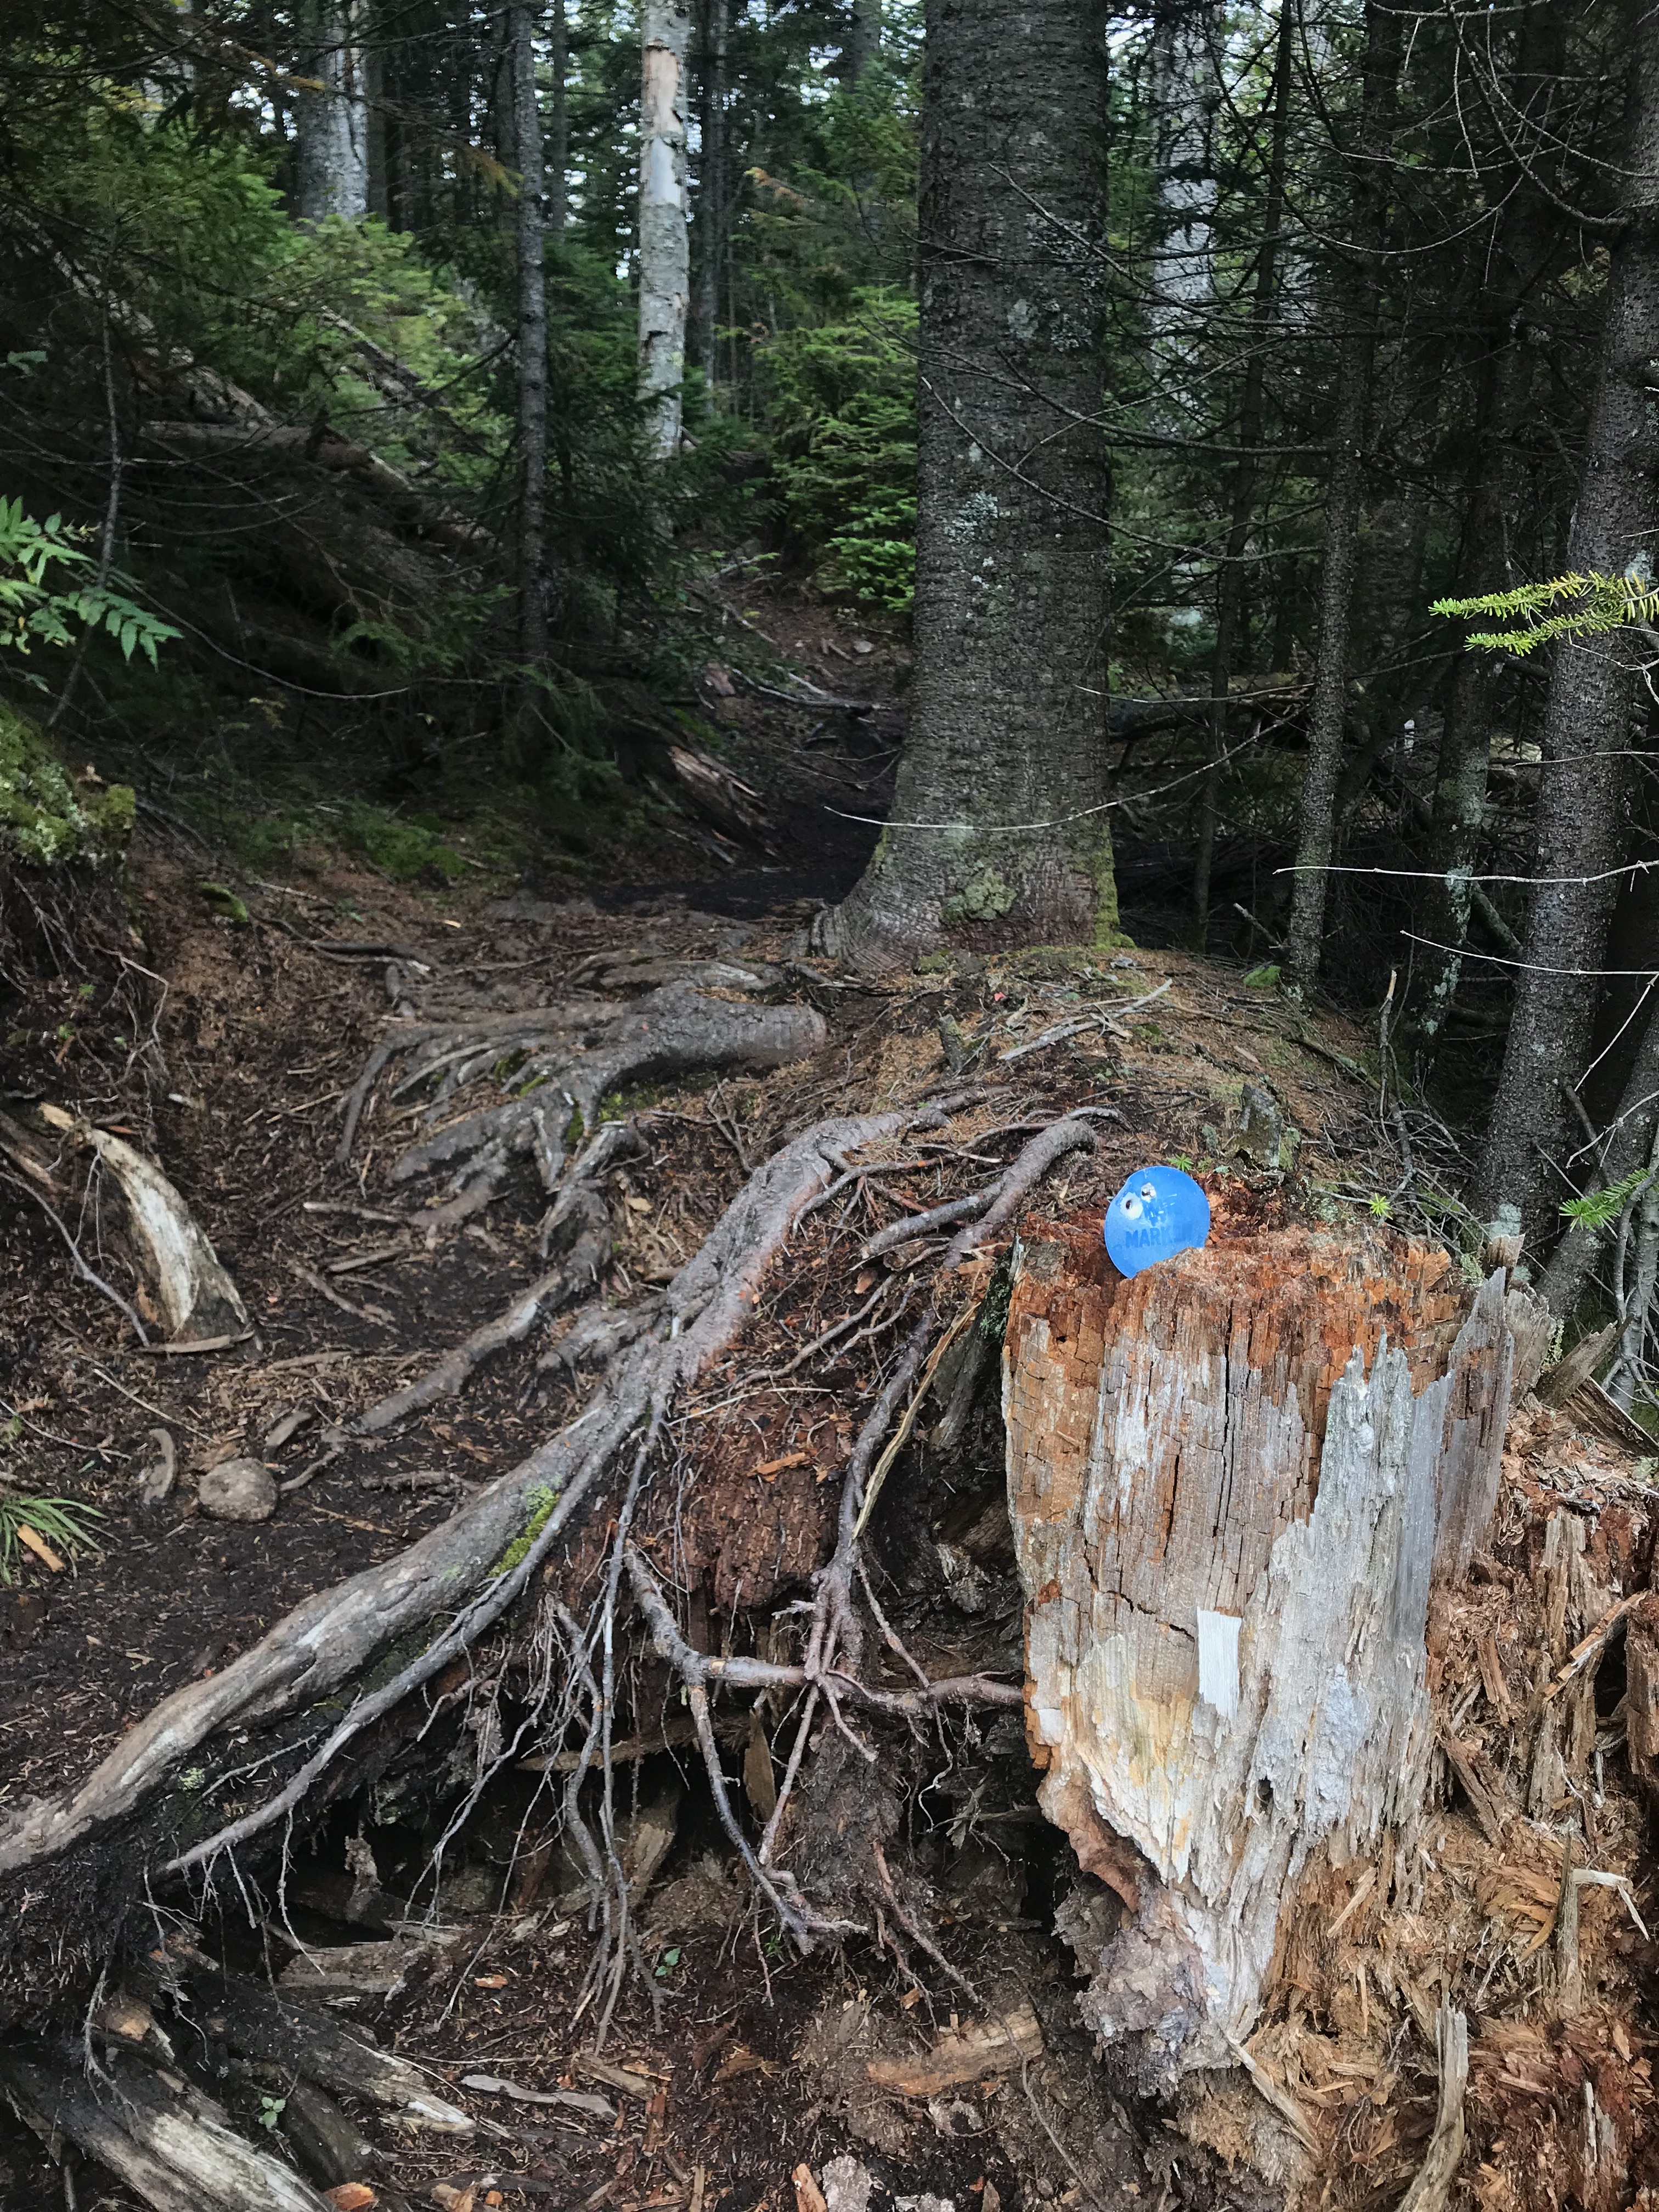
Crossing the Bog and Following the Unmarked Herd Path
There is really no way to avoid the bog. You have to cross it, and there is an ideal spot to cross! Look across the bog and you should see a stump that has a blue marker stuck into it. Around that area is where you’ll want to cross. A picture of the stump and blue marker can be seen below.
Keep Pushing, Following the Trail Along Panther Brook
The hike from here gets pretty tough. It steepens, gets more muddy, and does not let up. Take water breaks if needed, and more importantly, watch your footing. You’re deep in the Adirondacks at this point and twisting an ankle would not be ideal.
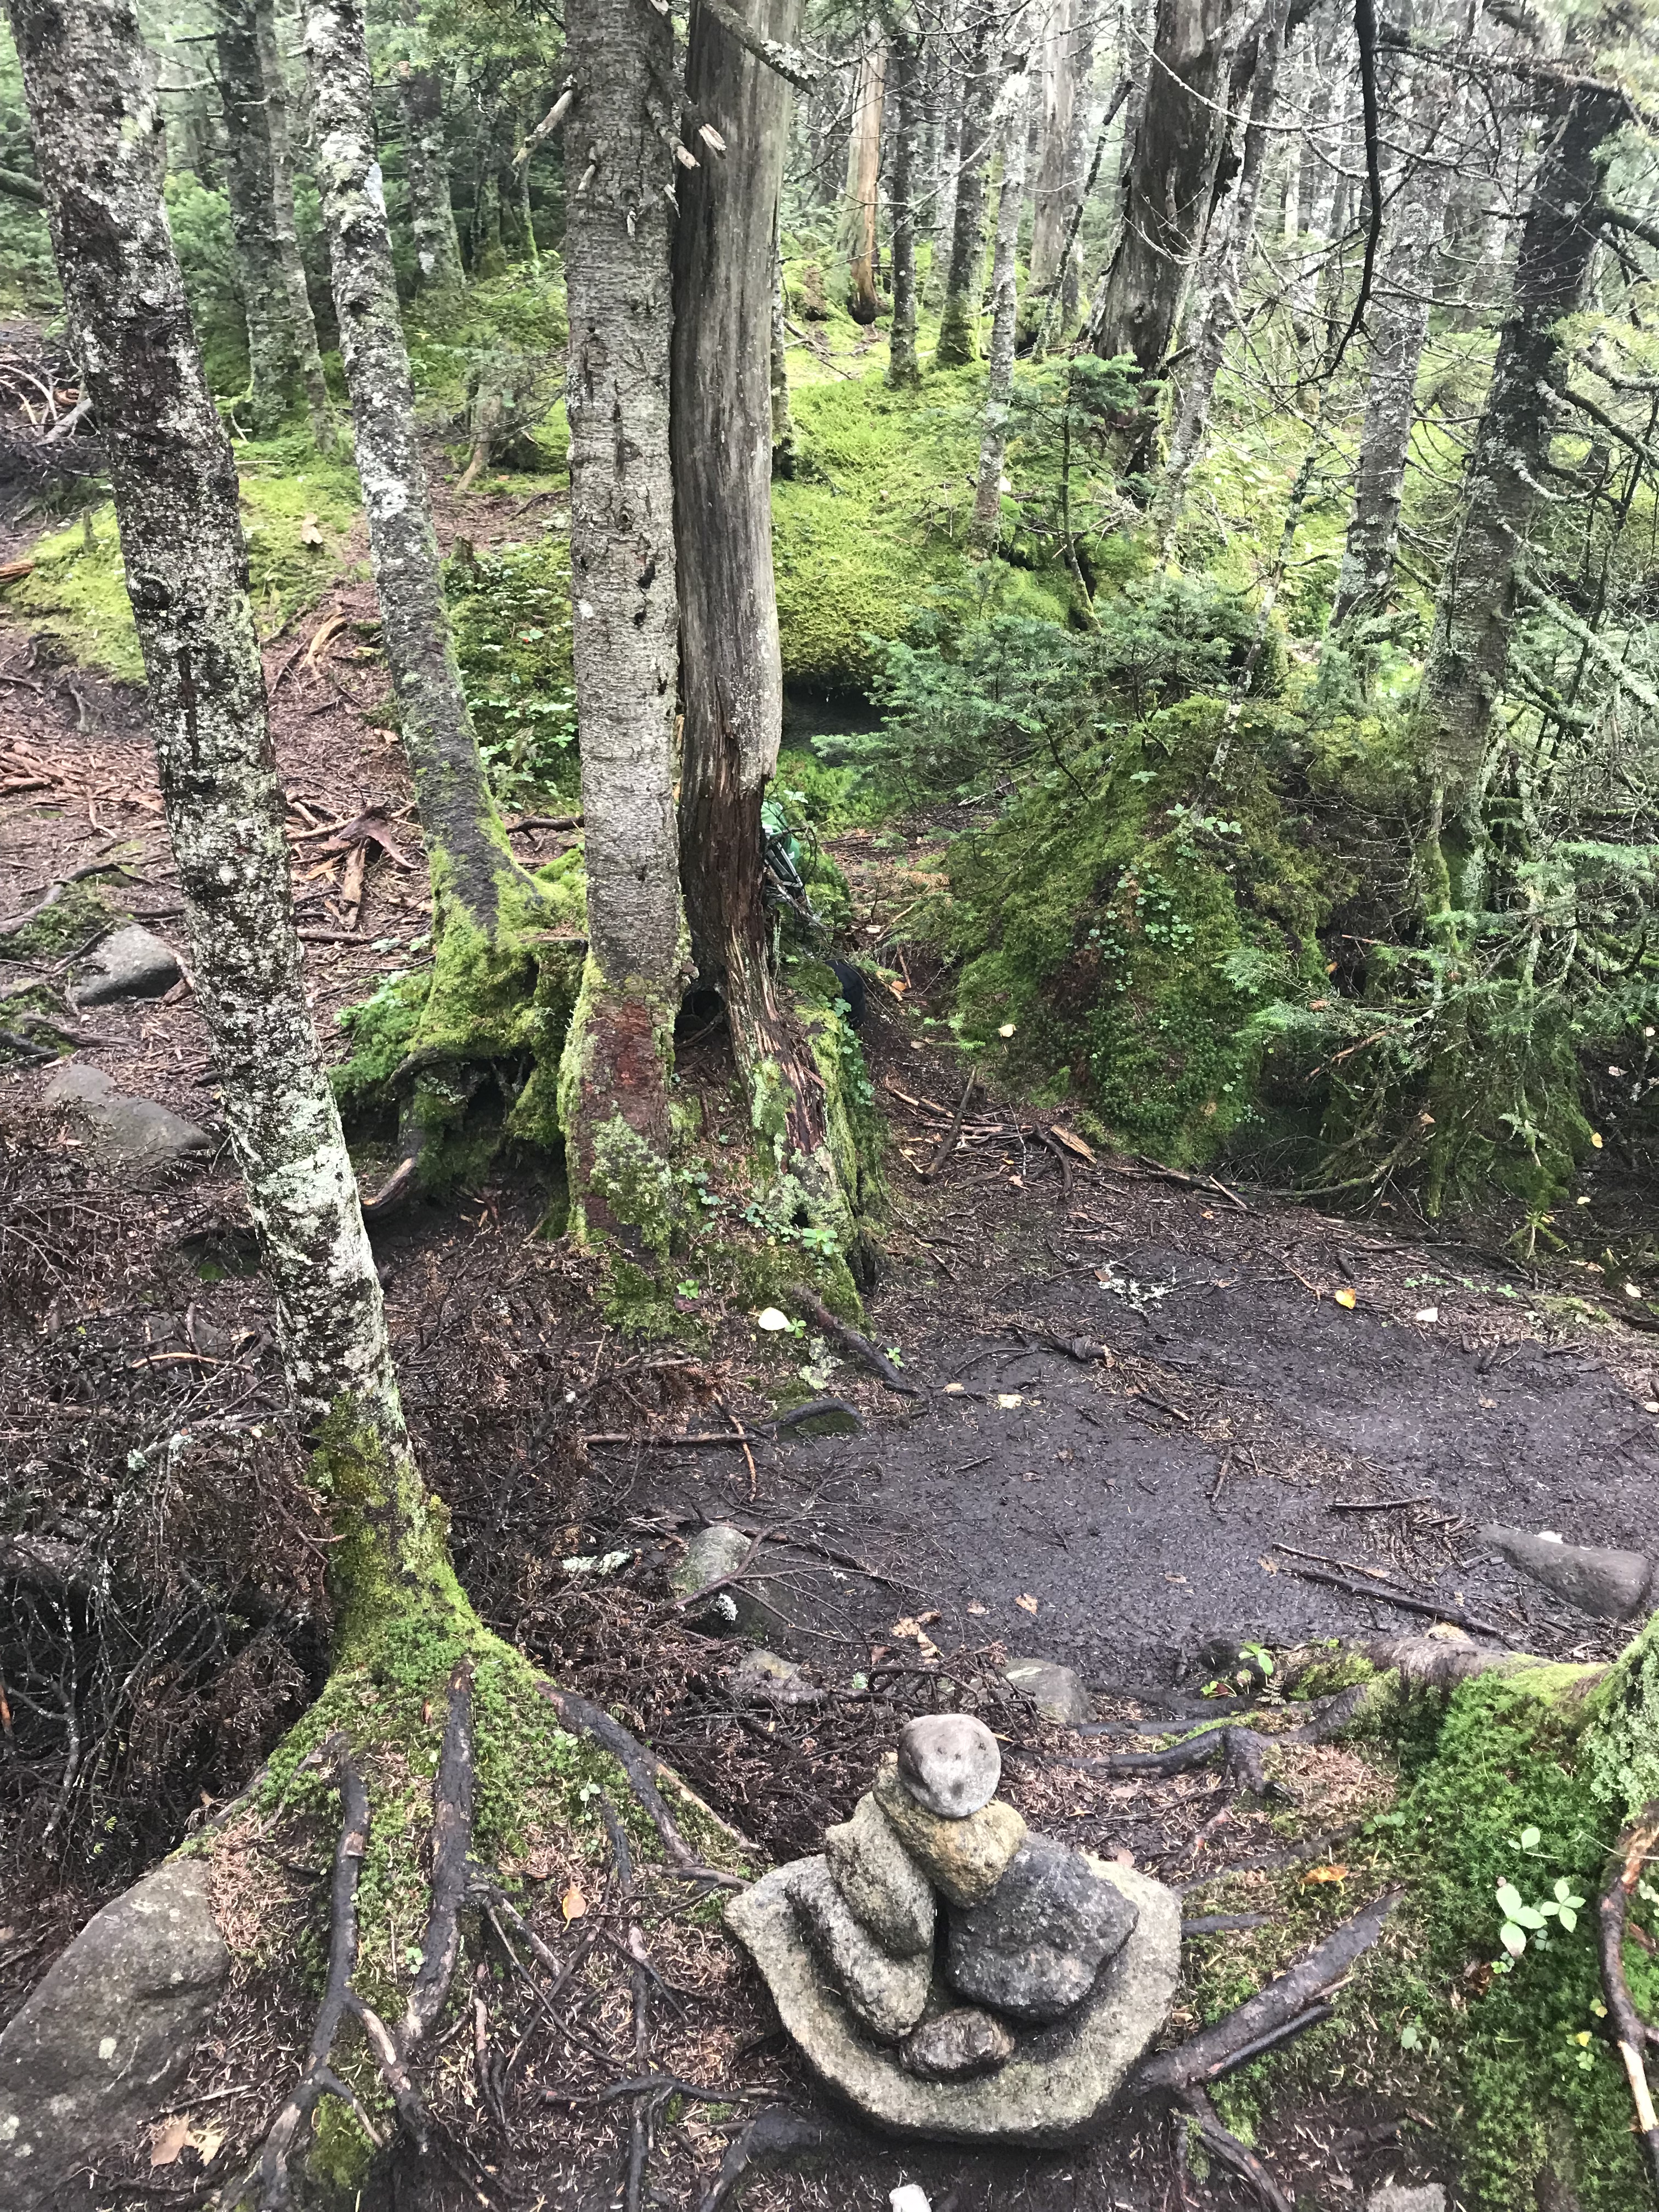
Eventually you’ll end up hiking up, on, and along Panther Brook. There are a lot of tree roots and wet rocks here so take caution. Around this point your legs might be pretty tired. It will seem like forever, and I don’t remember the exact mileage, but you’ll hit a junction (in the image below). At this junction you’ll see carvings in the trees. The “P” with the arrow pointing to the right (you’ll see it in the photo) will take you to Panther Peak. The “C” and “S” will take you in the direction of Couchsachraga and Santonini. We took a right for Panther Peak.
Panther Peak Summit
After taking a right, it is about .4 miles to Panther’s summit. It gets excessively muddy along this short section of the hike, and the mud is quite deep. I didn’t use my gaiters, but they would have probably been helpful. Just before the summit, you’ll reach an open rock face with the only real views you get on Panther. The actual summit is wooded. Unfortunately for us, it was so overcast that you could not see anything. Therefore, I have no photos what the view would have been.
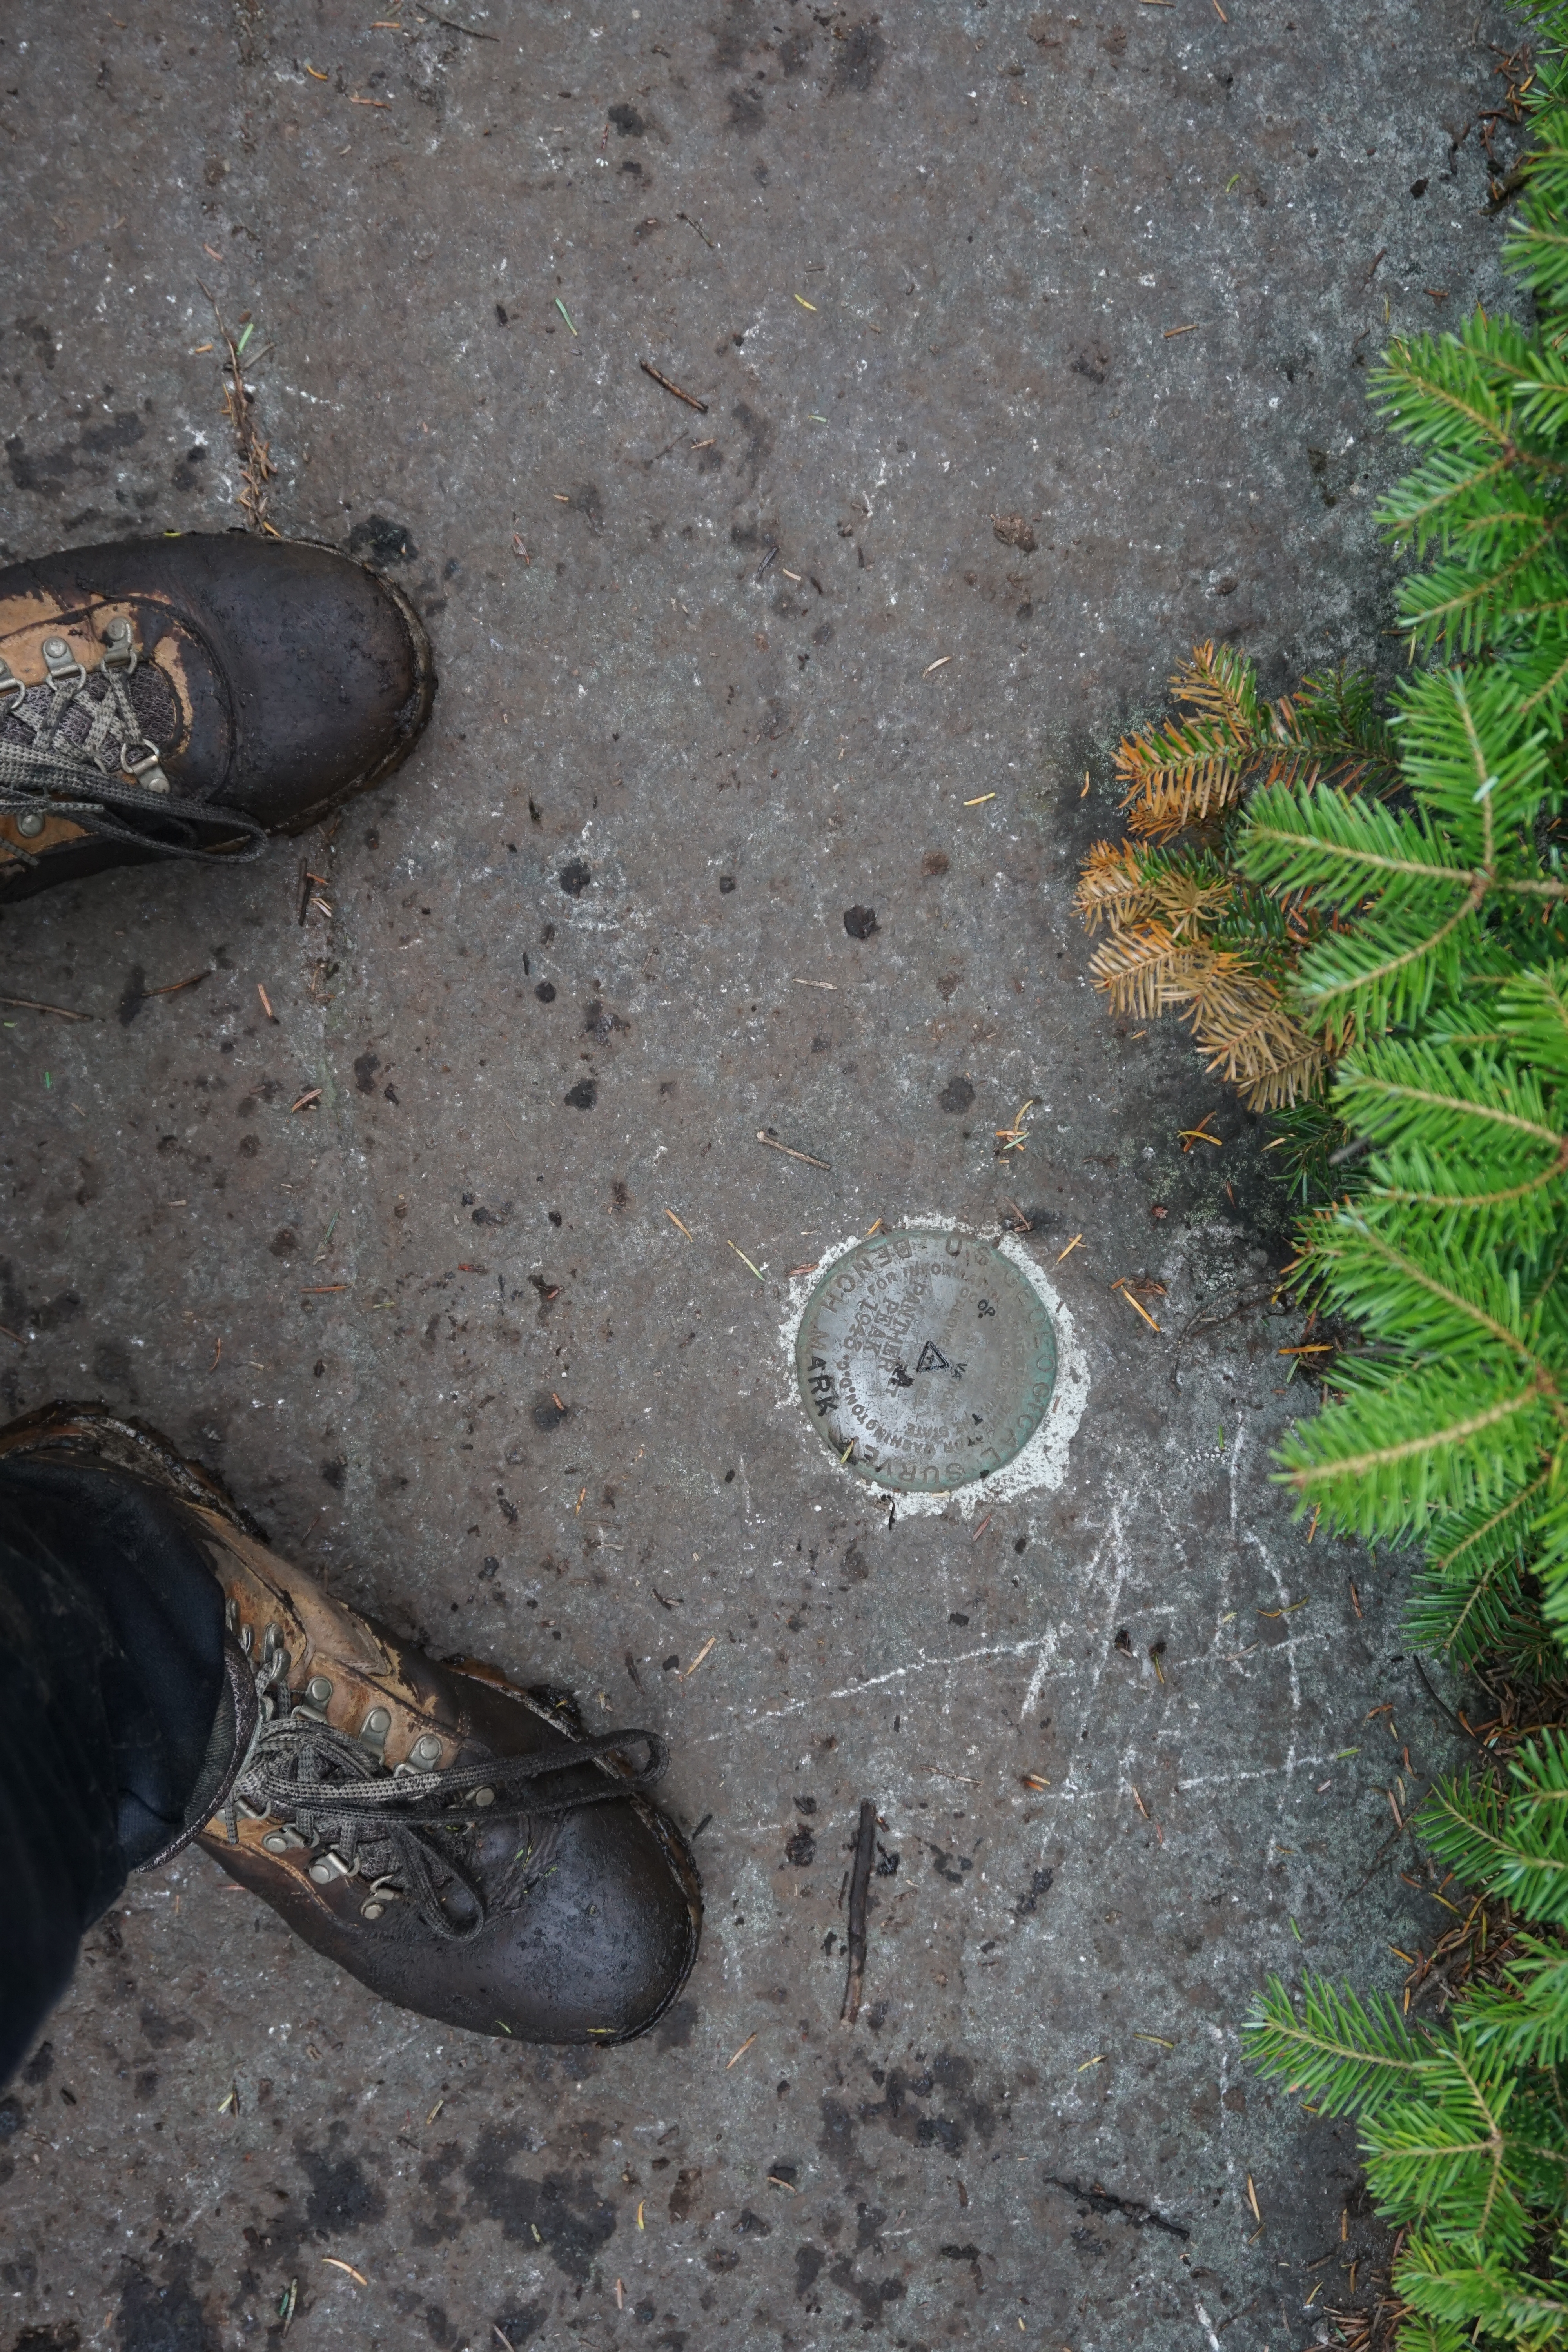
You’ll know when you hit the summit because there is a wooden sign with “Panther Peak” on it as well as a summit marker. You can see photos of both below.

Getting Back to the Trailhead
From Panther, head back to where the trail split where the trees had the letters carved into them. Once you get here, it’s just following your footsteps down the same way you climbed up. This has already been mentioned, but since this part of the hike is unmarked, just keep your eyes open and make sure you stay on the herd path.
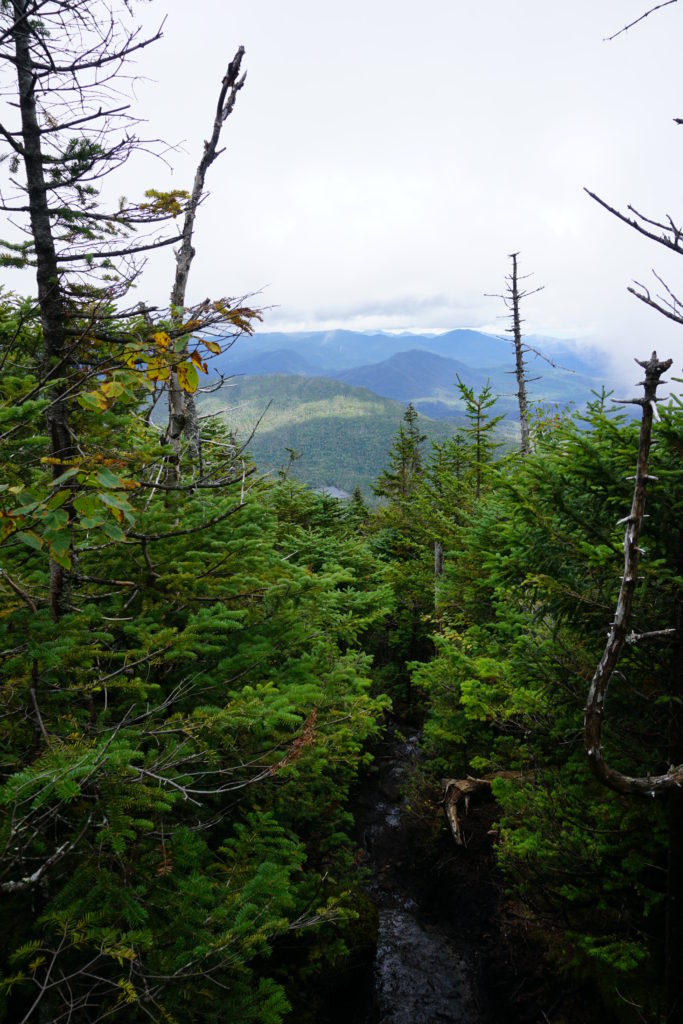
On the way down the clouds dissipated and we were rewarded with the view below.

Dog-Friendly
Panther Peak is dog friendly. I saw a couple scruffy companions while I was out in this neck of the woods. Just beware the length of this hike. If your dog isn’t fit or you’re questioning its capabilities, I don’t suggest bringing them along on this hike. If you do, there is a lot of running water along the trail for water if needed and bring enough food for them for this strenuous hike.
Fam-Friendly
This hike is NOT family-friendly. It is one of the more difficult hikes I have done in the Adirondack High Peaks due to its length, ascent, and terrain. Panther Peak is also not a rewarding High Peak as it offers very little views for the amount of sweat equity put into the hike. If your goal is to become an Adirondack 46er, or you just like difficult hikes, this one is for you.
Clothes Worn
- Timberland Boots
- Nike Compression Leggings
- Athletic shorts
- Adidas Joggers
- Athletic T-shirt
- Athletic Long Sleeve Pullover
- Patagonia Hat
- Hiking socks
Gear Brought
- 3L of water
- Almonds and peanut butter sandwiches
- Extra hiking socks
- Extra shirt and shorts
- Gaiters
- Wind Pants
- Emergency tents and blankets
- Bug Spray
- Knife
- Paracord and two carabiners
- Water-proof matches
- LifeStraw (water filtration, costs about $20)
- Trekking poles
- First-Aid Kit
- Garmin inReach (satellite device that has a GPS, can send texts, send SOS, and has many other helpful features)
RTW Note
Thanks for checking out this post about Panther Peak! I hope that those looking to hike this difficult Adirondack High Peak found the information and pictures helpful! I’m not trying to deter anyone from hiking this mountain. I just wanted to emphasize that it is a hike not for the faint of heart, and it is a very remote mountain. On a Sunday I didn’t see many people attempting this peak which is rare around this time in the Adirondacks.
If you do want to attempt Panther Peak, just make sure you are carrying all the essentials and know what you are getting yourself into! If you enjoyed this post, hit the like and show some support by hitting the follow button! Leave a comment as well if you have any questions or input! Thank you for the continued support and interest, I appreciate it!
-Ant