Sawteeth Mountain Via The Scenic Route
What’s happening Road Trip Warriors!? On Sunday 10/21/2018, we hiked to the summit of Sawteeth Mountain in the Adirondacks. It was a cold one and it ended up being pretty snowy and windy! Fortunately, we were well-prepared for the adverse weather! The snow was beautiful and the views of Lower Ausable Lake from the outlooks along the trail were mesmerizing. See below for everything you need to know about this Adirondack High Peak hike!
Short Summary of Sawteeth Mountain
- Difficulty: Strenuous
- Length: Roughly 13.1 Miles
- Outlooks: There are six outlooks along the scenic route offering beautiful vantage points of Lower Ausable Lake
- Sawteeth Summit (4,110′): The summit is wooded, but still offers a great view of Gothics in the near distance
- Rainbow Falls: Near 150 foot waterfall
Lake Road
Once parked in the Ausable parking lot, walk the half-mile up to the Ausable Club and take a left in-between the two tennis courts. You will sign in and walk past the wooden AMR gate. For this hike, you will walk the whole length of the road which is roughly 4 miles. Make the most of the trek up the road. It can seem long, but find a way to enjoy it by sharing stories, taking pictures, etc. I was able to get some great photos while on the road. (Note: this photo was taken at the end of the hike, heading back to the parking lot)
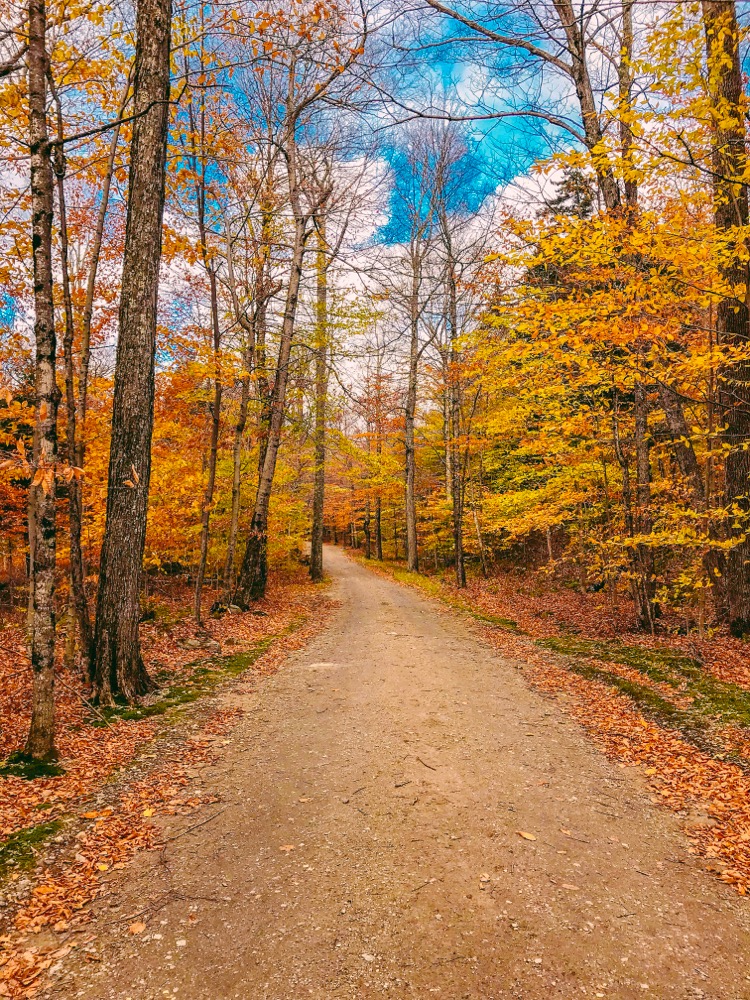
End Of Lake Road and Sawteeth mountain Trailhead
Once you hit the end of Lake Road, you’ll head towards the gravel/dirt road on your right that descends towards a long wooden bridge.
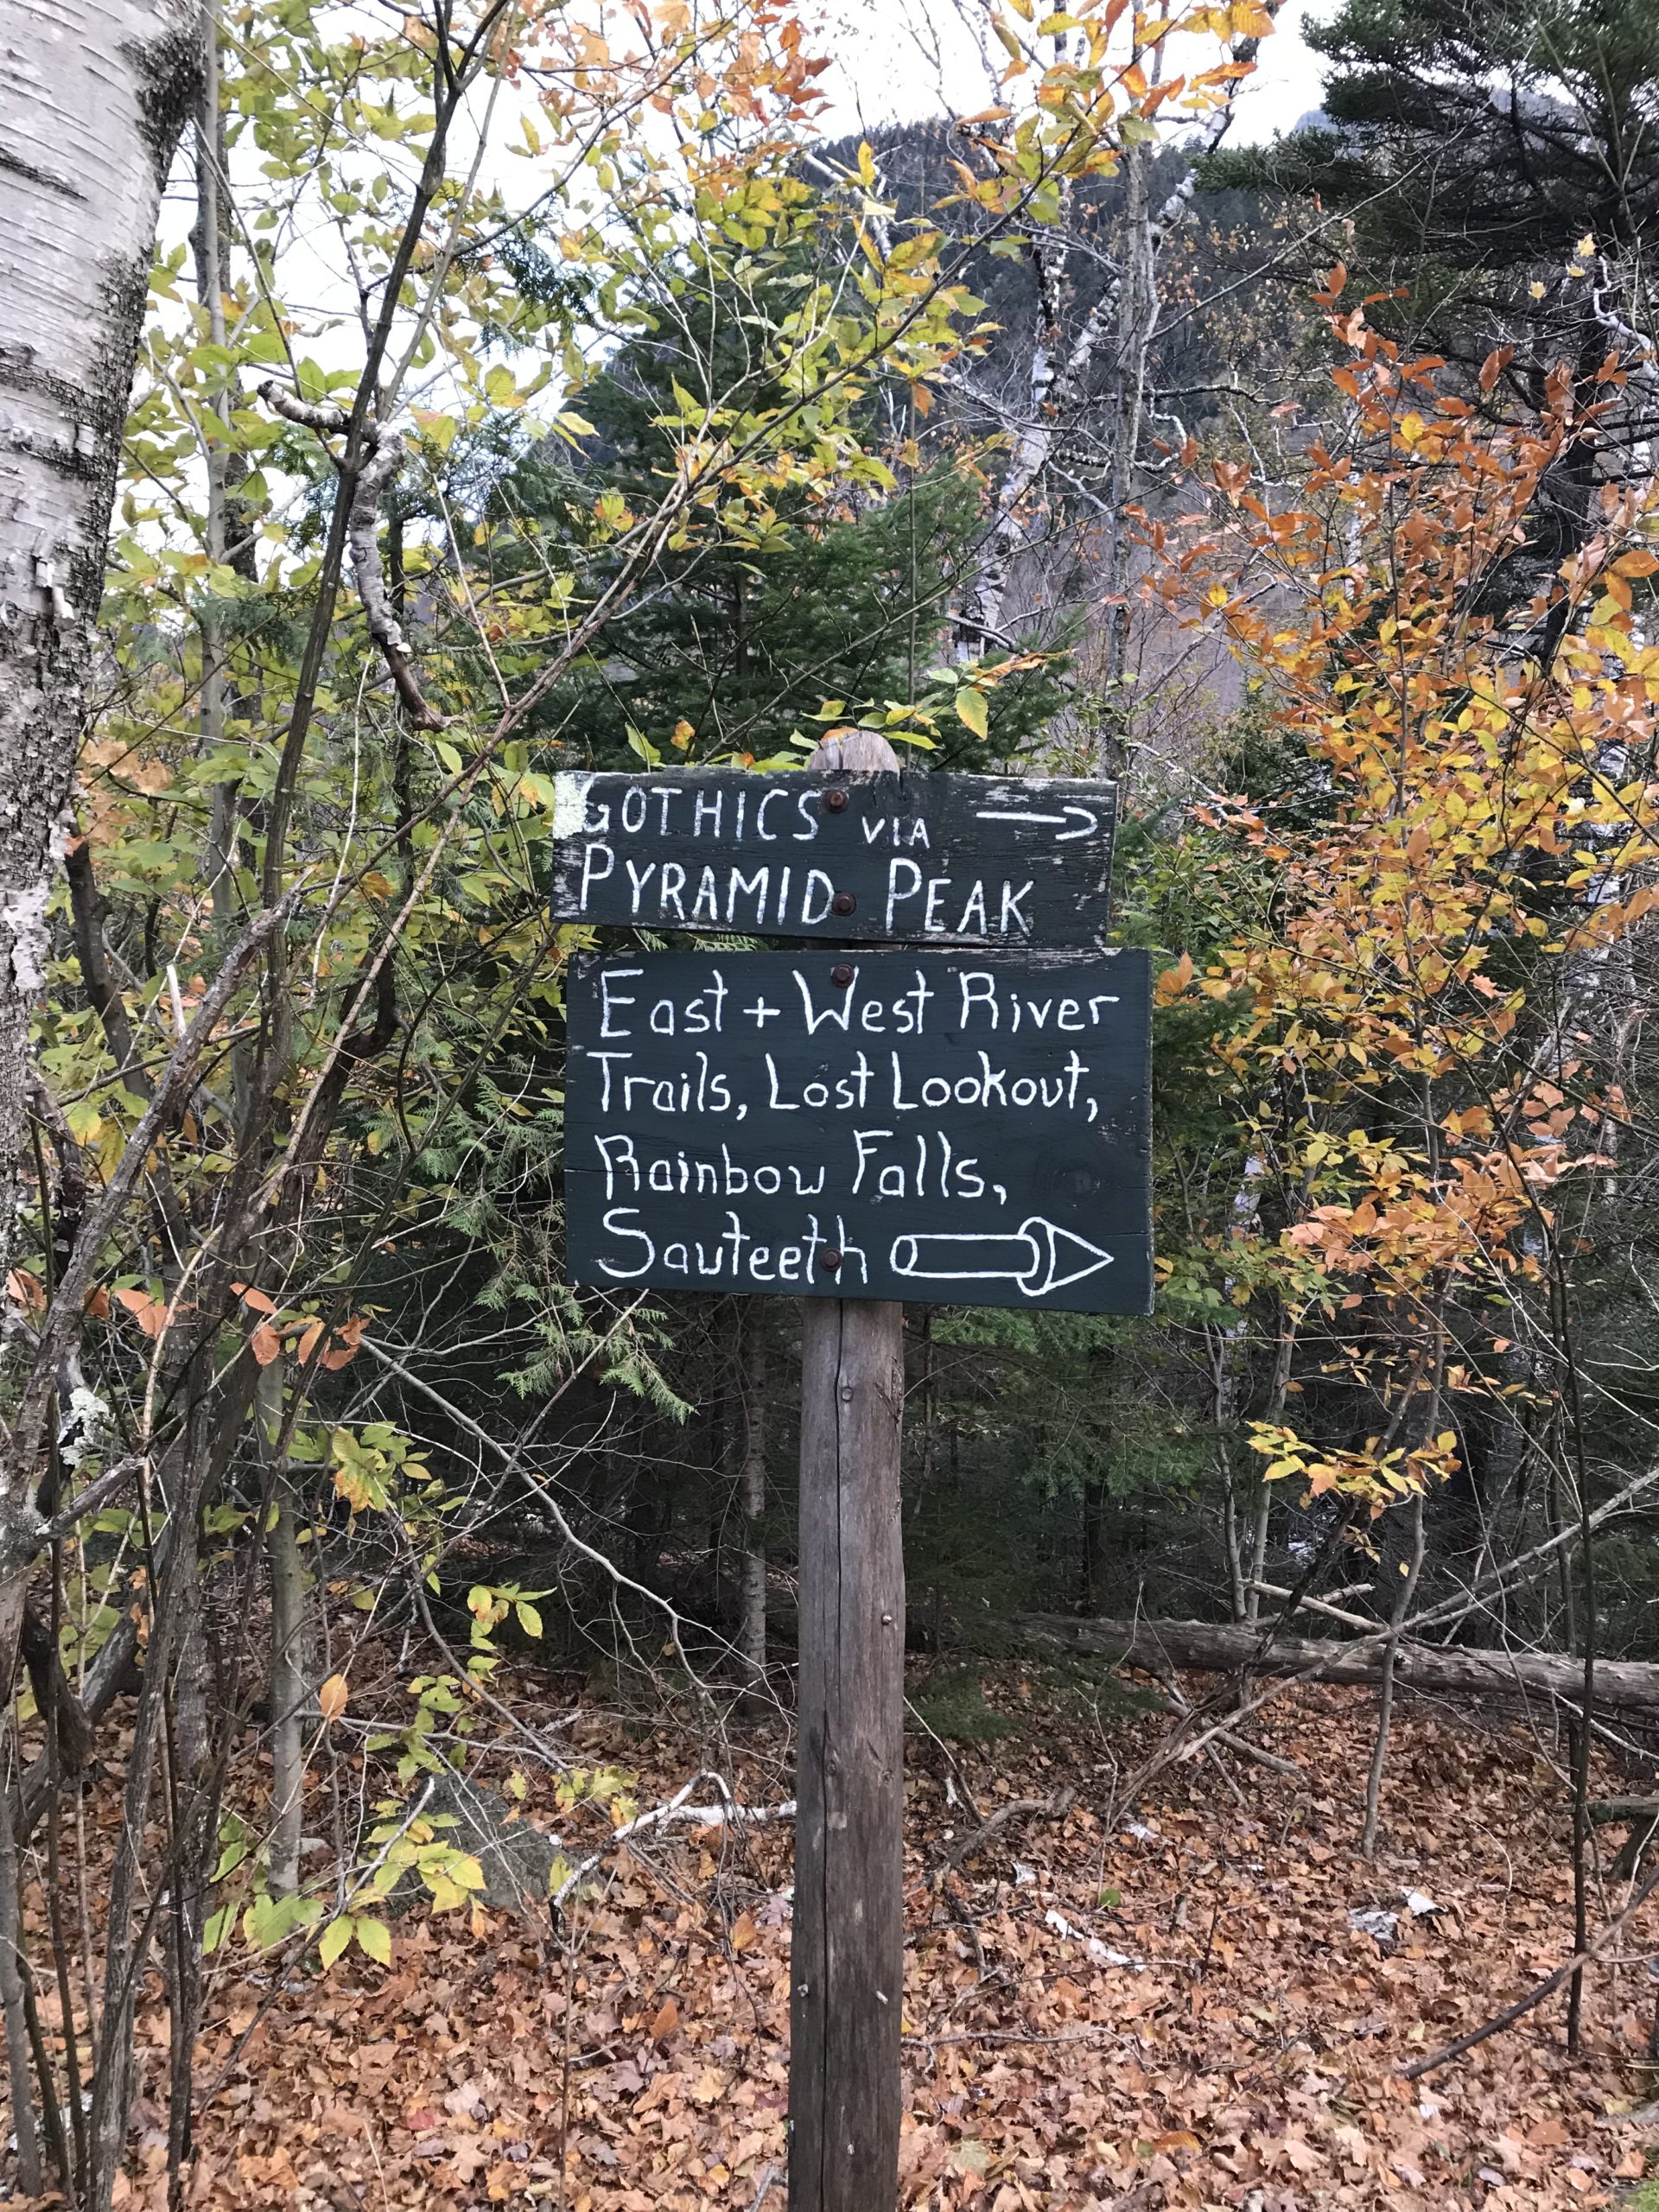
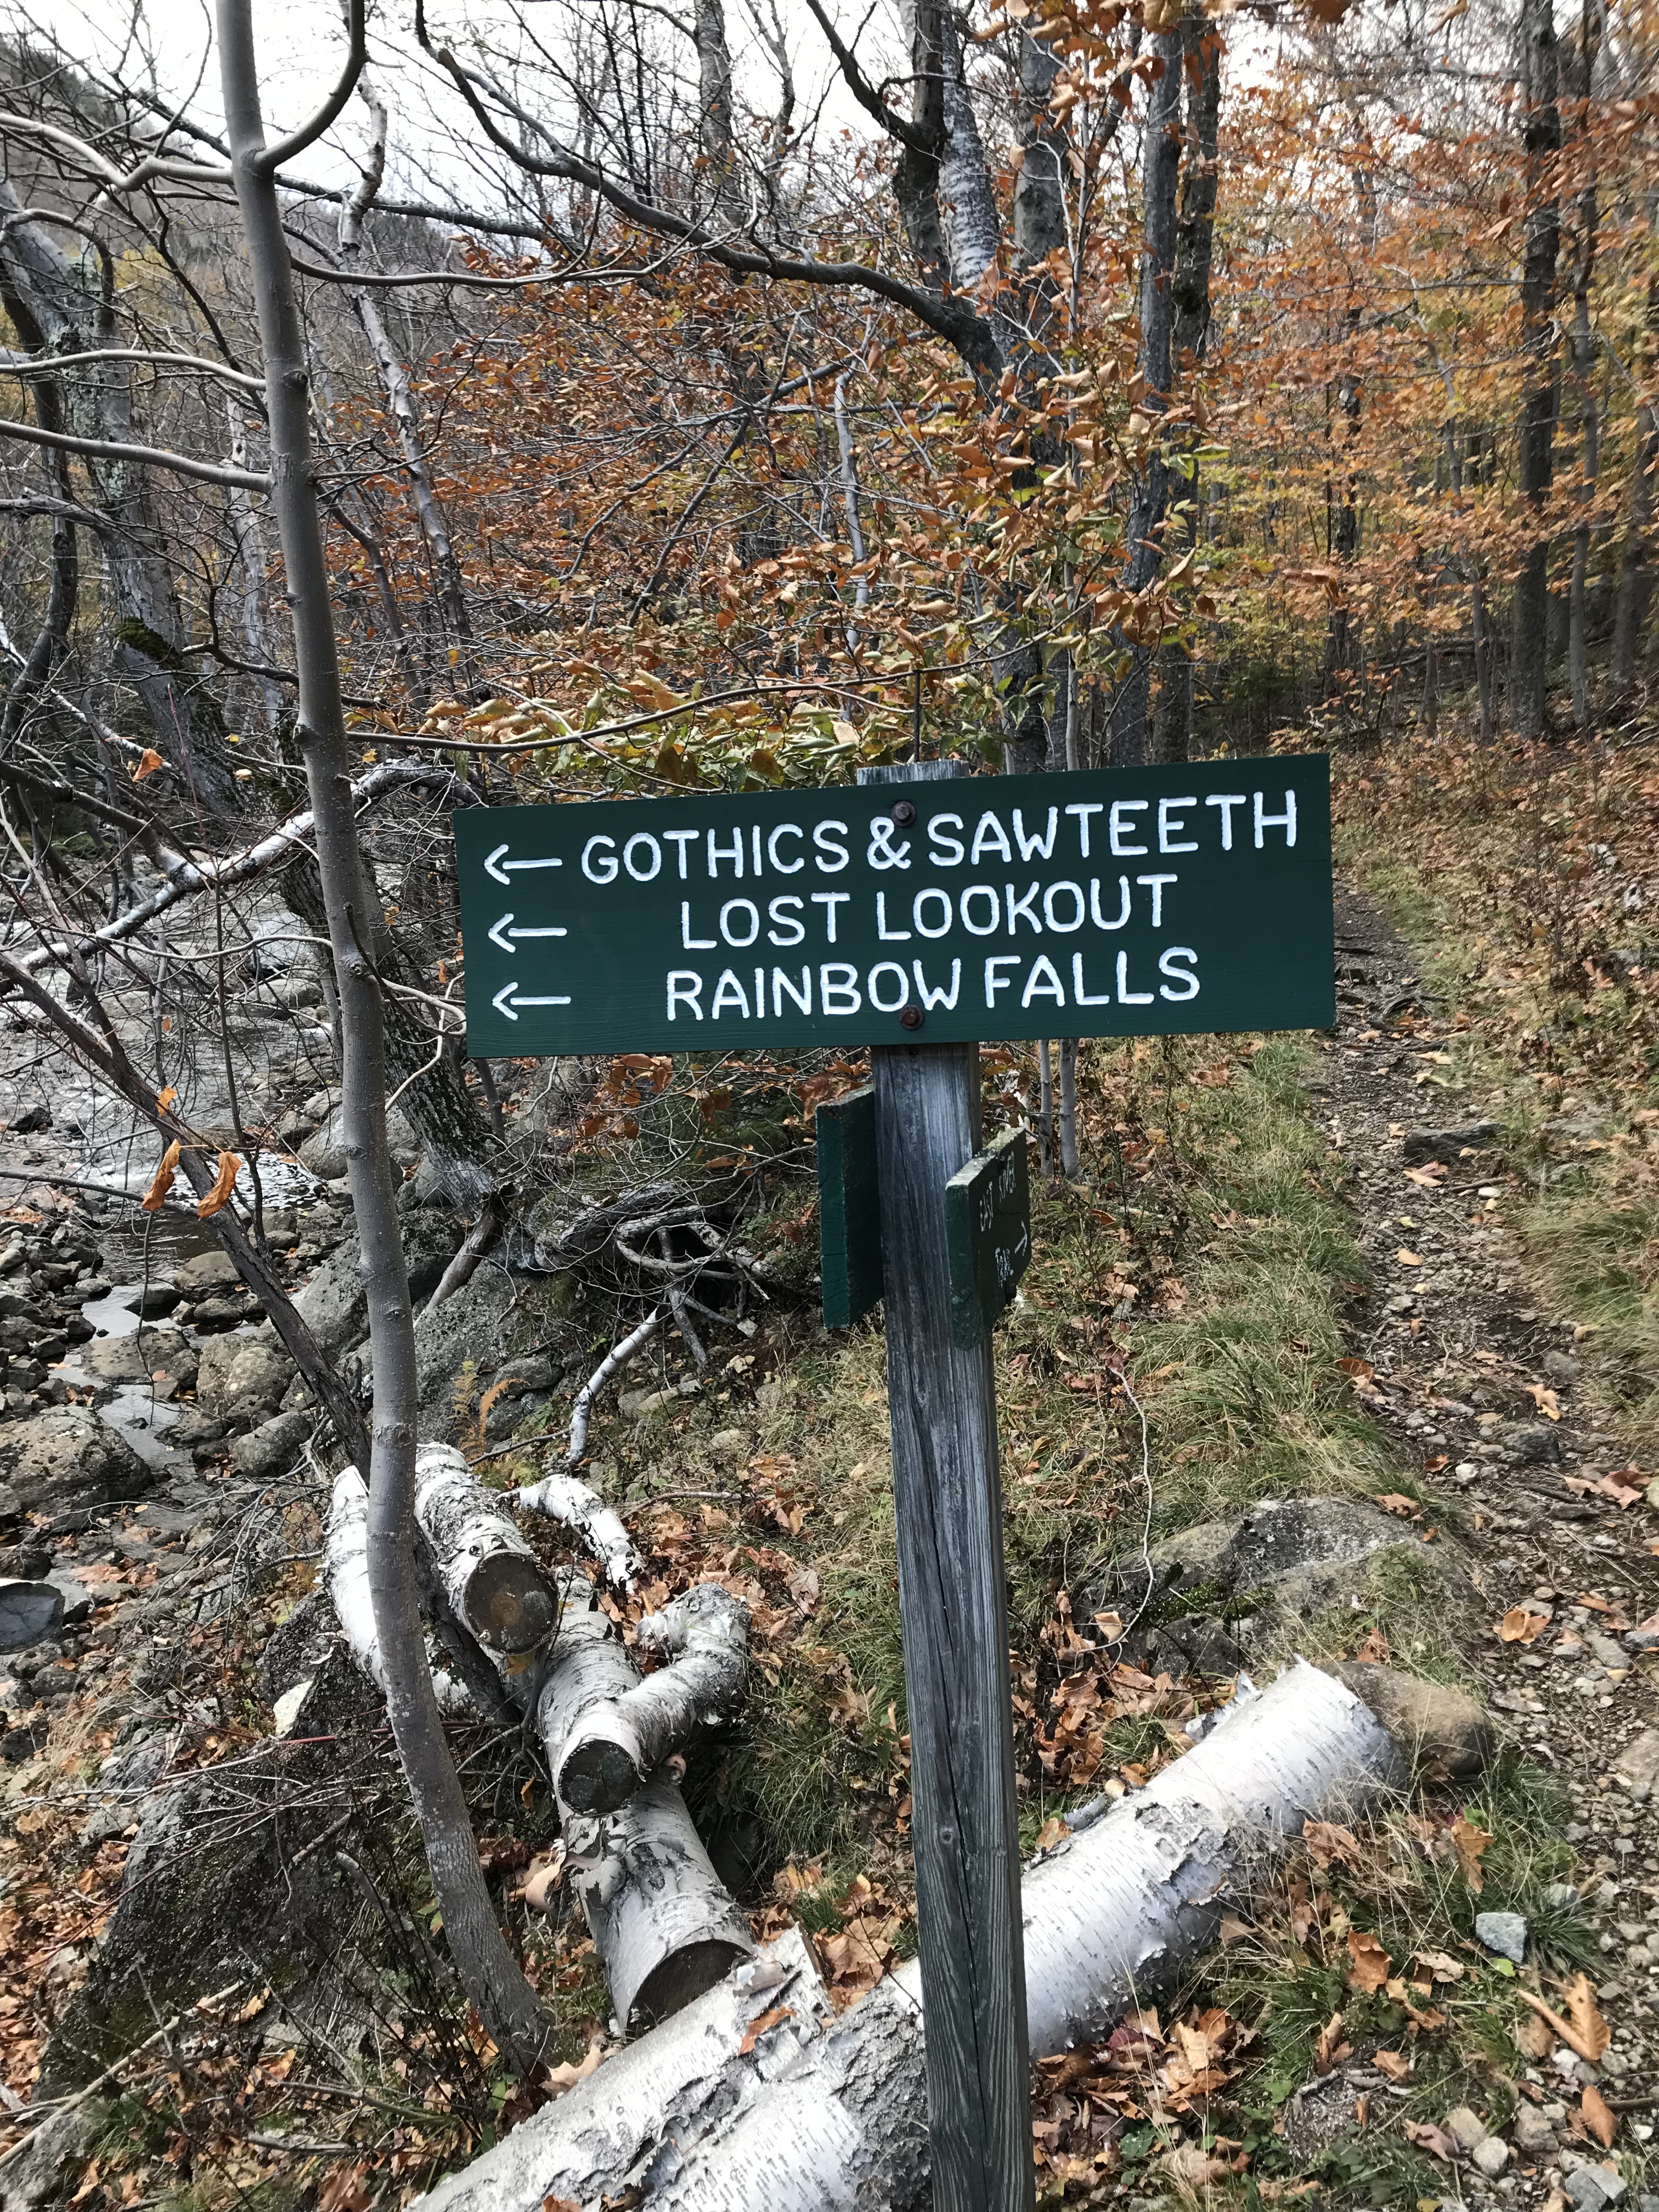
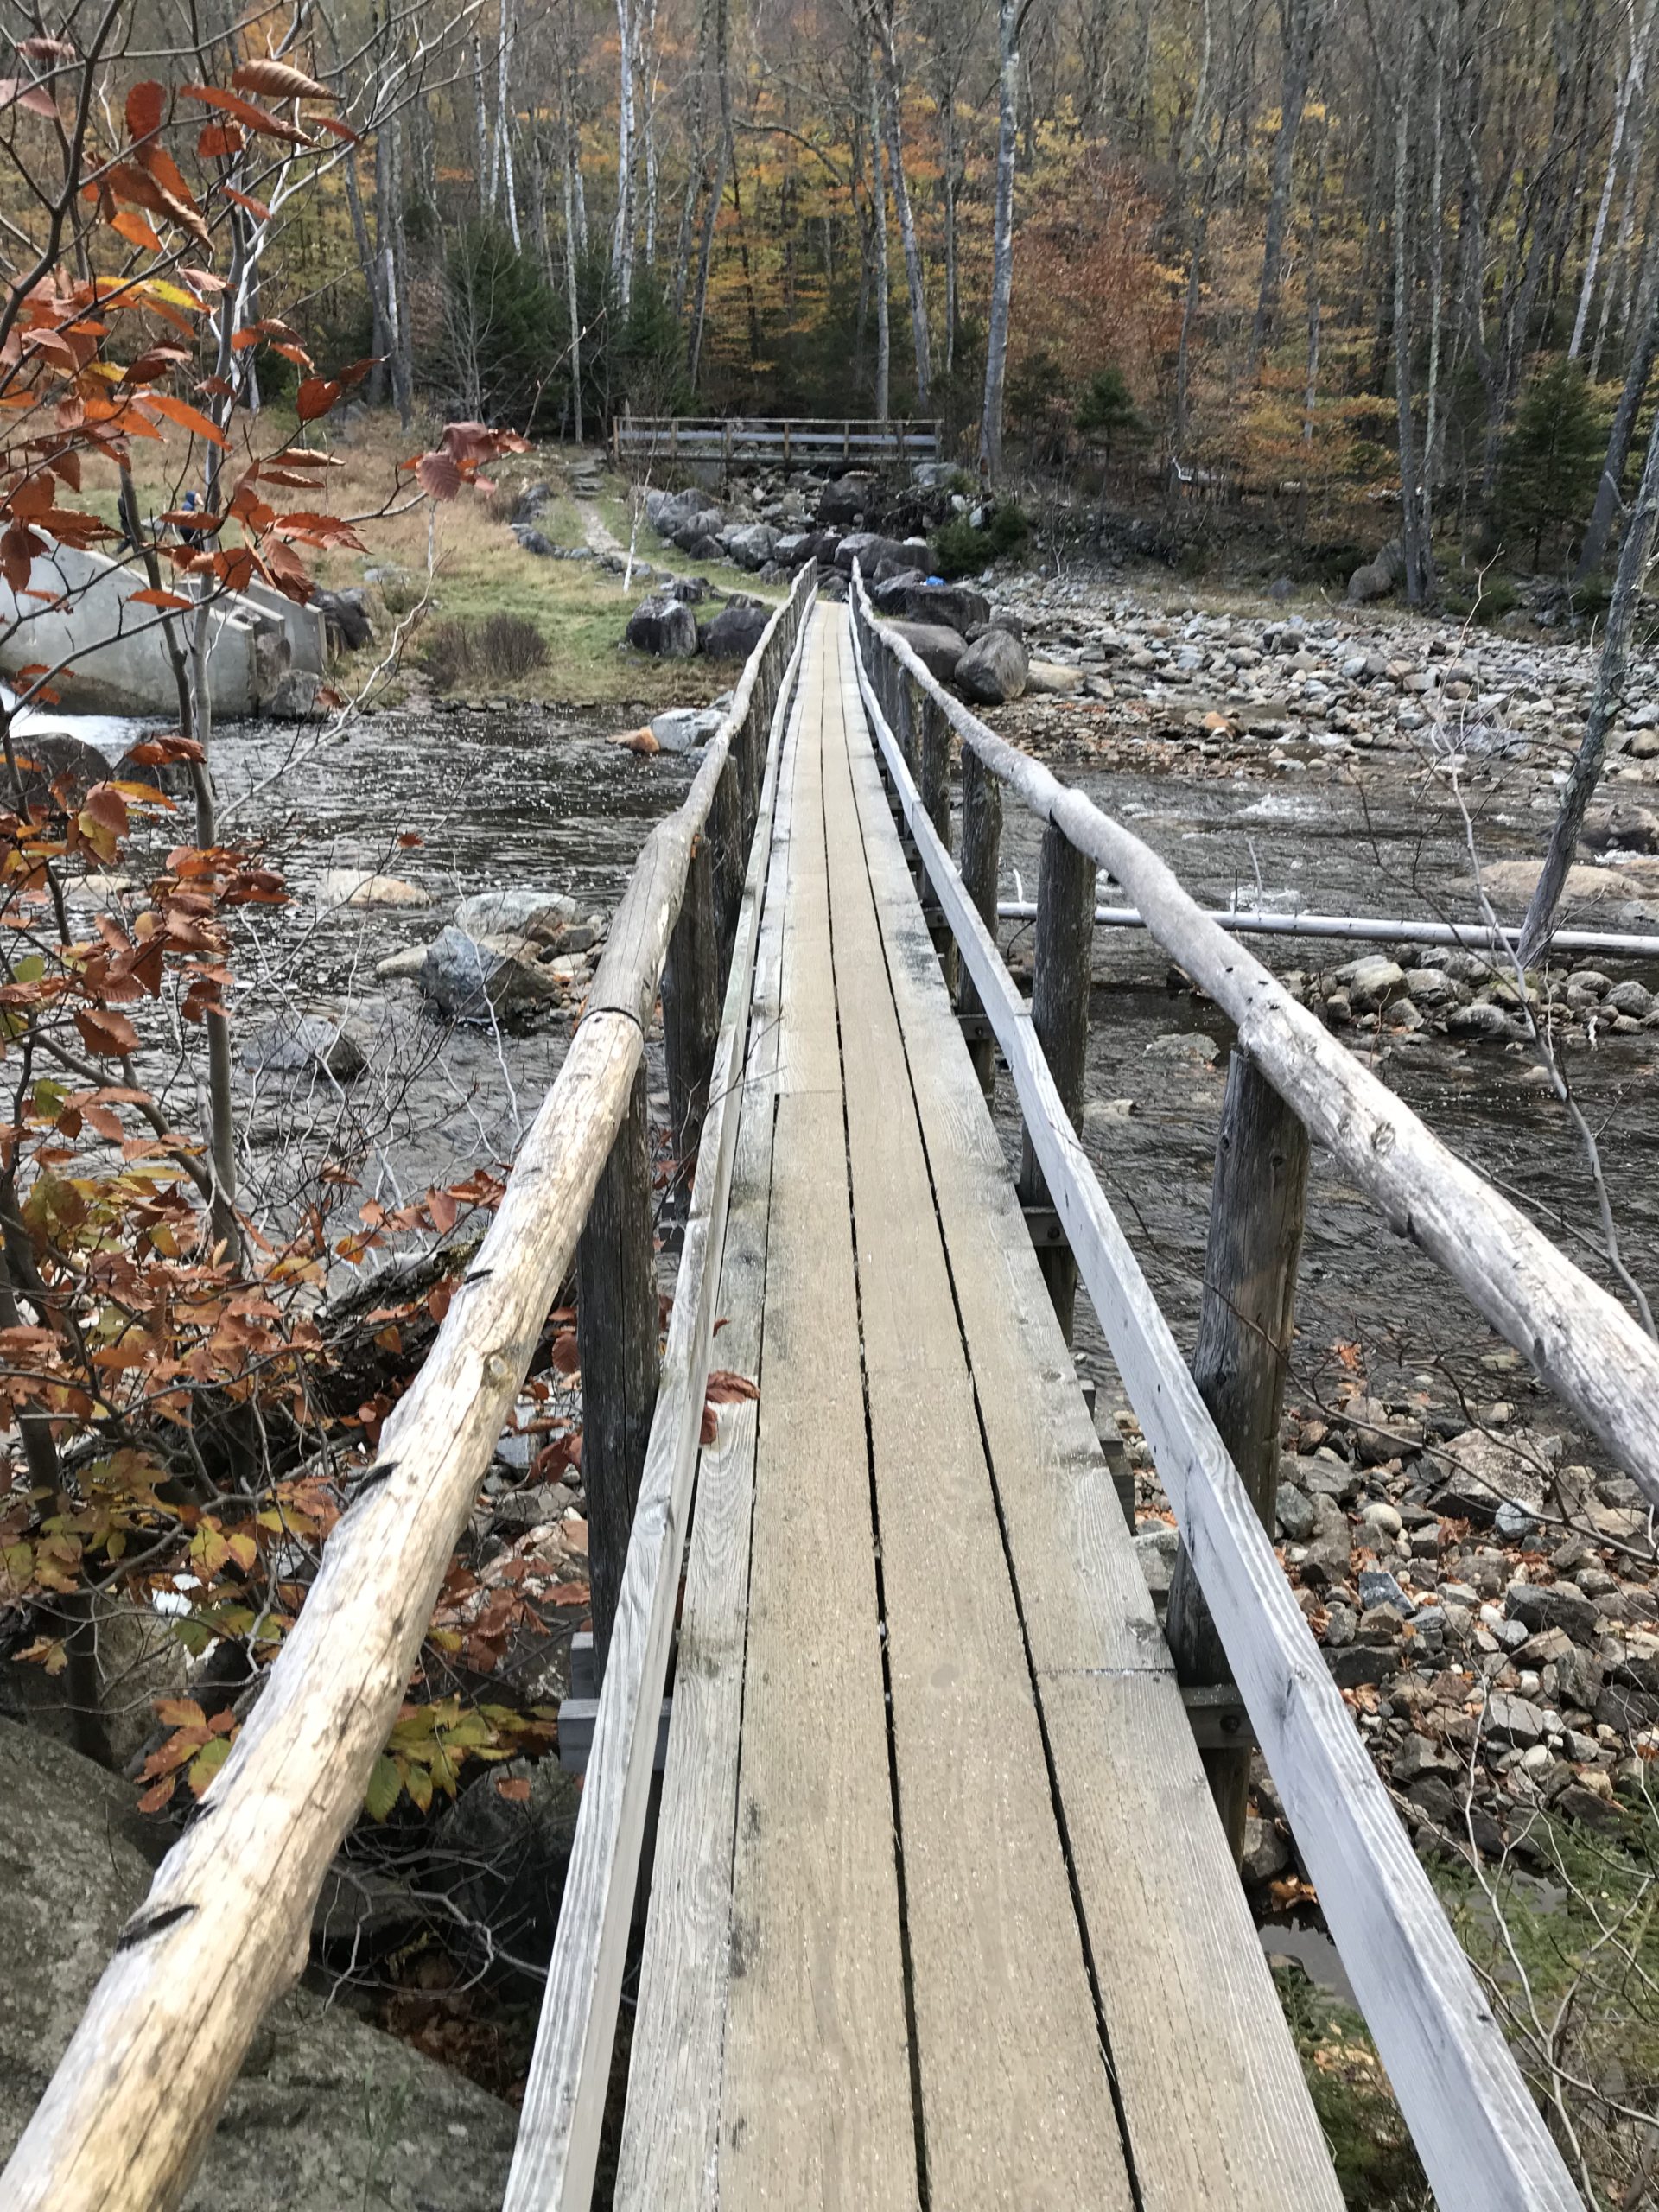
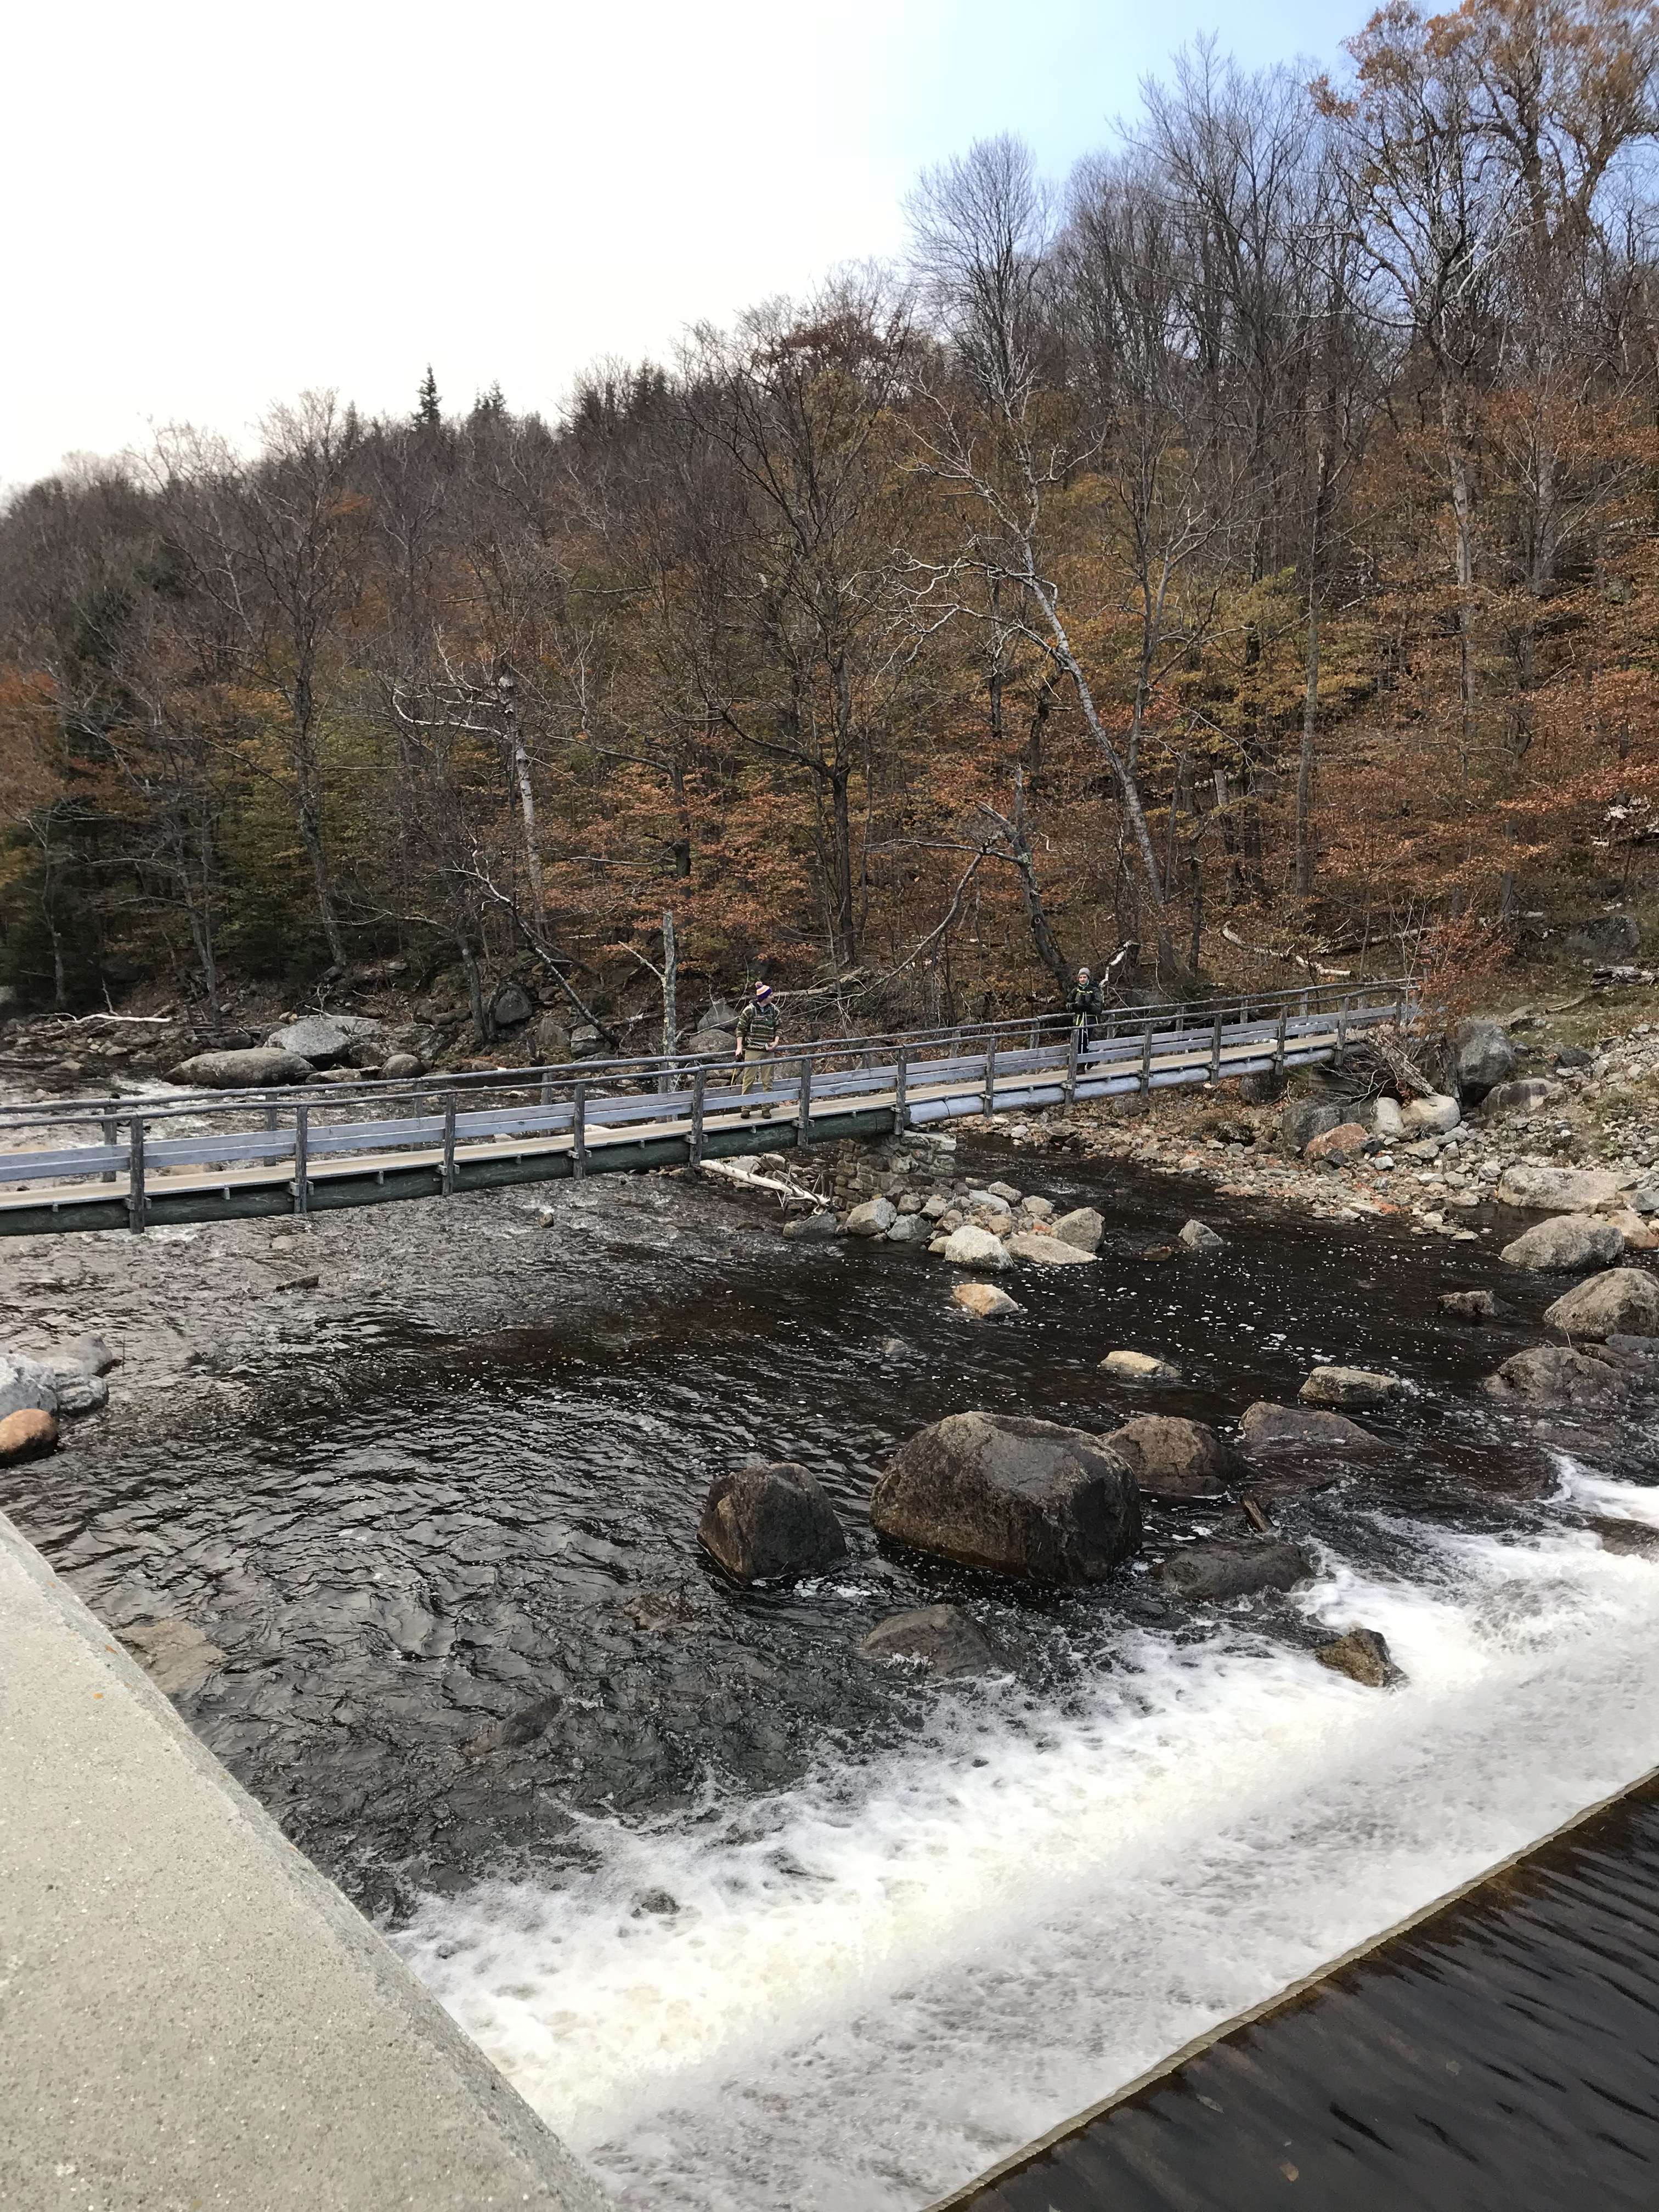
Once across this bridge, walk up to the concrete wall just before Lower Ausable Lake to take in the views. When we hit this area, some snowflakes started to fall. It was not supposed to snow, but we brought snow gear anyway. Remembering to be prepared for anything is important. Below is the view once crossing the bridge.
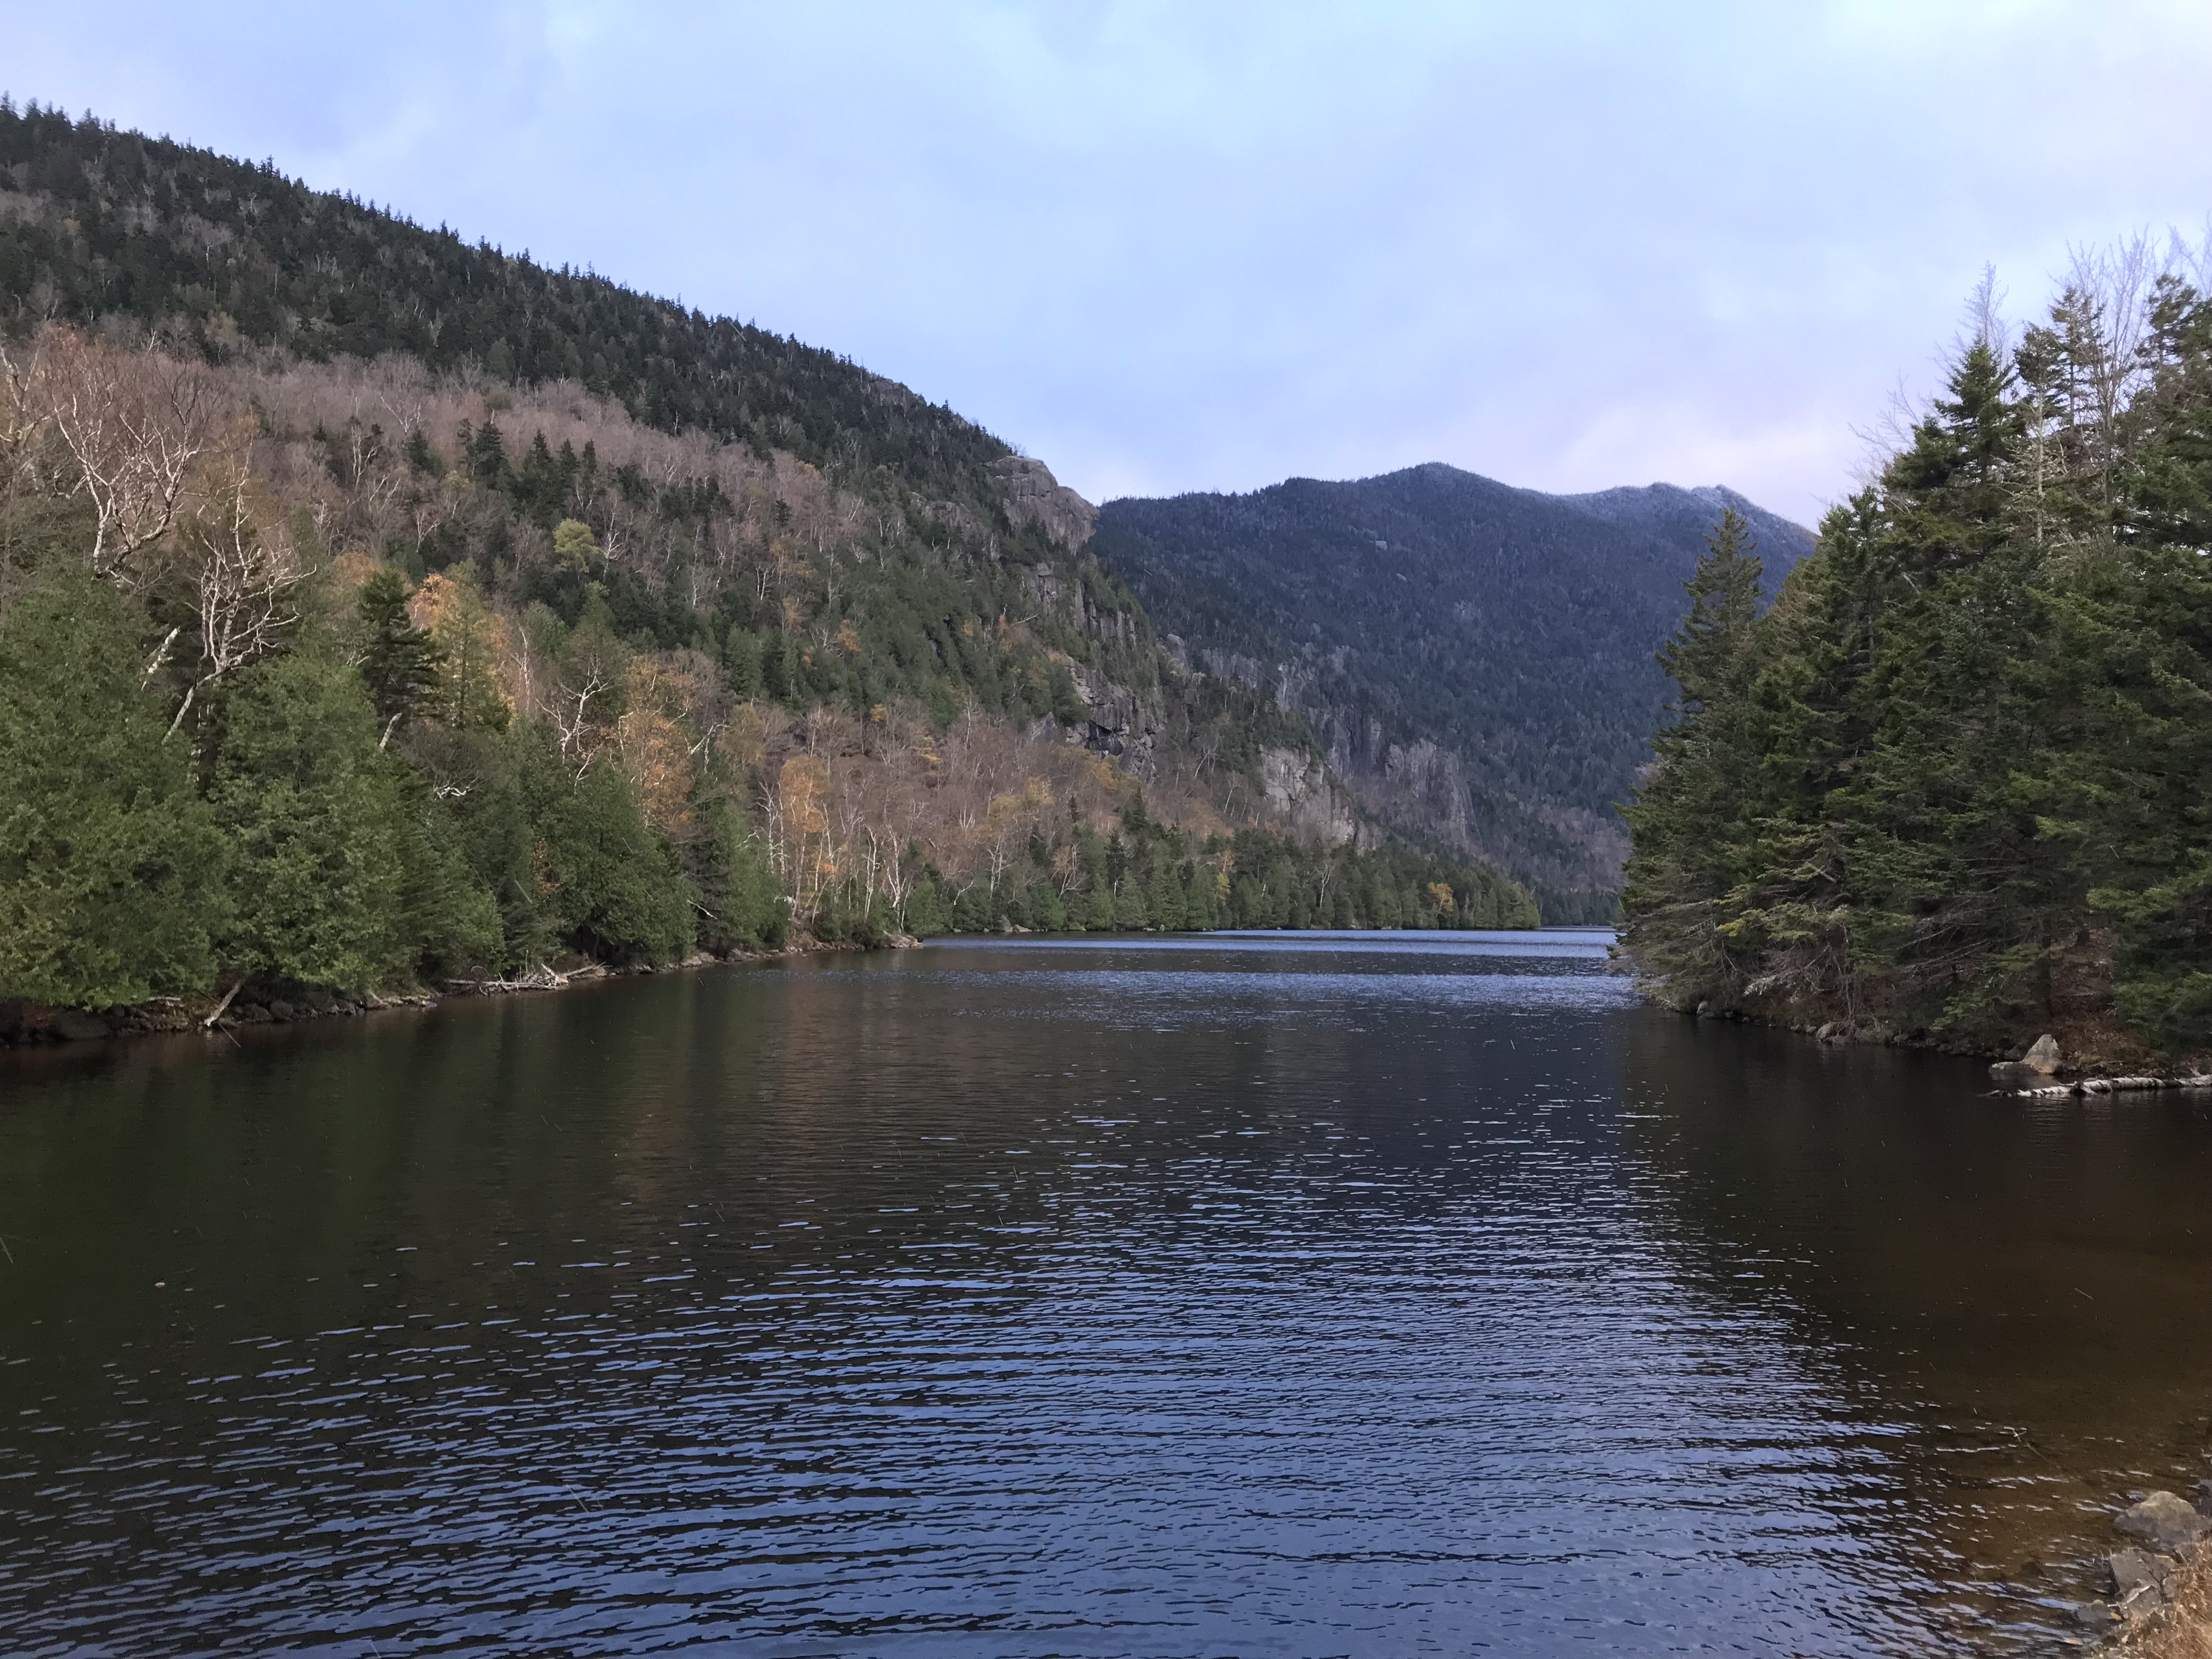
Sawteeth Mountain Via The Scenic Route (2.9 miles to summit)
After spending some time putting on warmer clothing, we took a left in the direction the sign pointed us for Sawteeth Mountain via the scenic route.
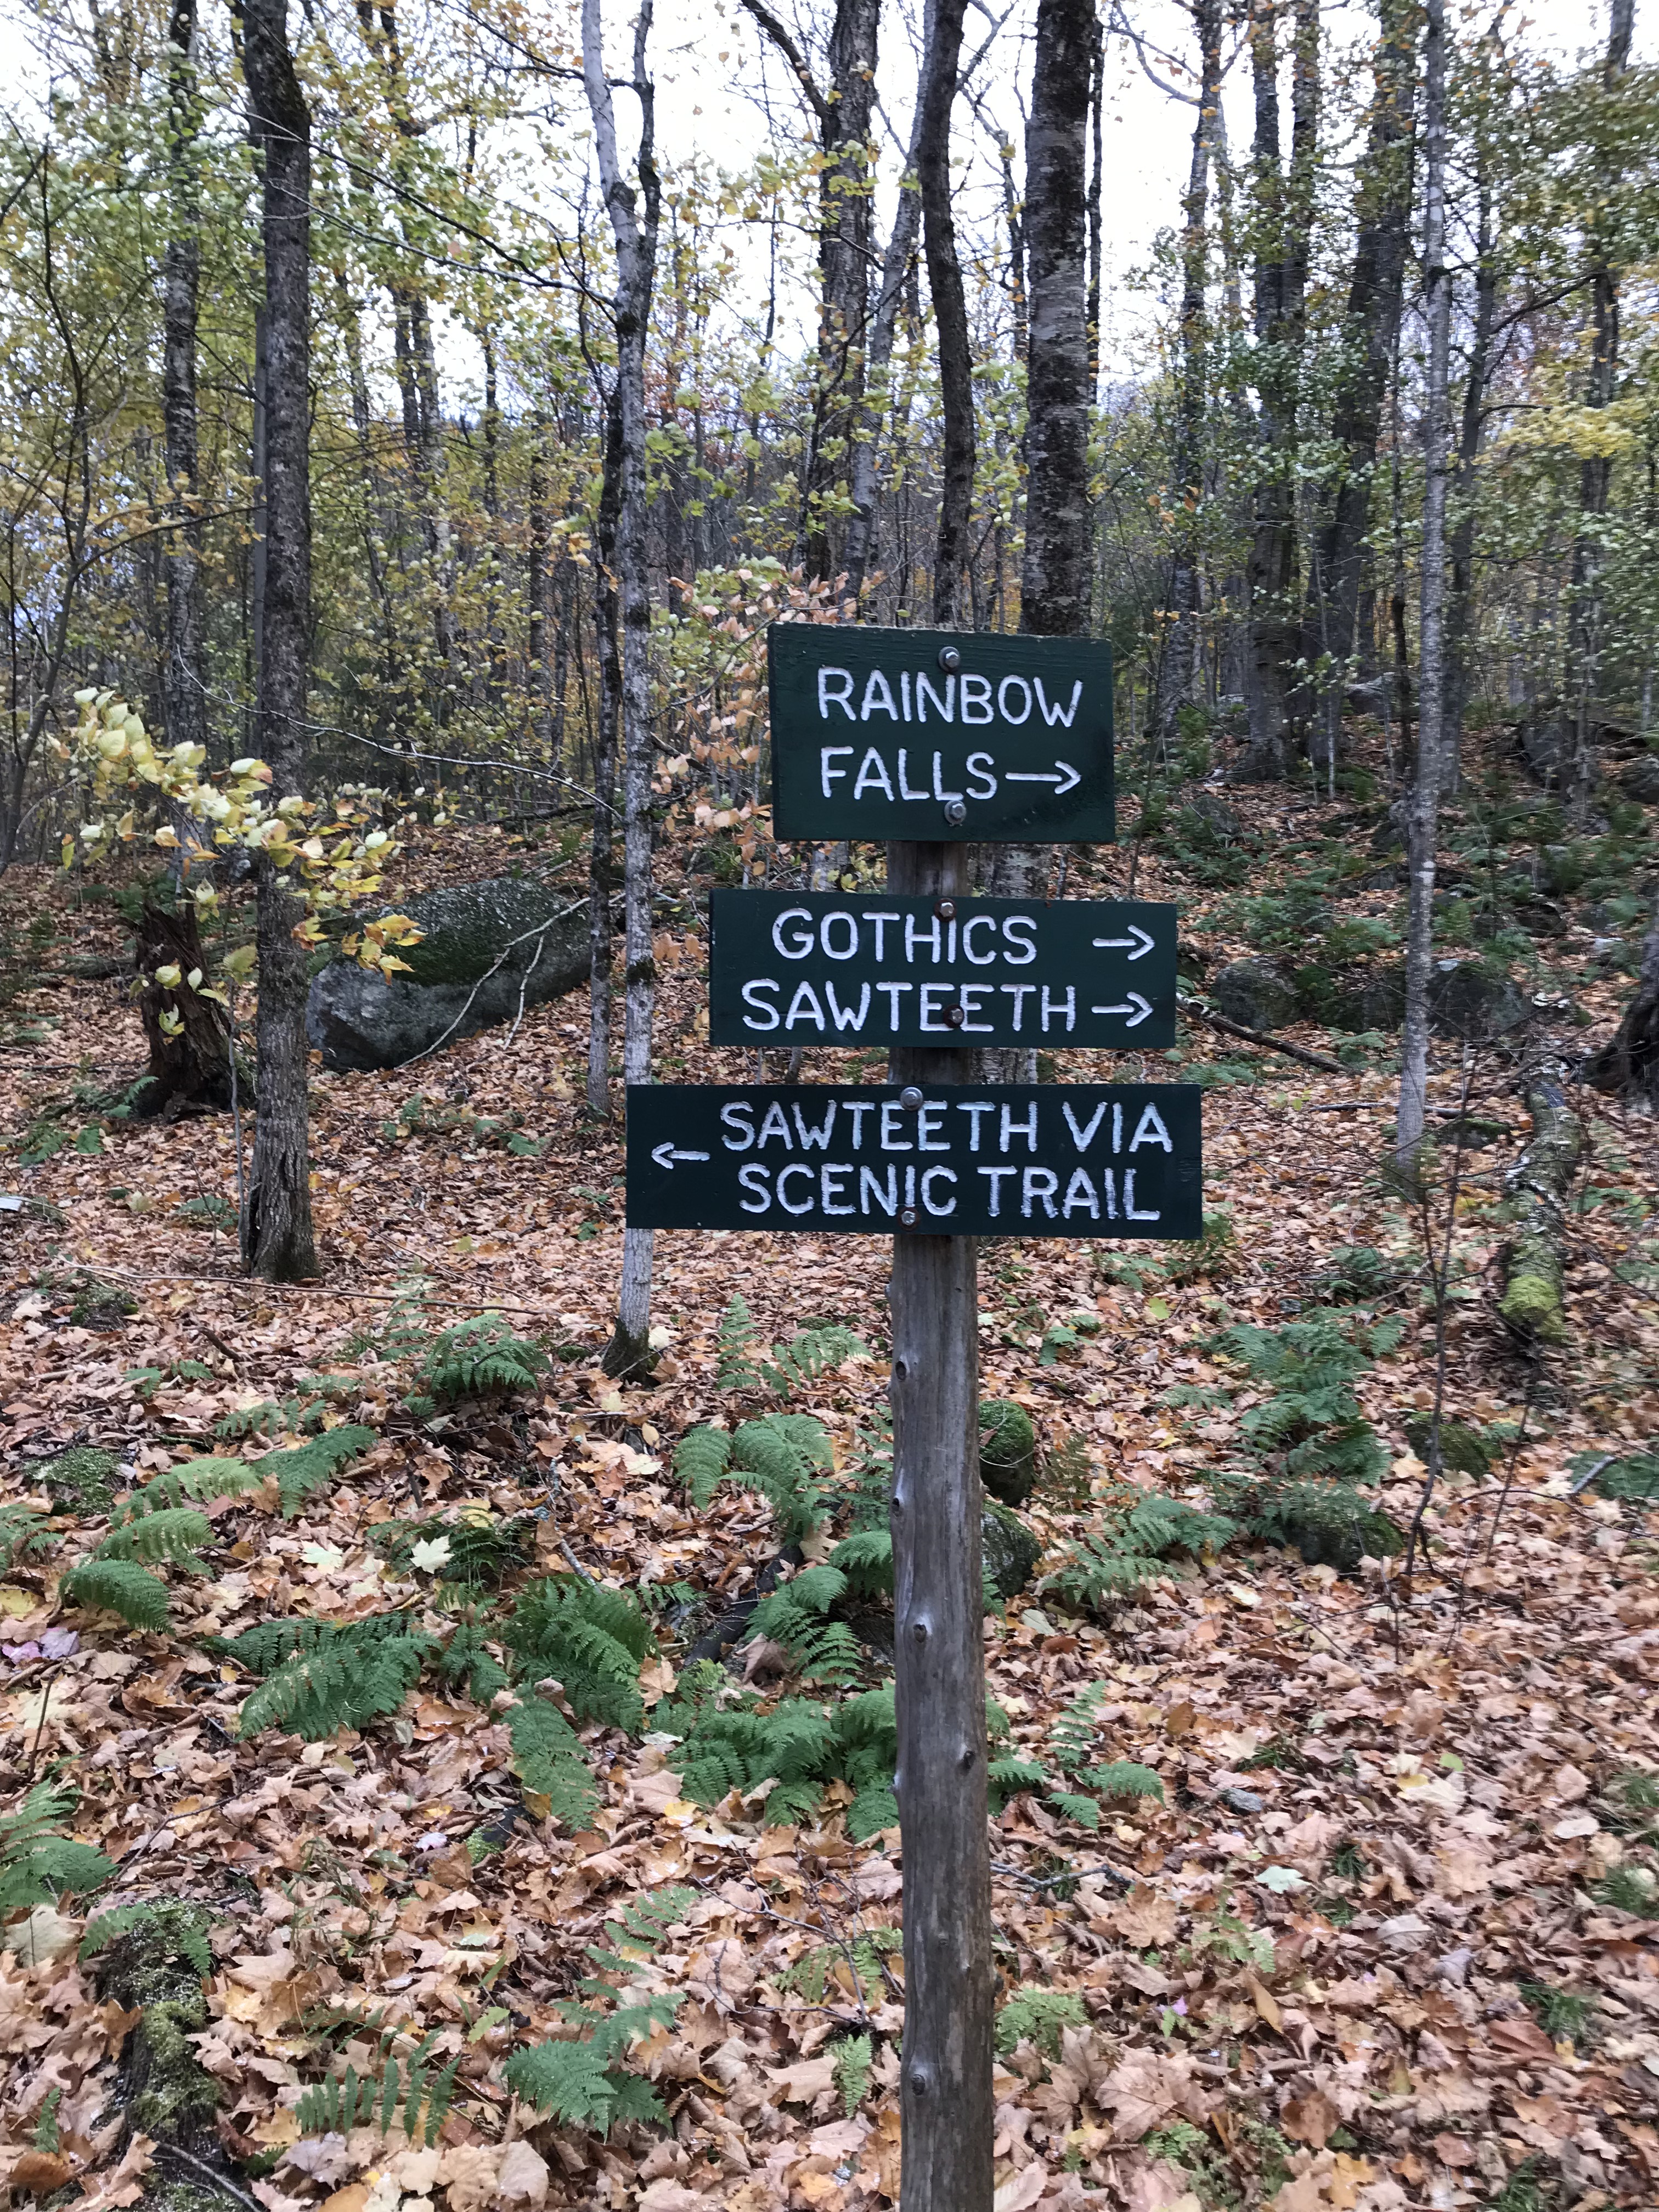
This is my opinion based off of what we did, but I suggest taking the scenic route to the summit. There are six outlooks along the way and they make for great places to take photos and recoup. You will be following yellow trail markers on this path.
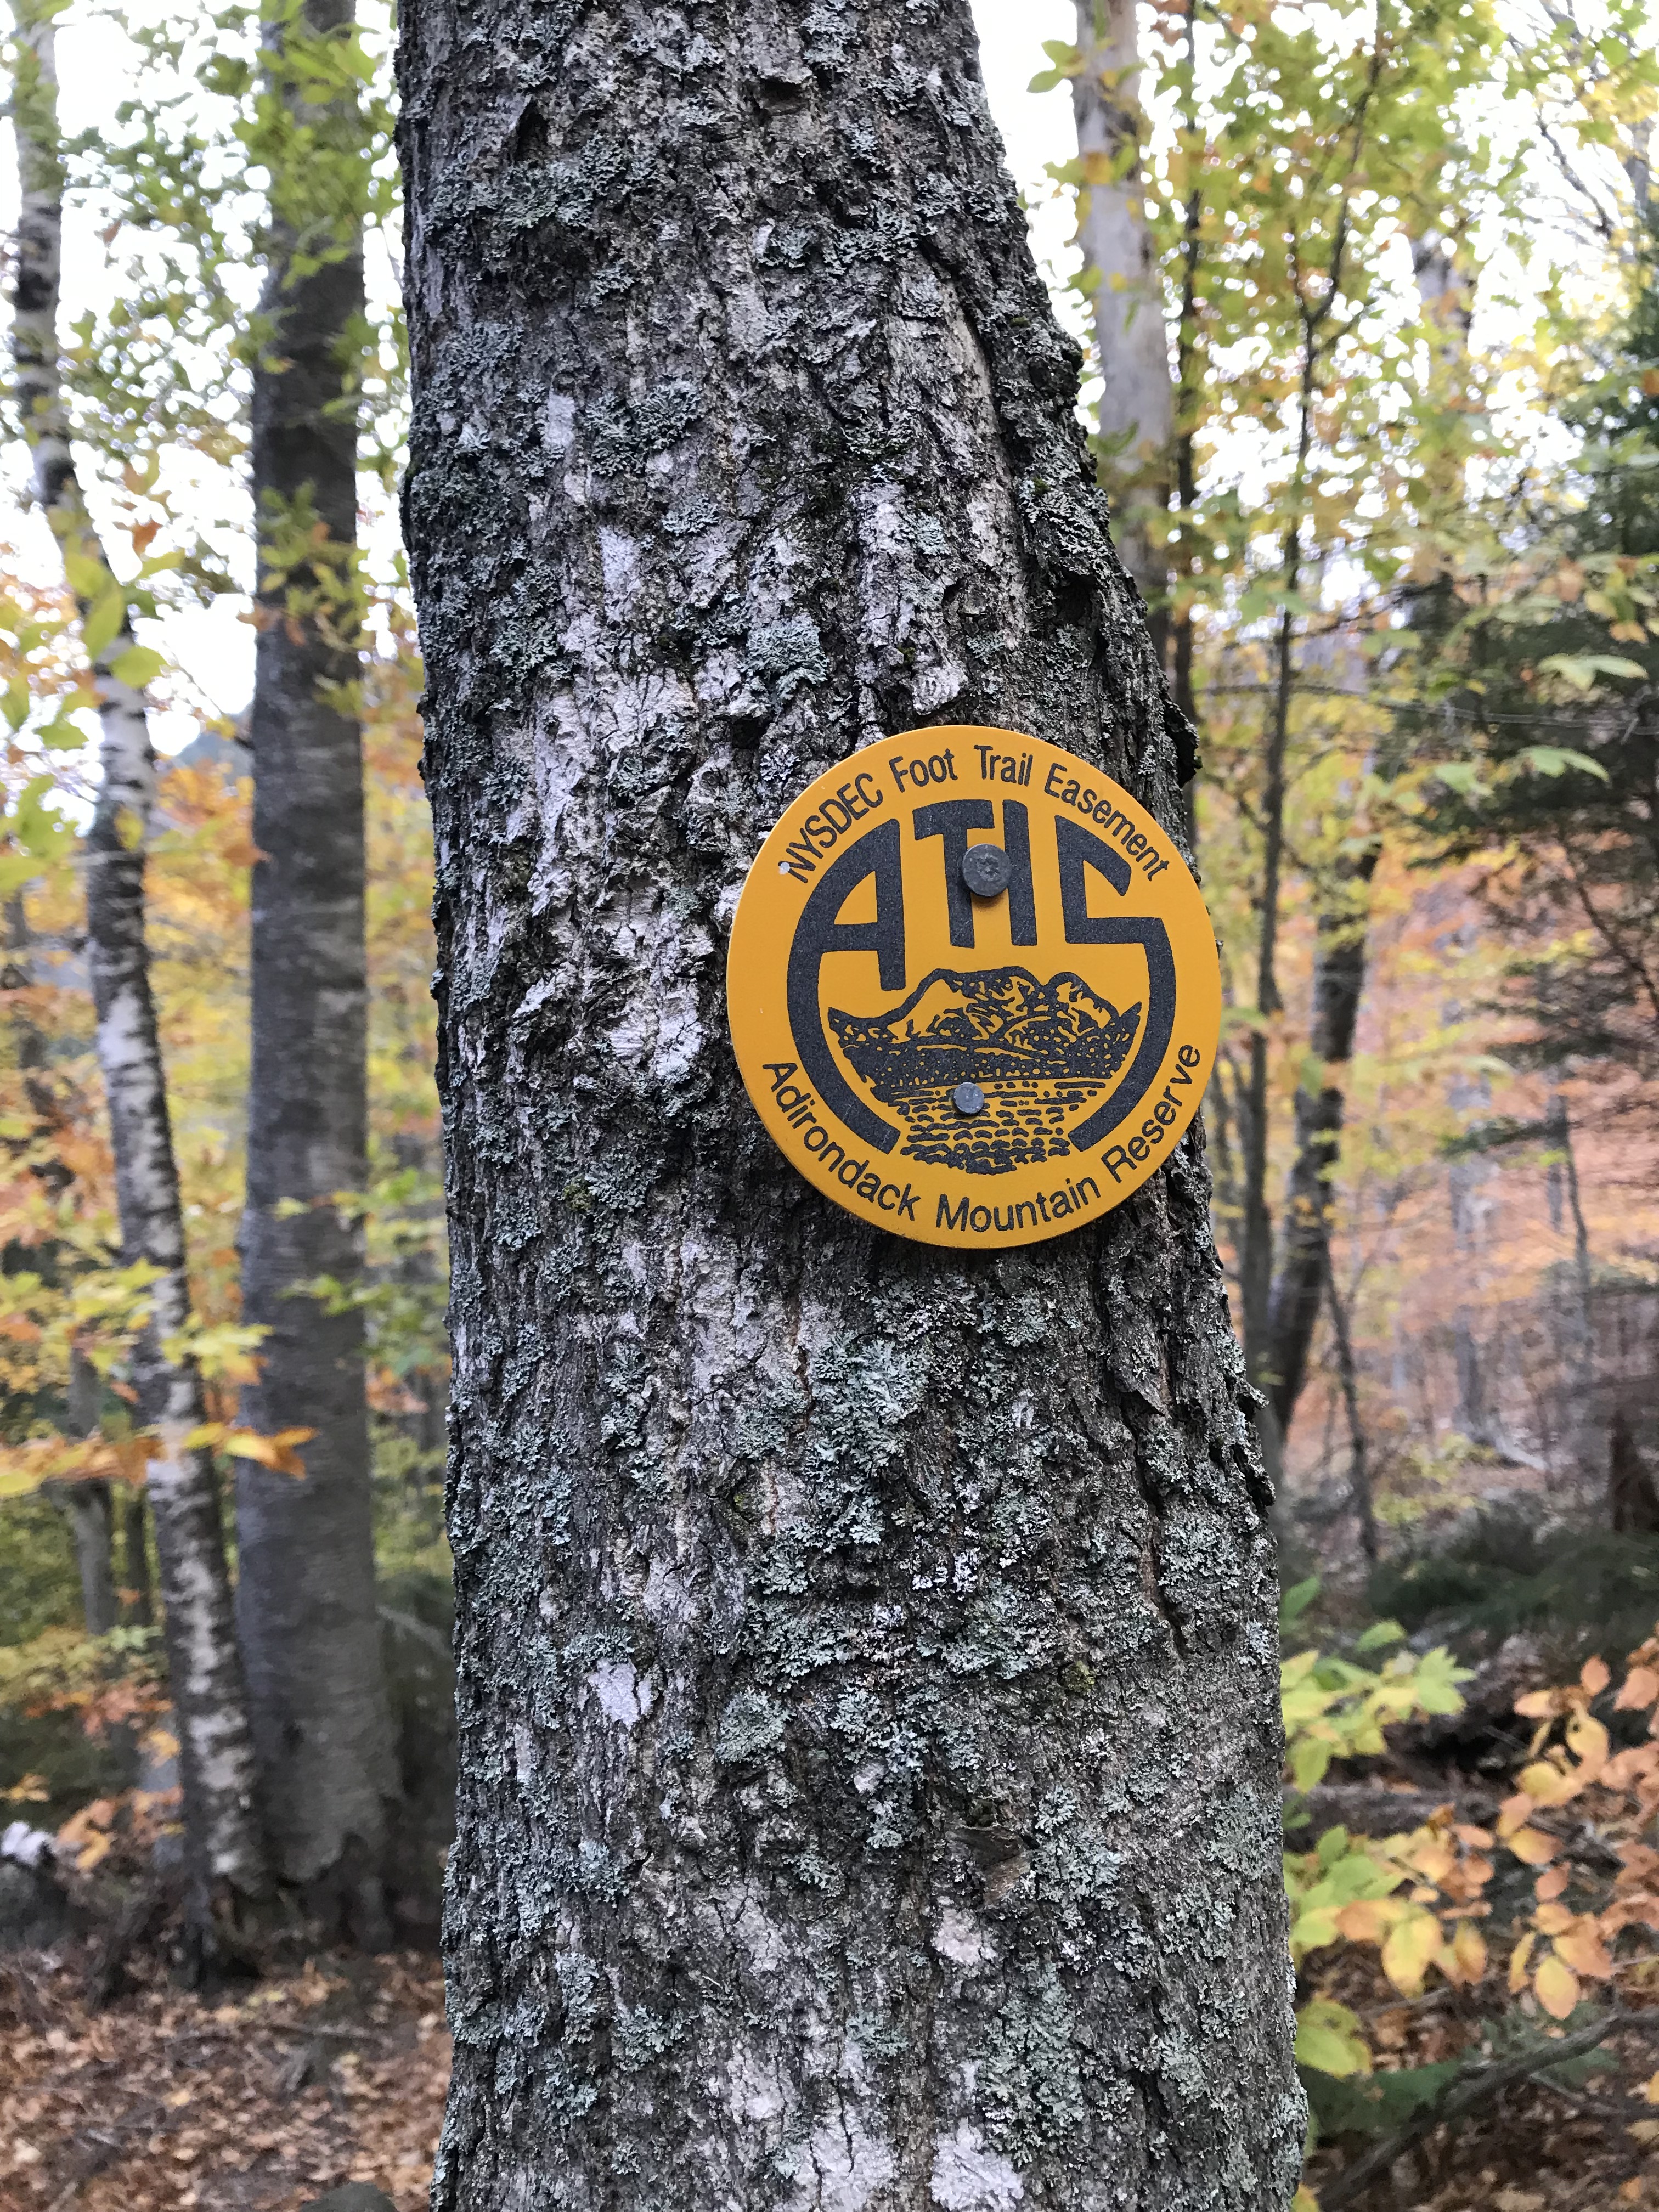
Initially, this trail will bring you along the edge of the Lower Ausable Lake. While you make your way, you will gain sight of the cliffs that tower above the lake. Watch your step when on the perimeter of the lake. The last thing that you want to do is soak your foot.
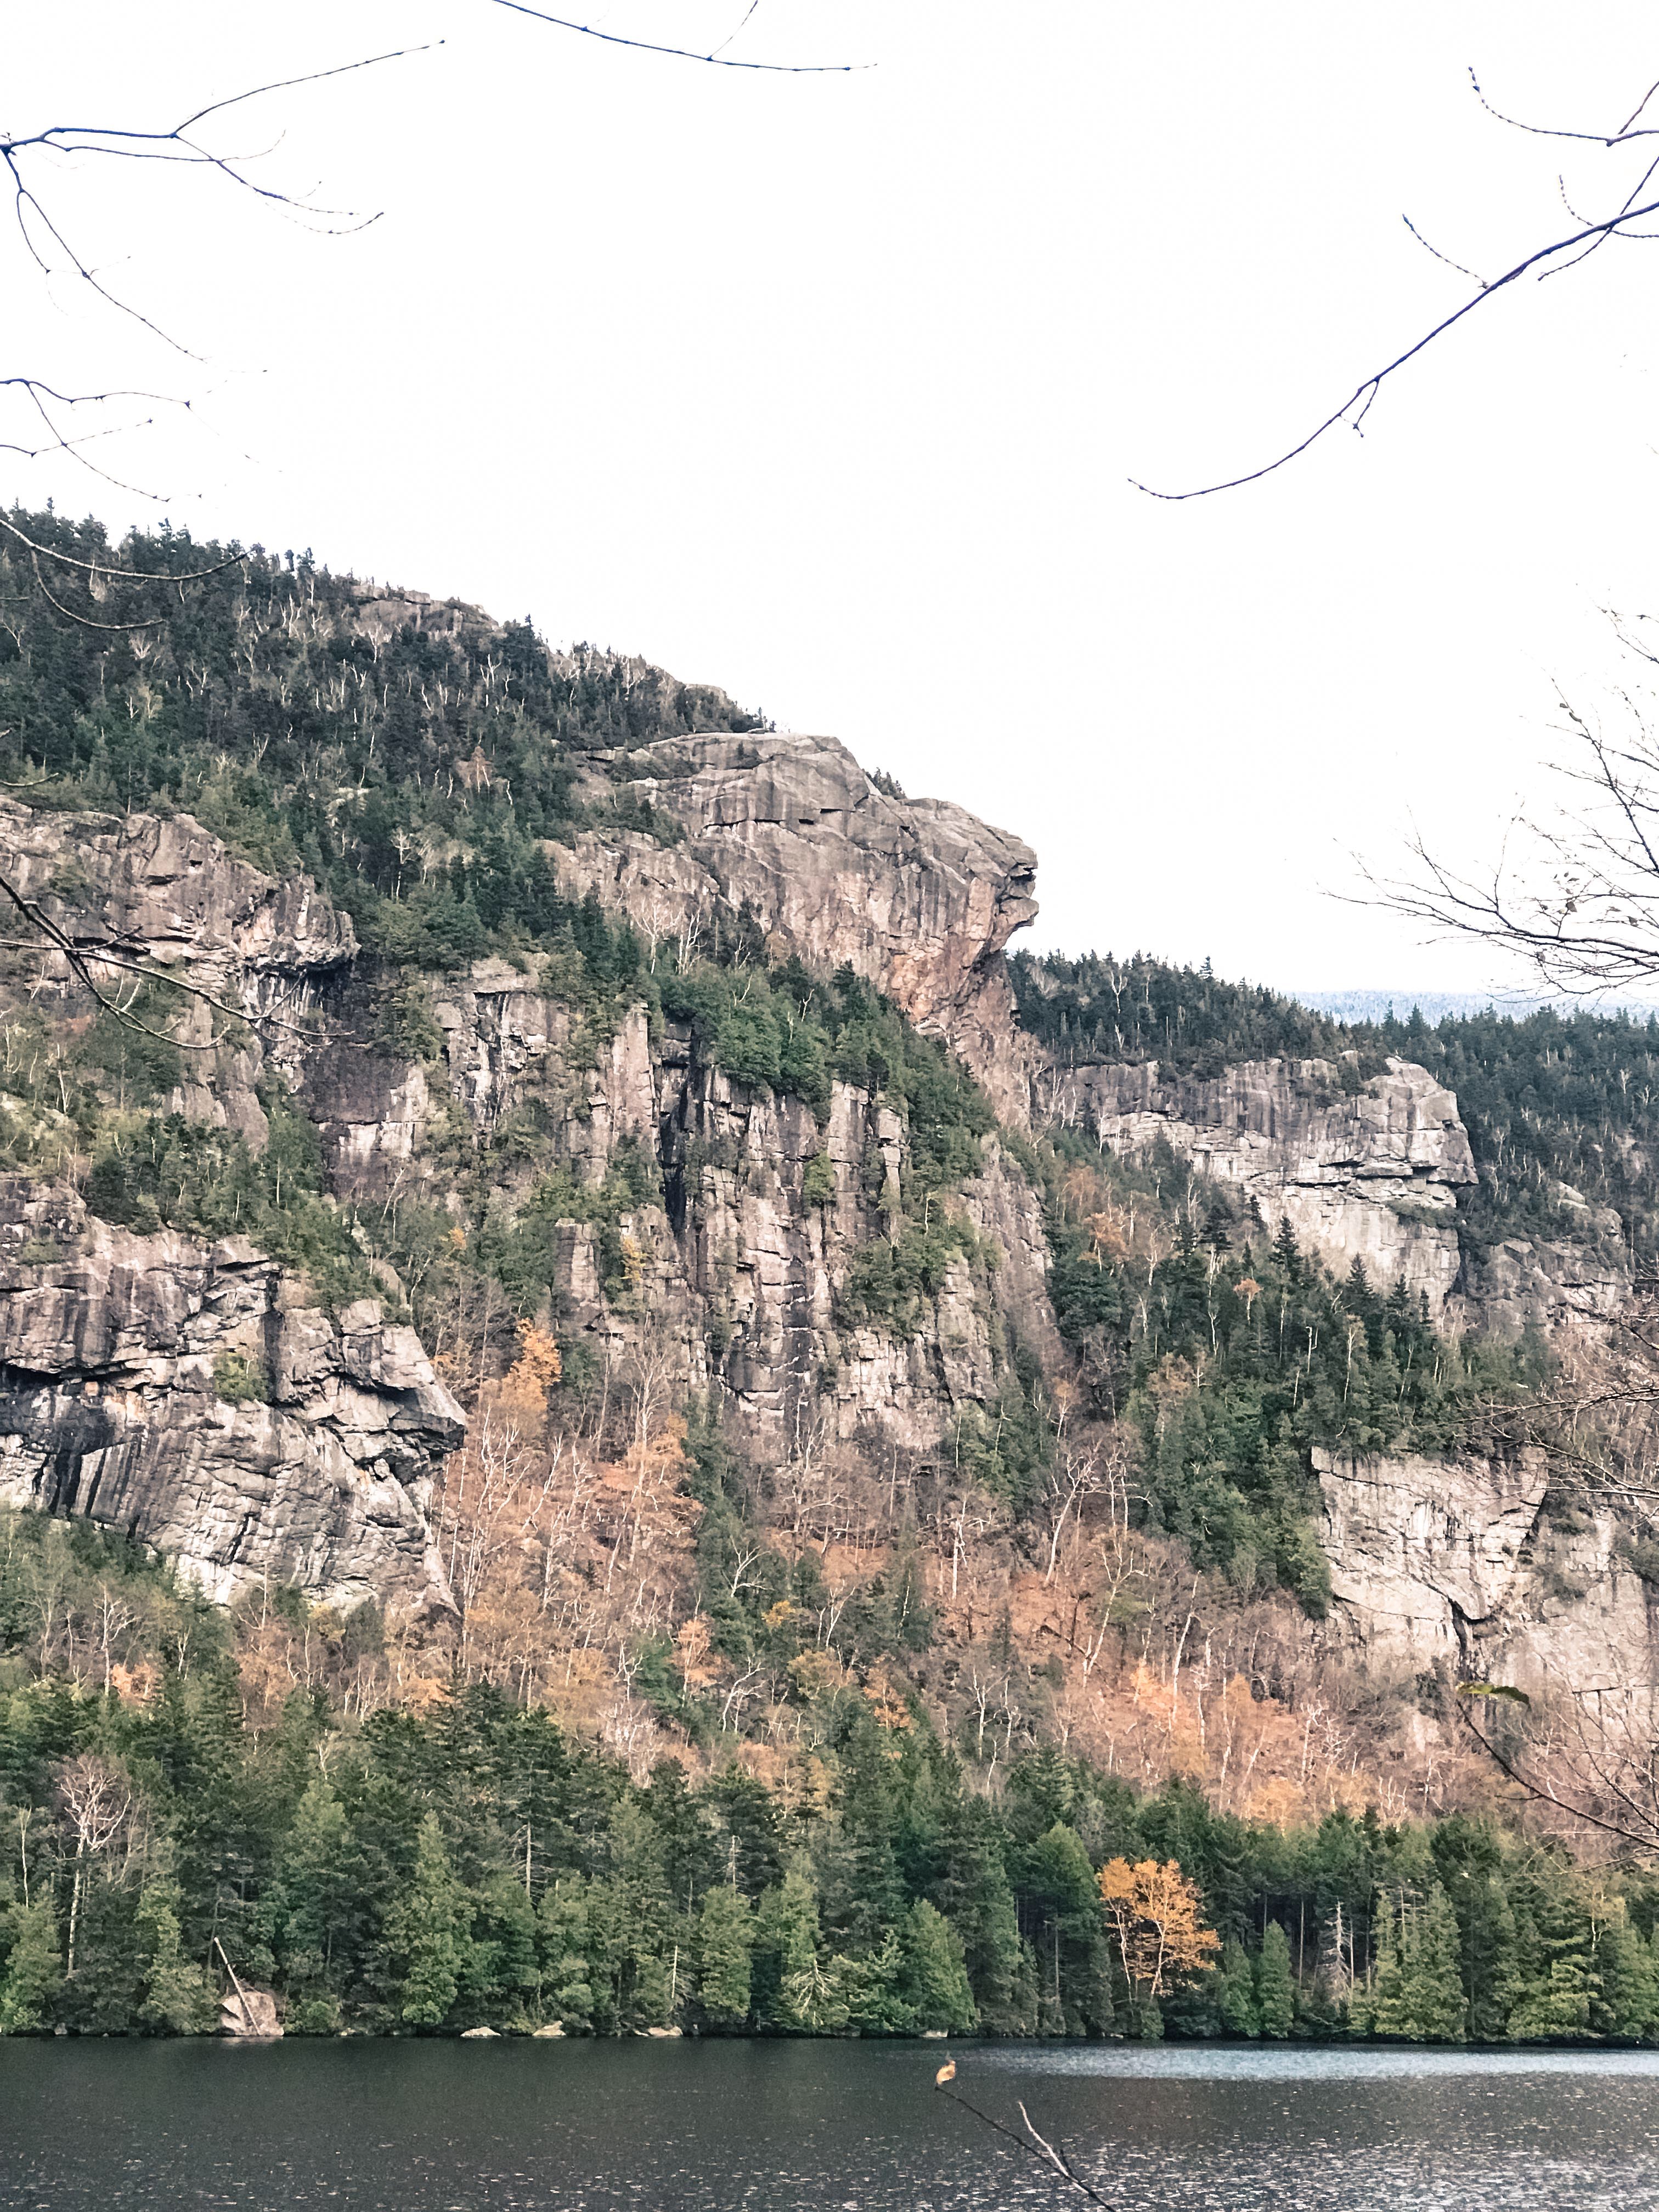
As you make your way up in elevation and into the woods, be sure to keep your eye out for those yellow trail markers. We initially had trouble spotting one or two of them and it took us a few minutes to find the trail. This is also because many leaves had fallen over the trail in this area. I am sure that during the summer (or winter when someone has already blazed a path through the snow) the trail is much easier to follow.
While on this hike, take notice to the green “Outlook” signs. They provide great vantage points of Lower Ausable Lake. One in particular that was our favorite was the first outlook. We took a majority of our pictures at this spot.
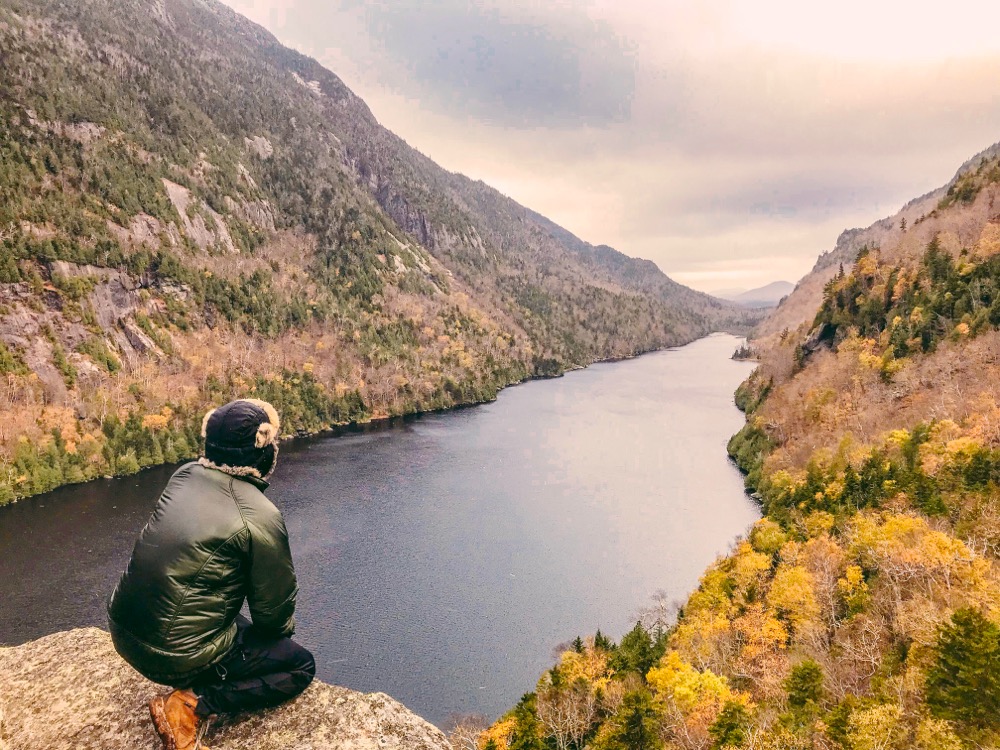
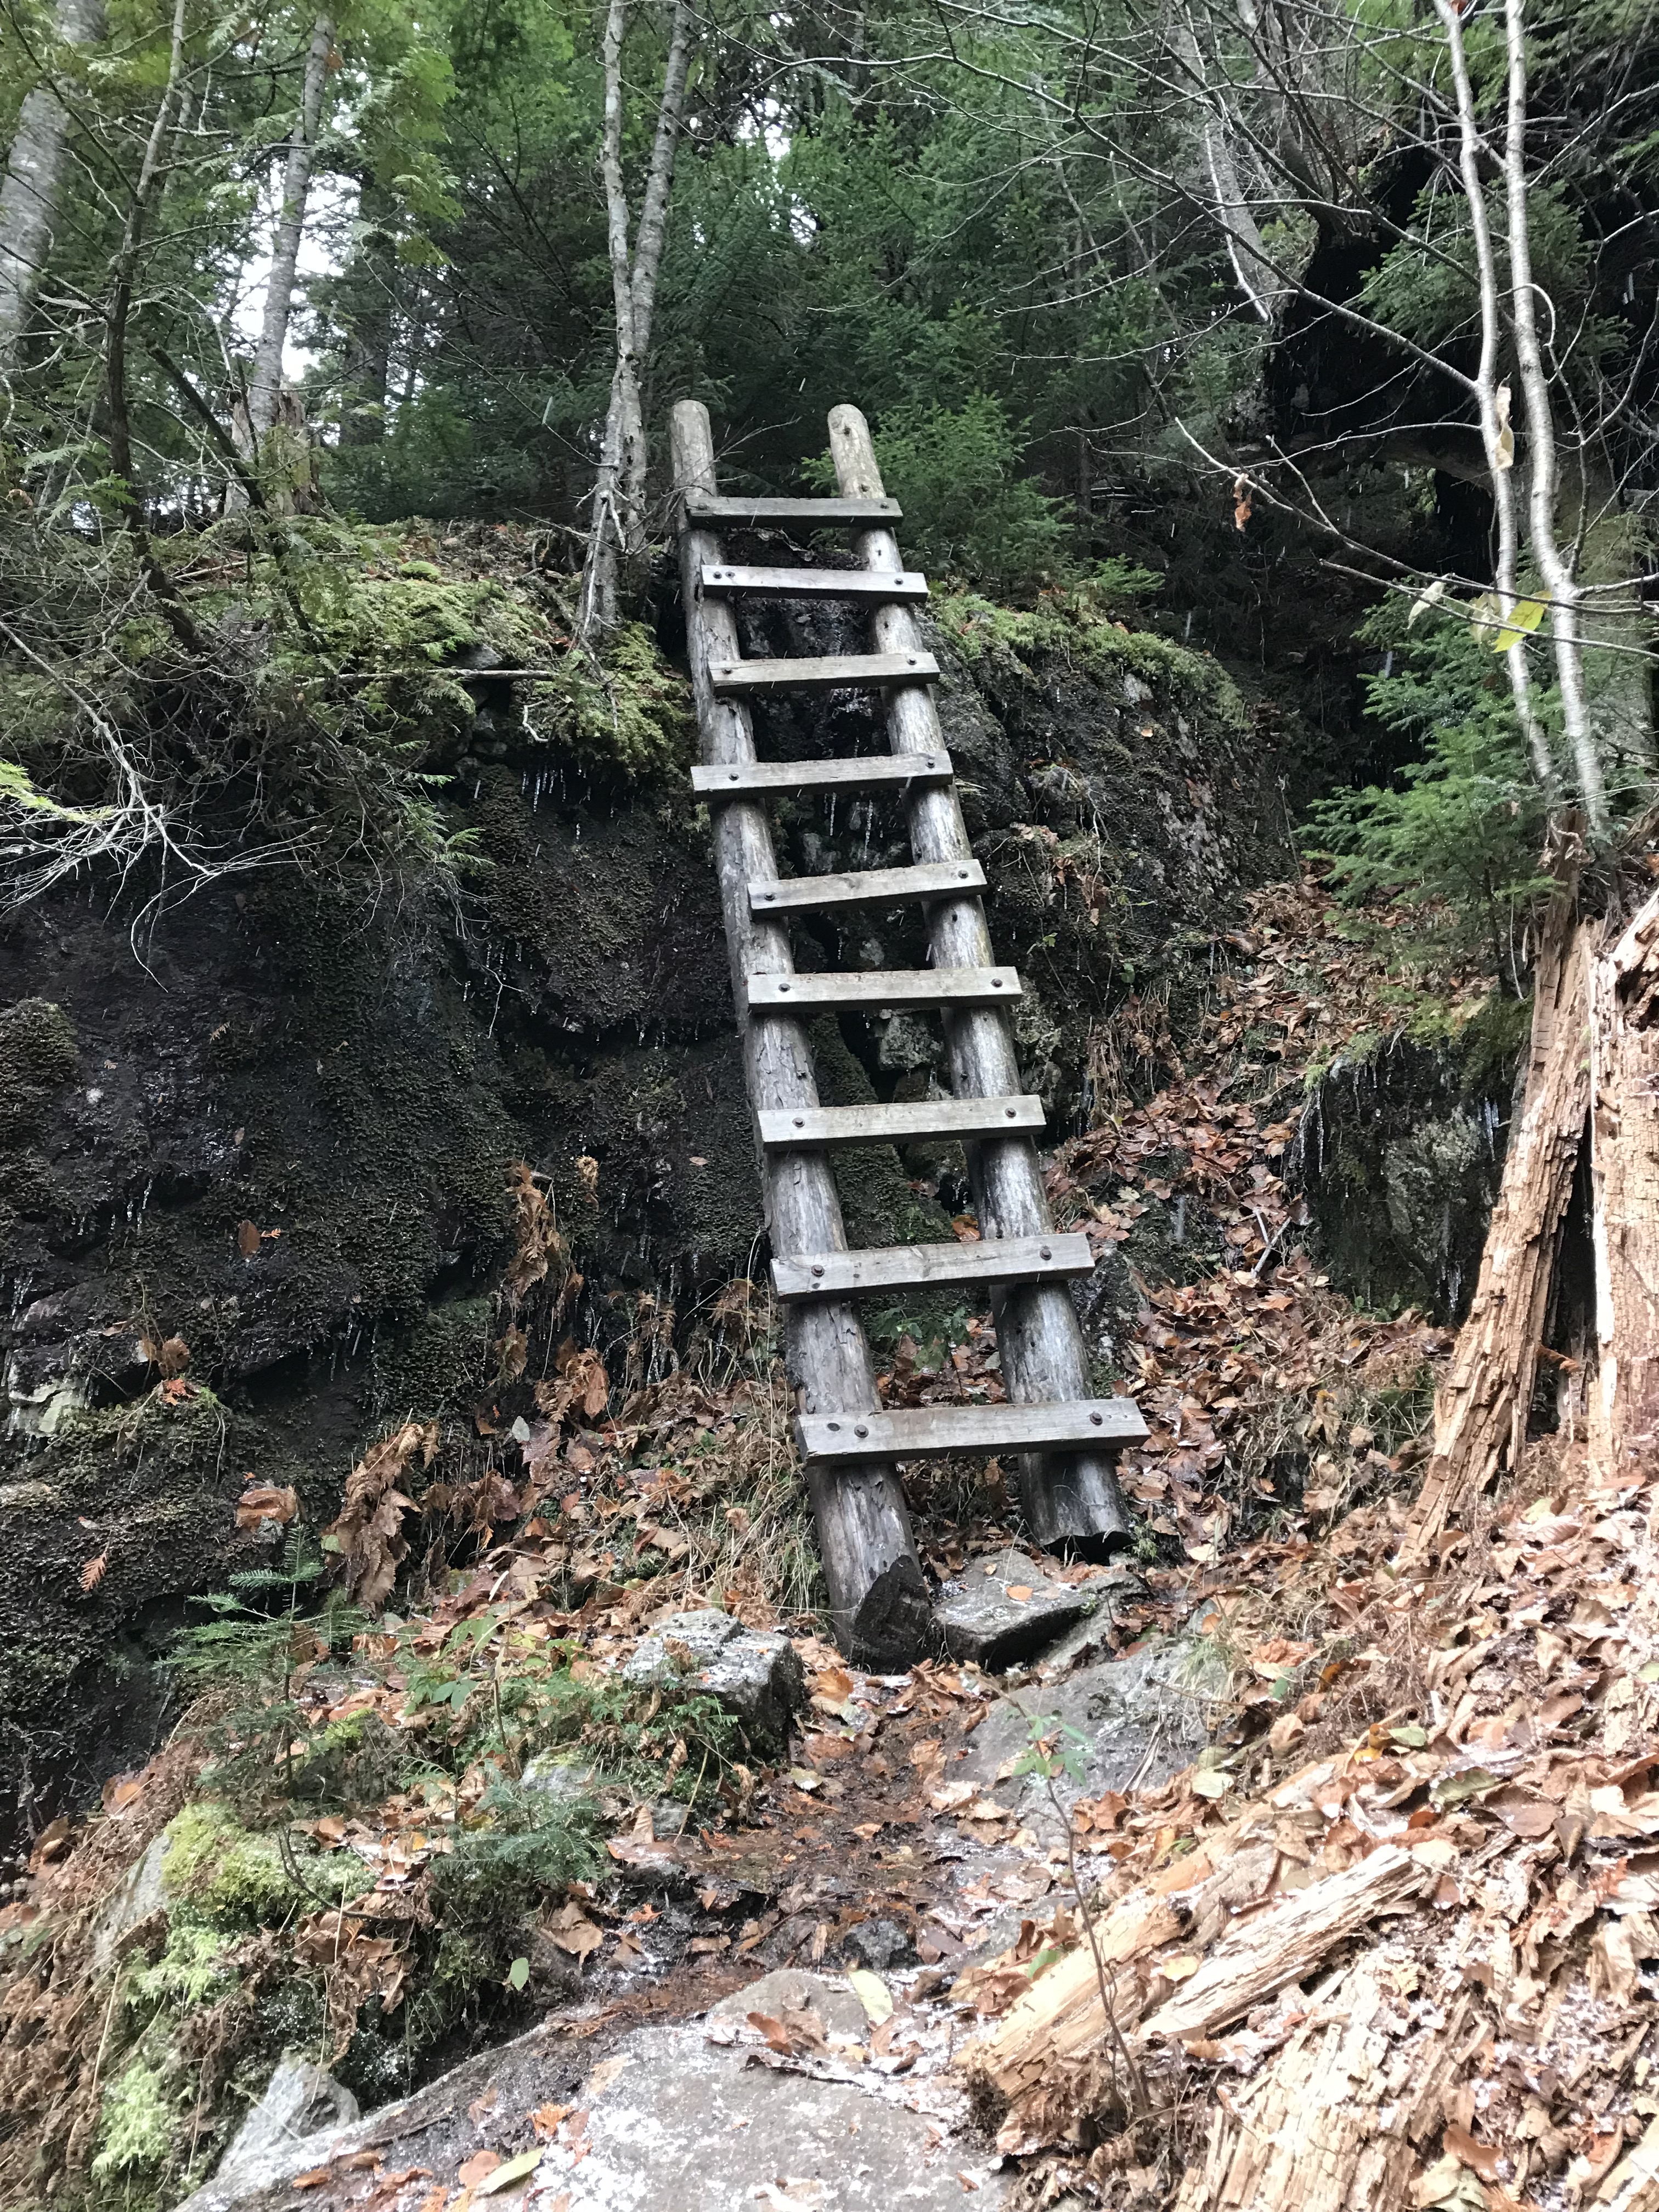
The trail after this was self-explanatory as the leaves were not nearly as prevalent. Keep moving forward and stop at the indicated outlooks. Eventually, you will hit a ladder. These are always fun, just be careful not to slip if the rungs are wet/icy. Also, the wires that tie off these ladders are sometimes difficult to see after climbing them. Make sure that you watch your step to avoid tripping.
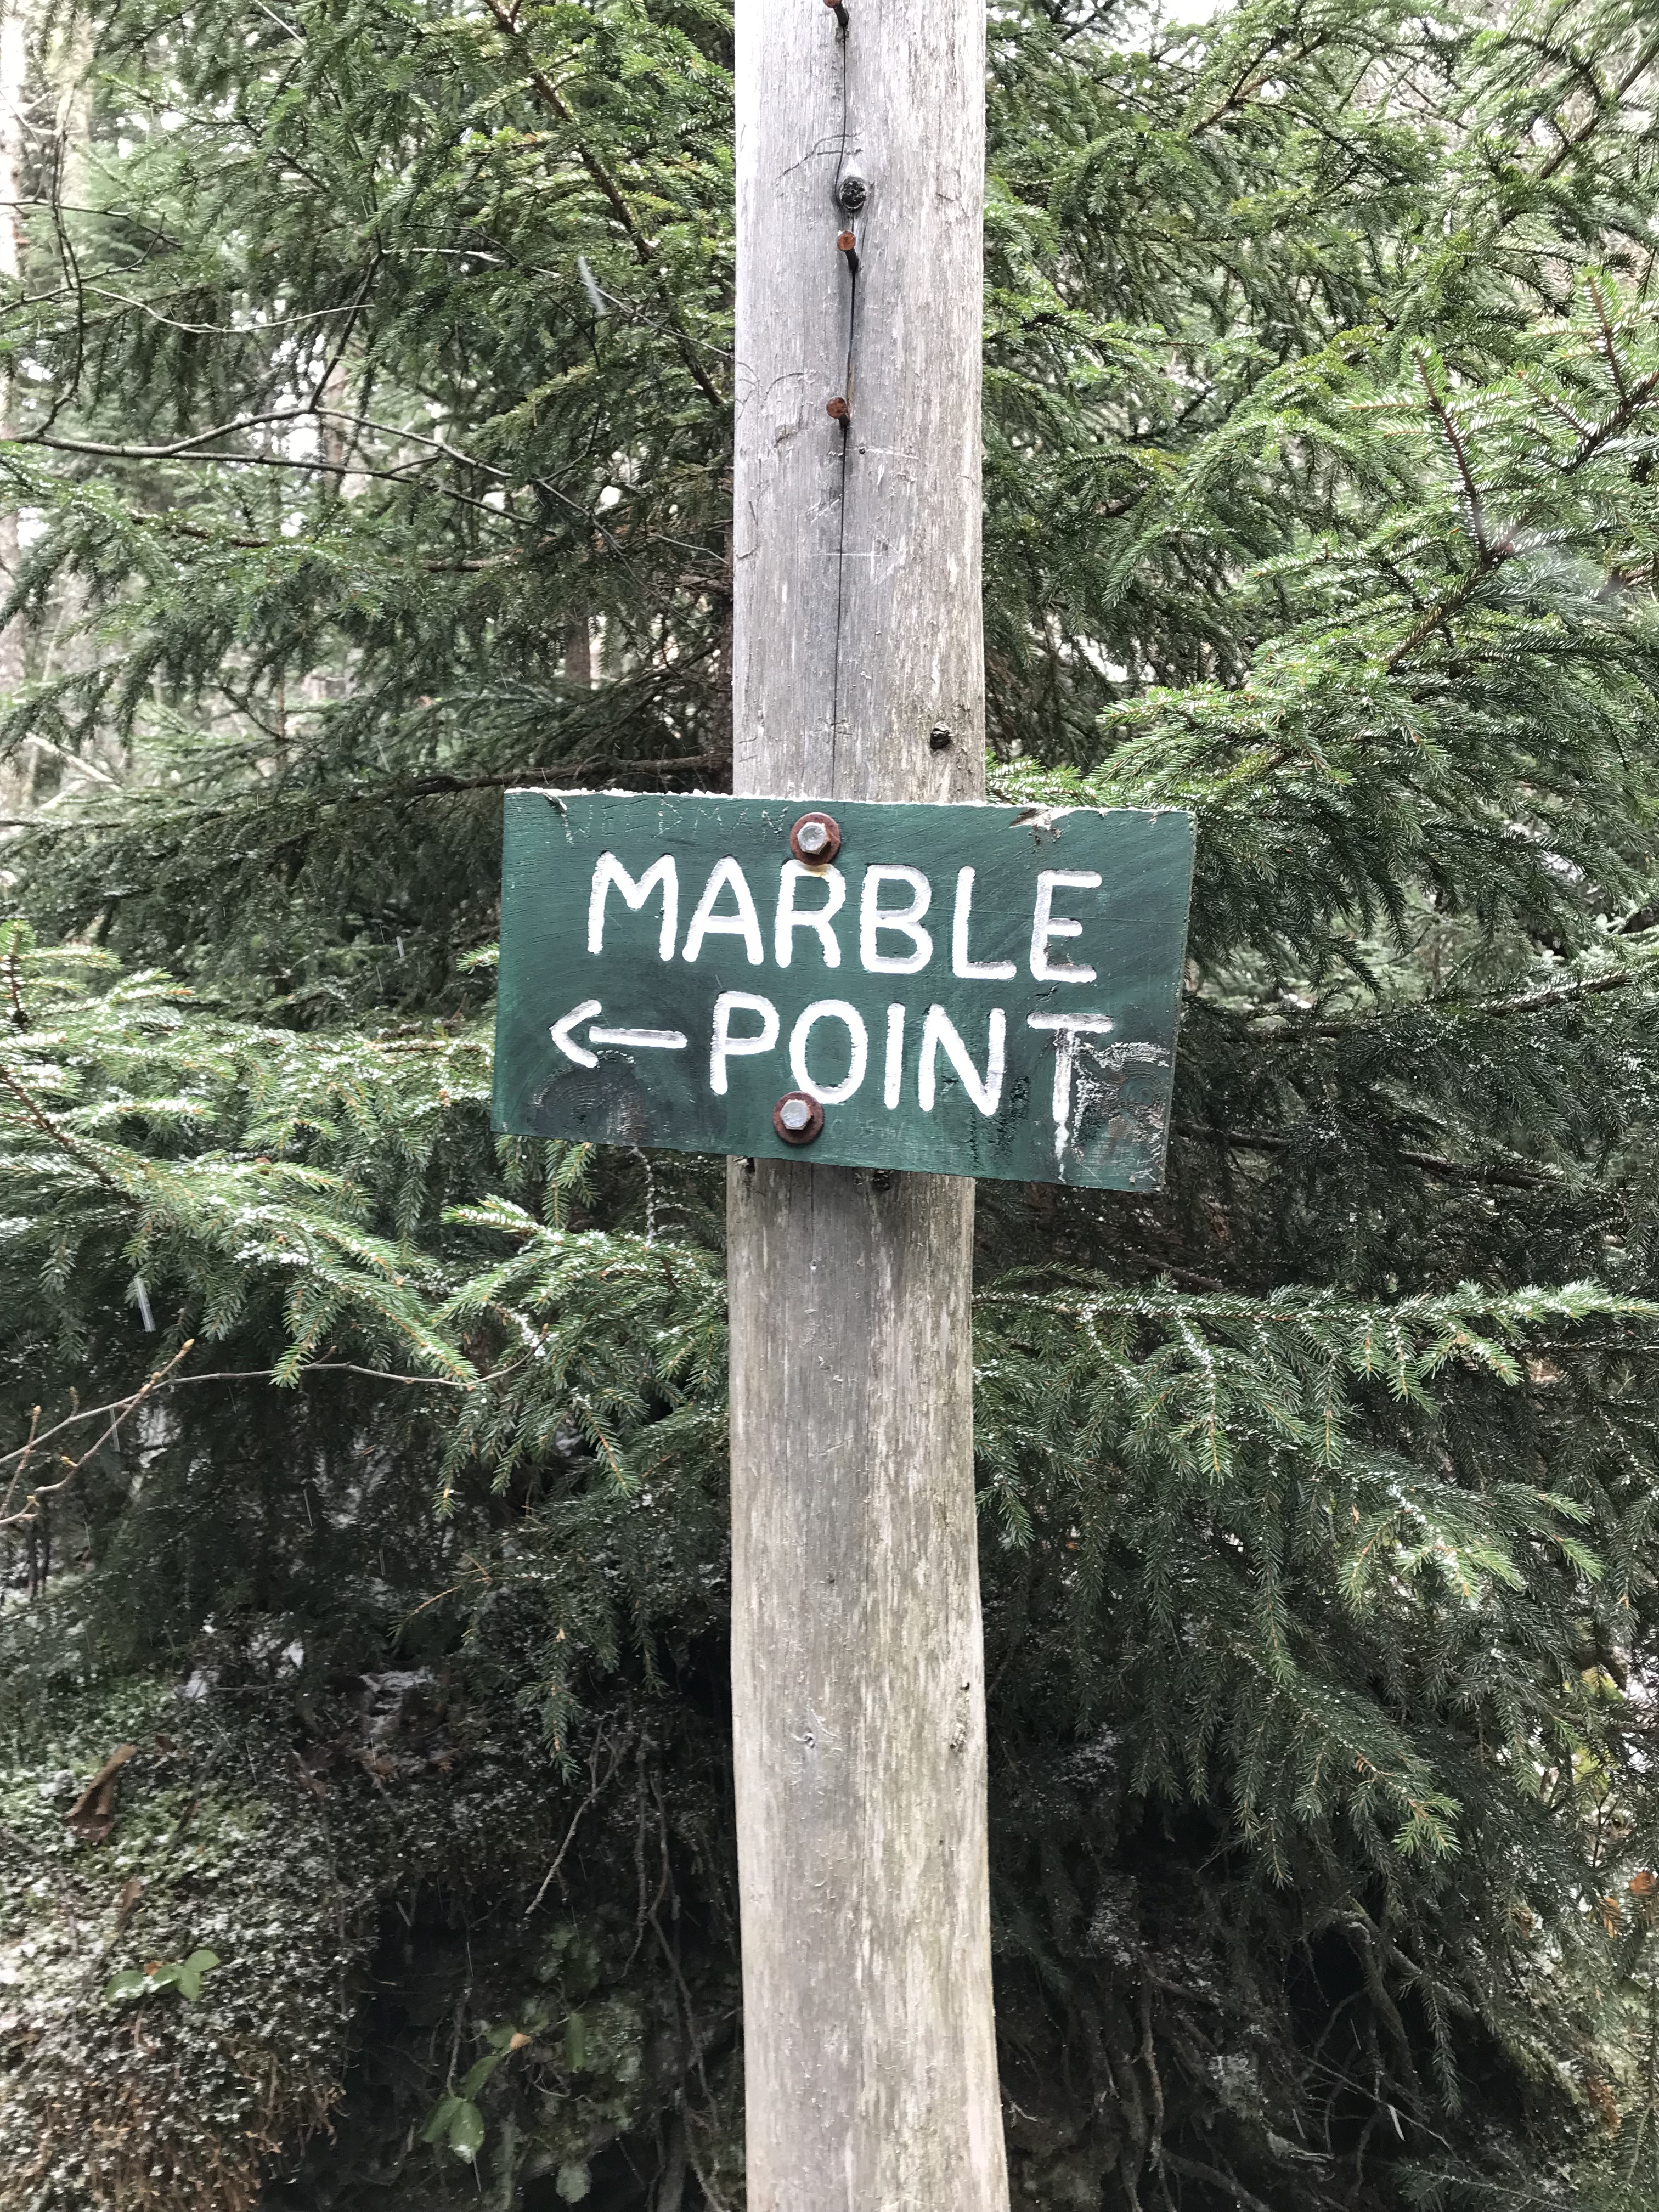
Keep making your way along the trail and you will eventually hit a green sign right in front of you that says “Marble <- Point.” To continue to Sawteeth Mountain, you are going to want to take a right.
Shortly after taking this right, you will see a sign that says “Cougar’s Gulch.” Be careful on this part of the hike as there is a little bit of rock climbing that will require your hands. My brother almost slipped here and had a mini heart-attack. Once I saw that he was okay I laughed hysterically, but please be careful!!
Within the next hour or so of hiking, you’re likely to hit a sign that will boost your morale. It notifies you and your group (if you are with a group) that the summit of Sawteeth is a 0.1 miles away. This should take you about four to five minutes depending on your pace.
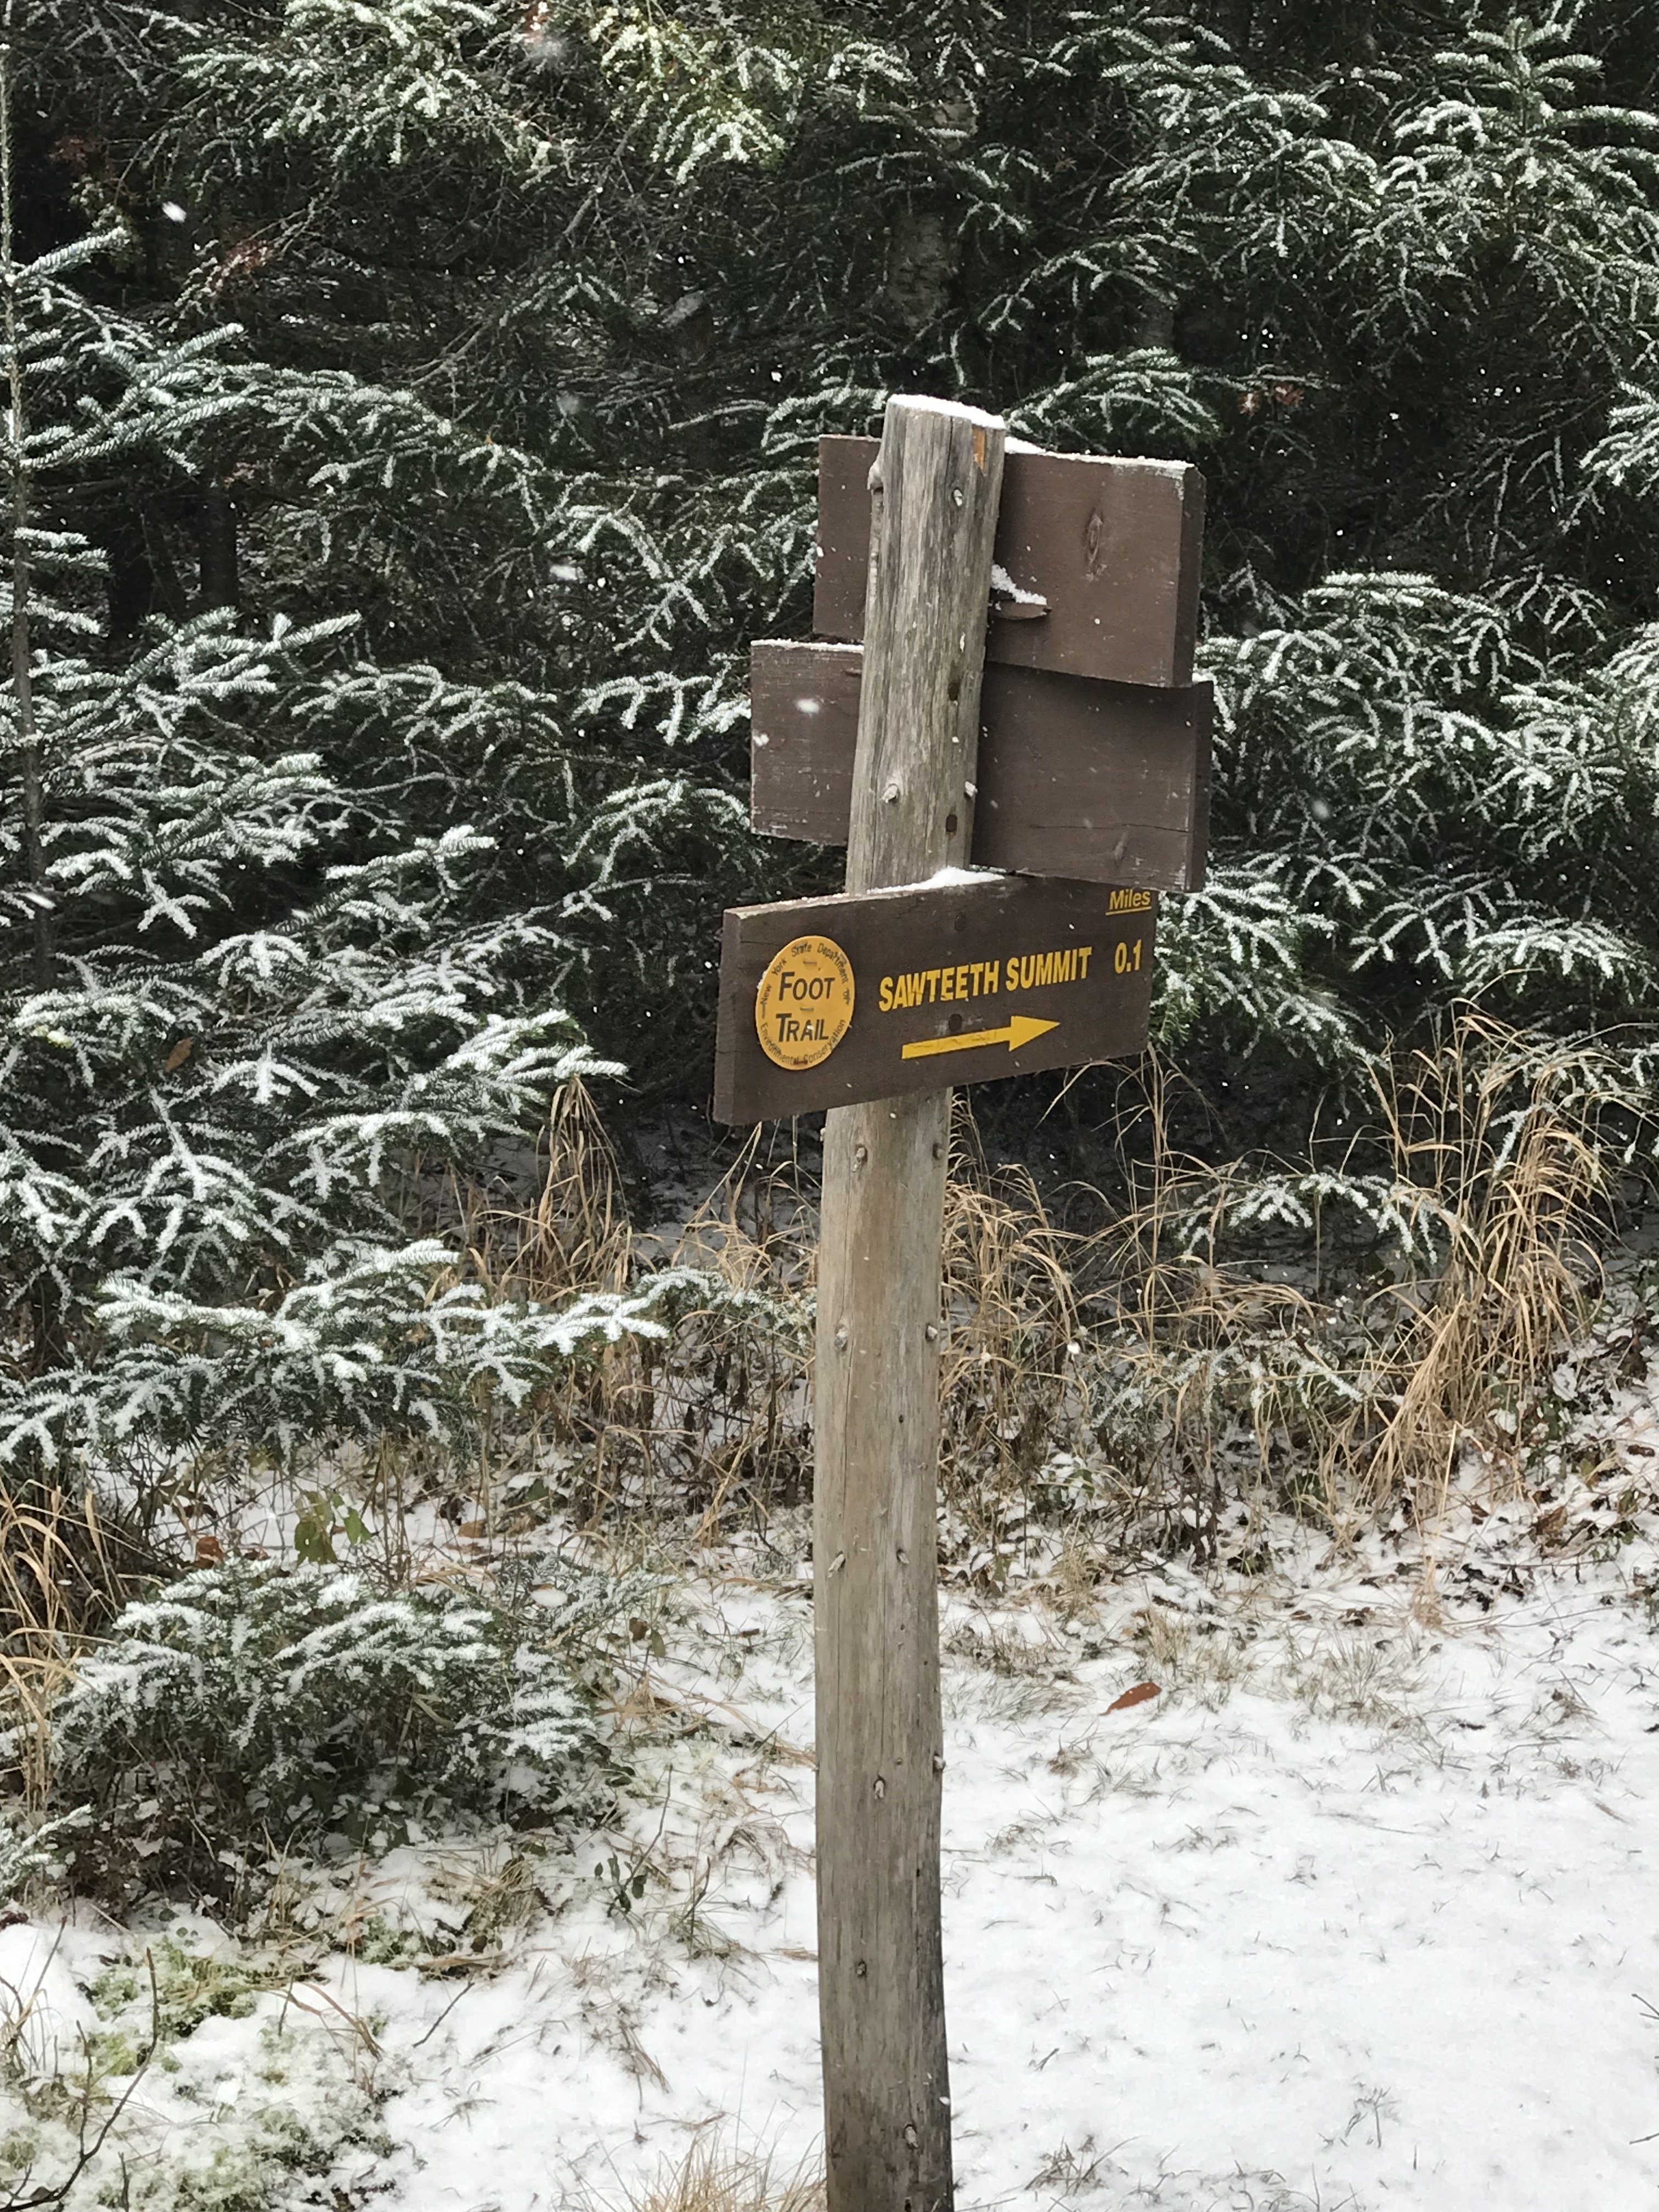
Summit of Sawteeth Mountain (4,110′)
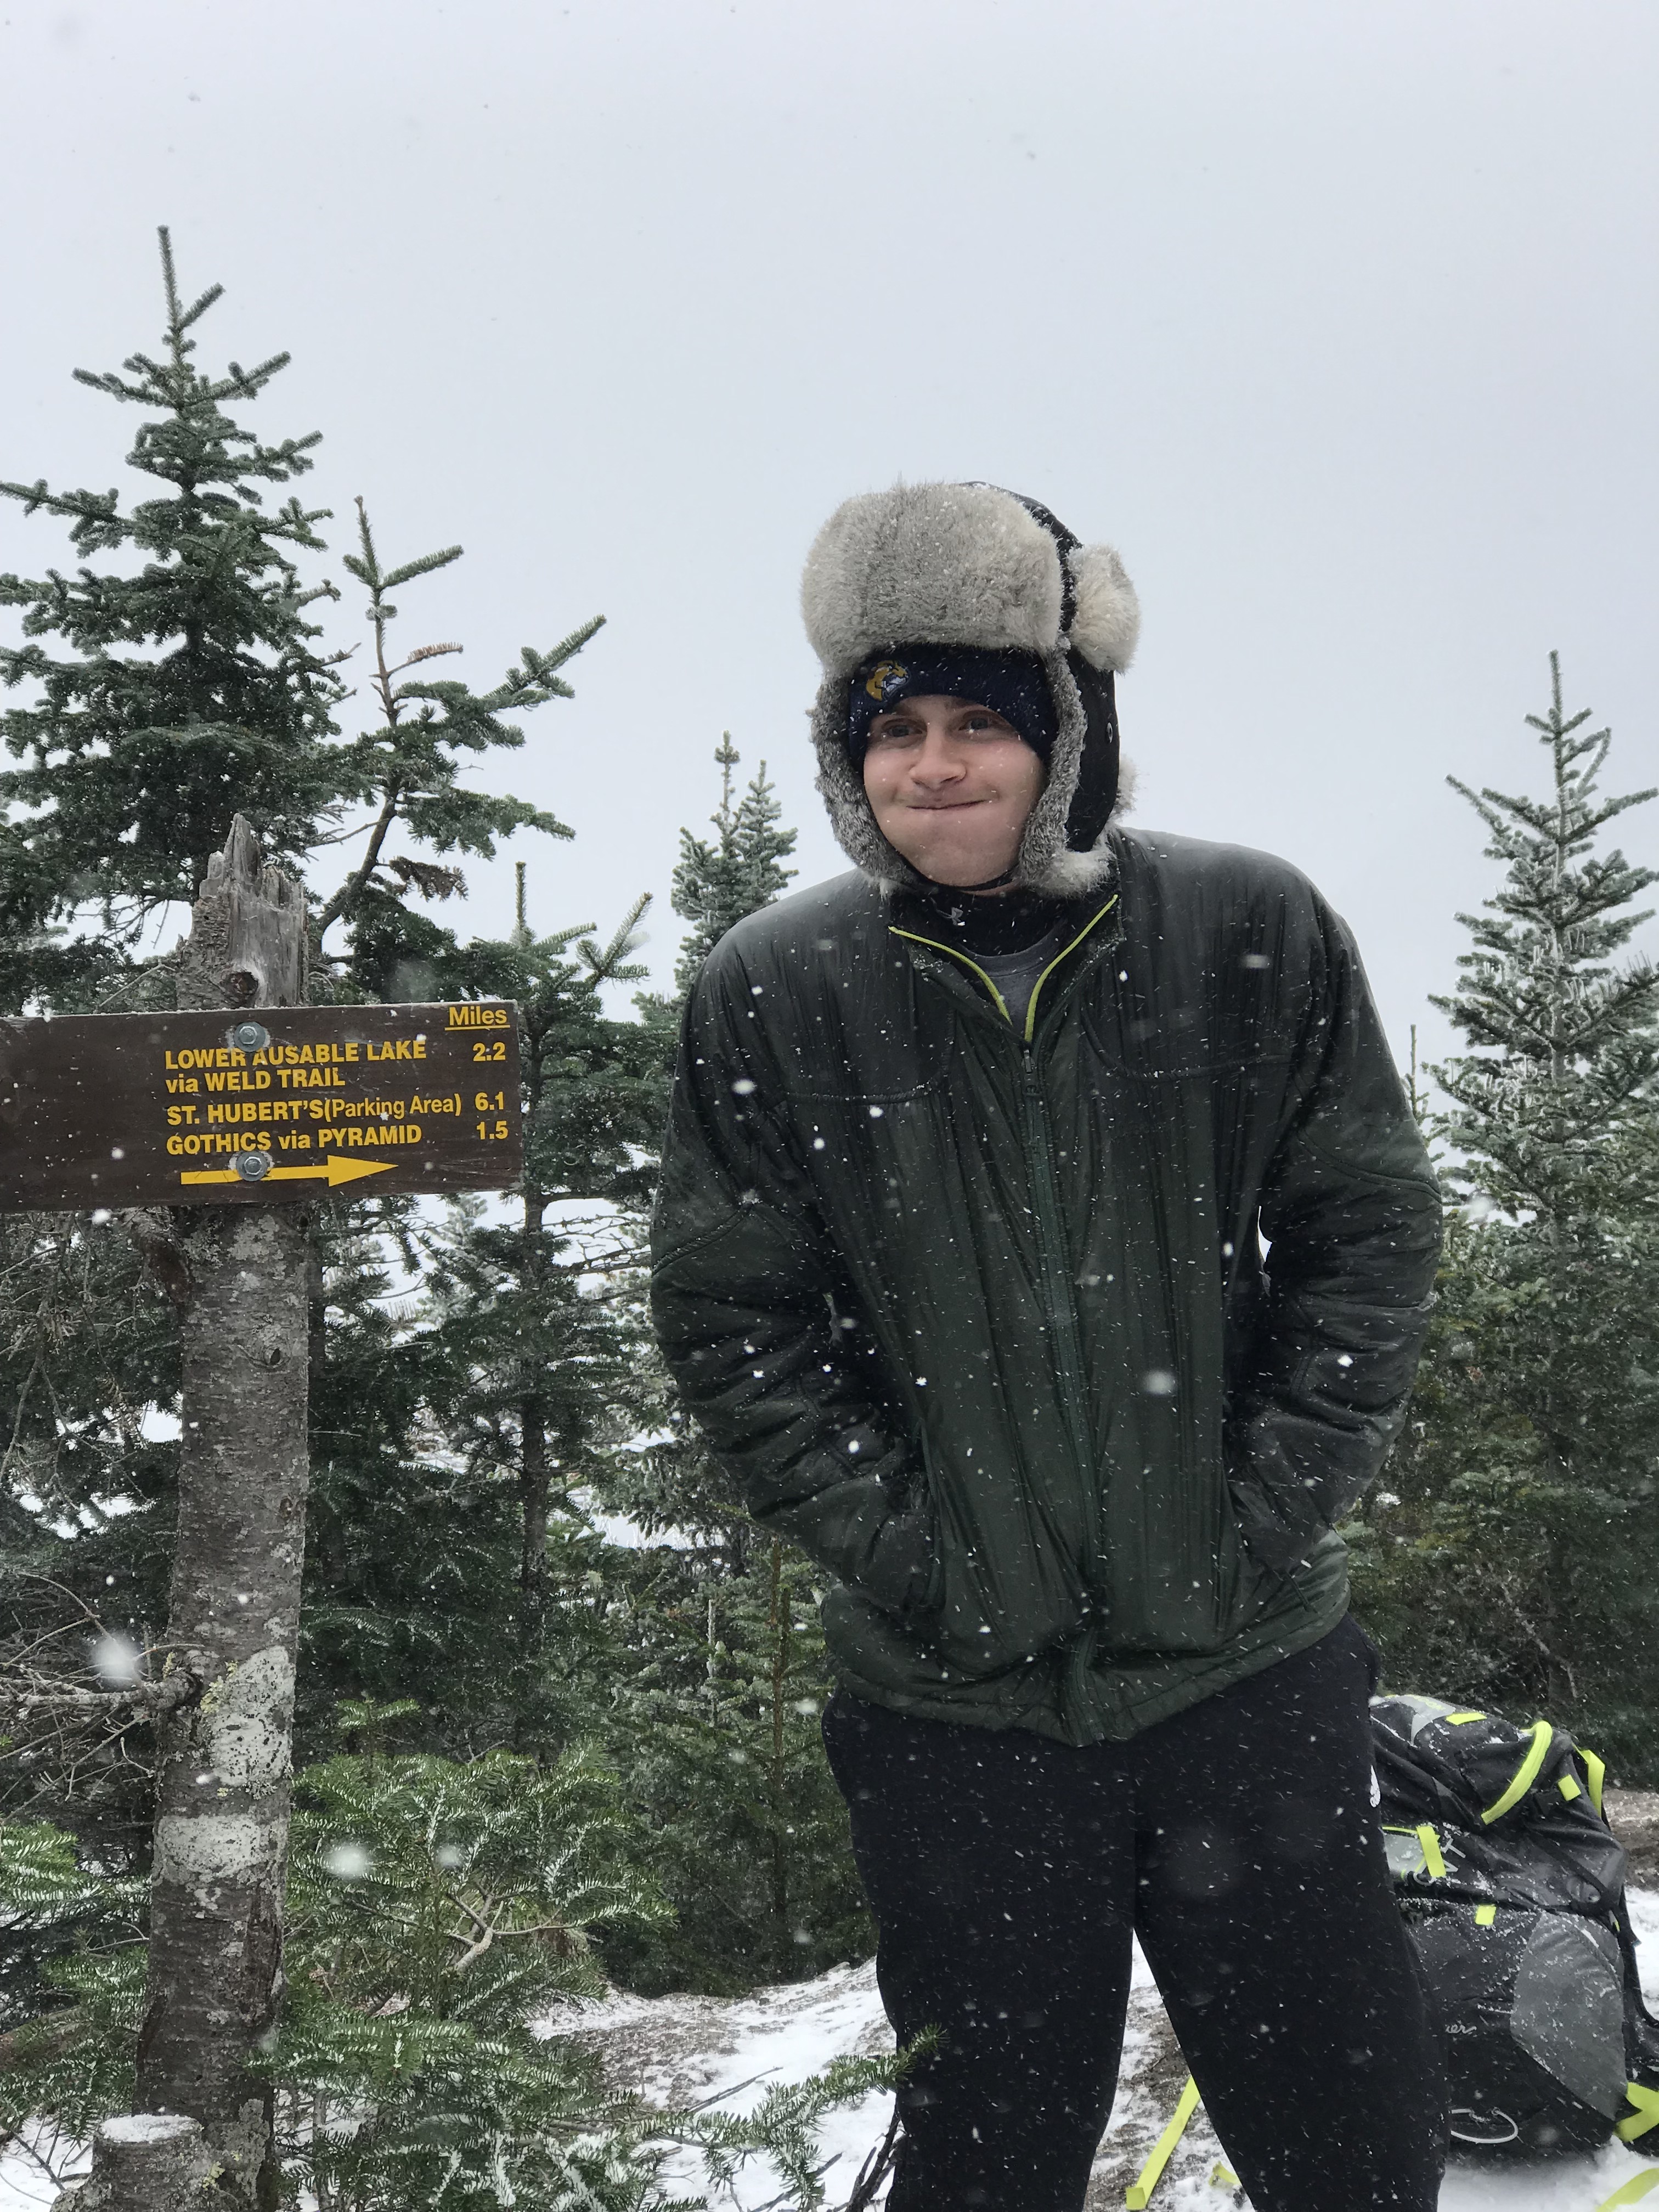
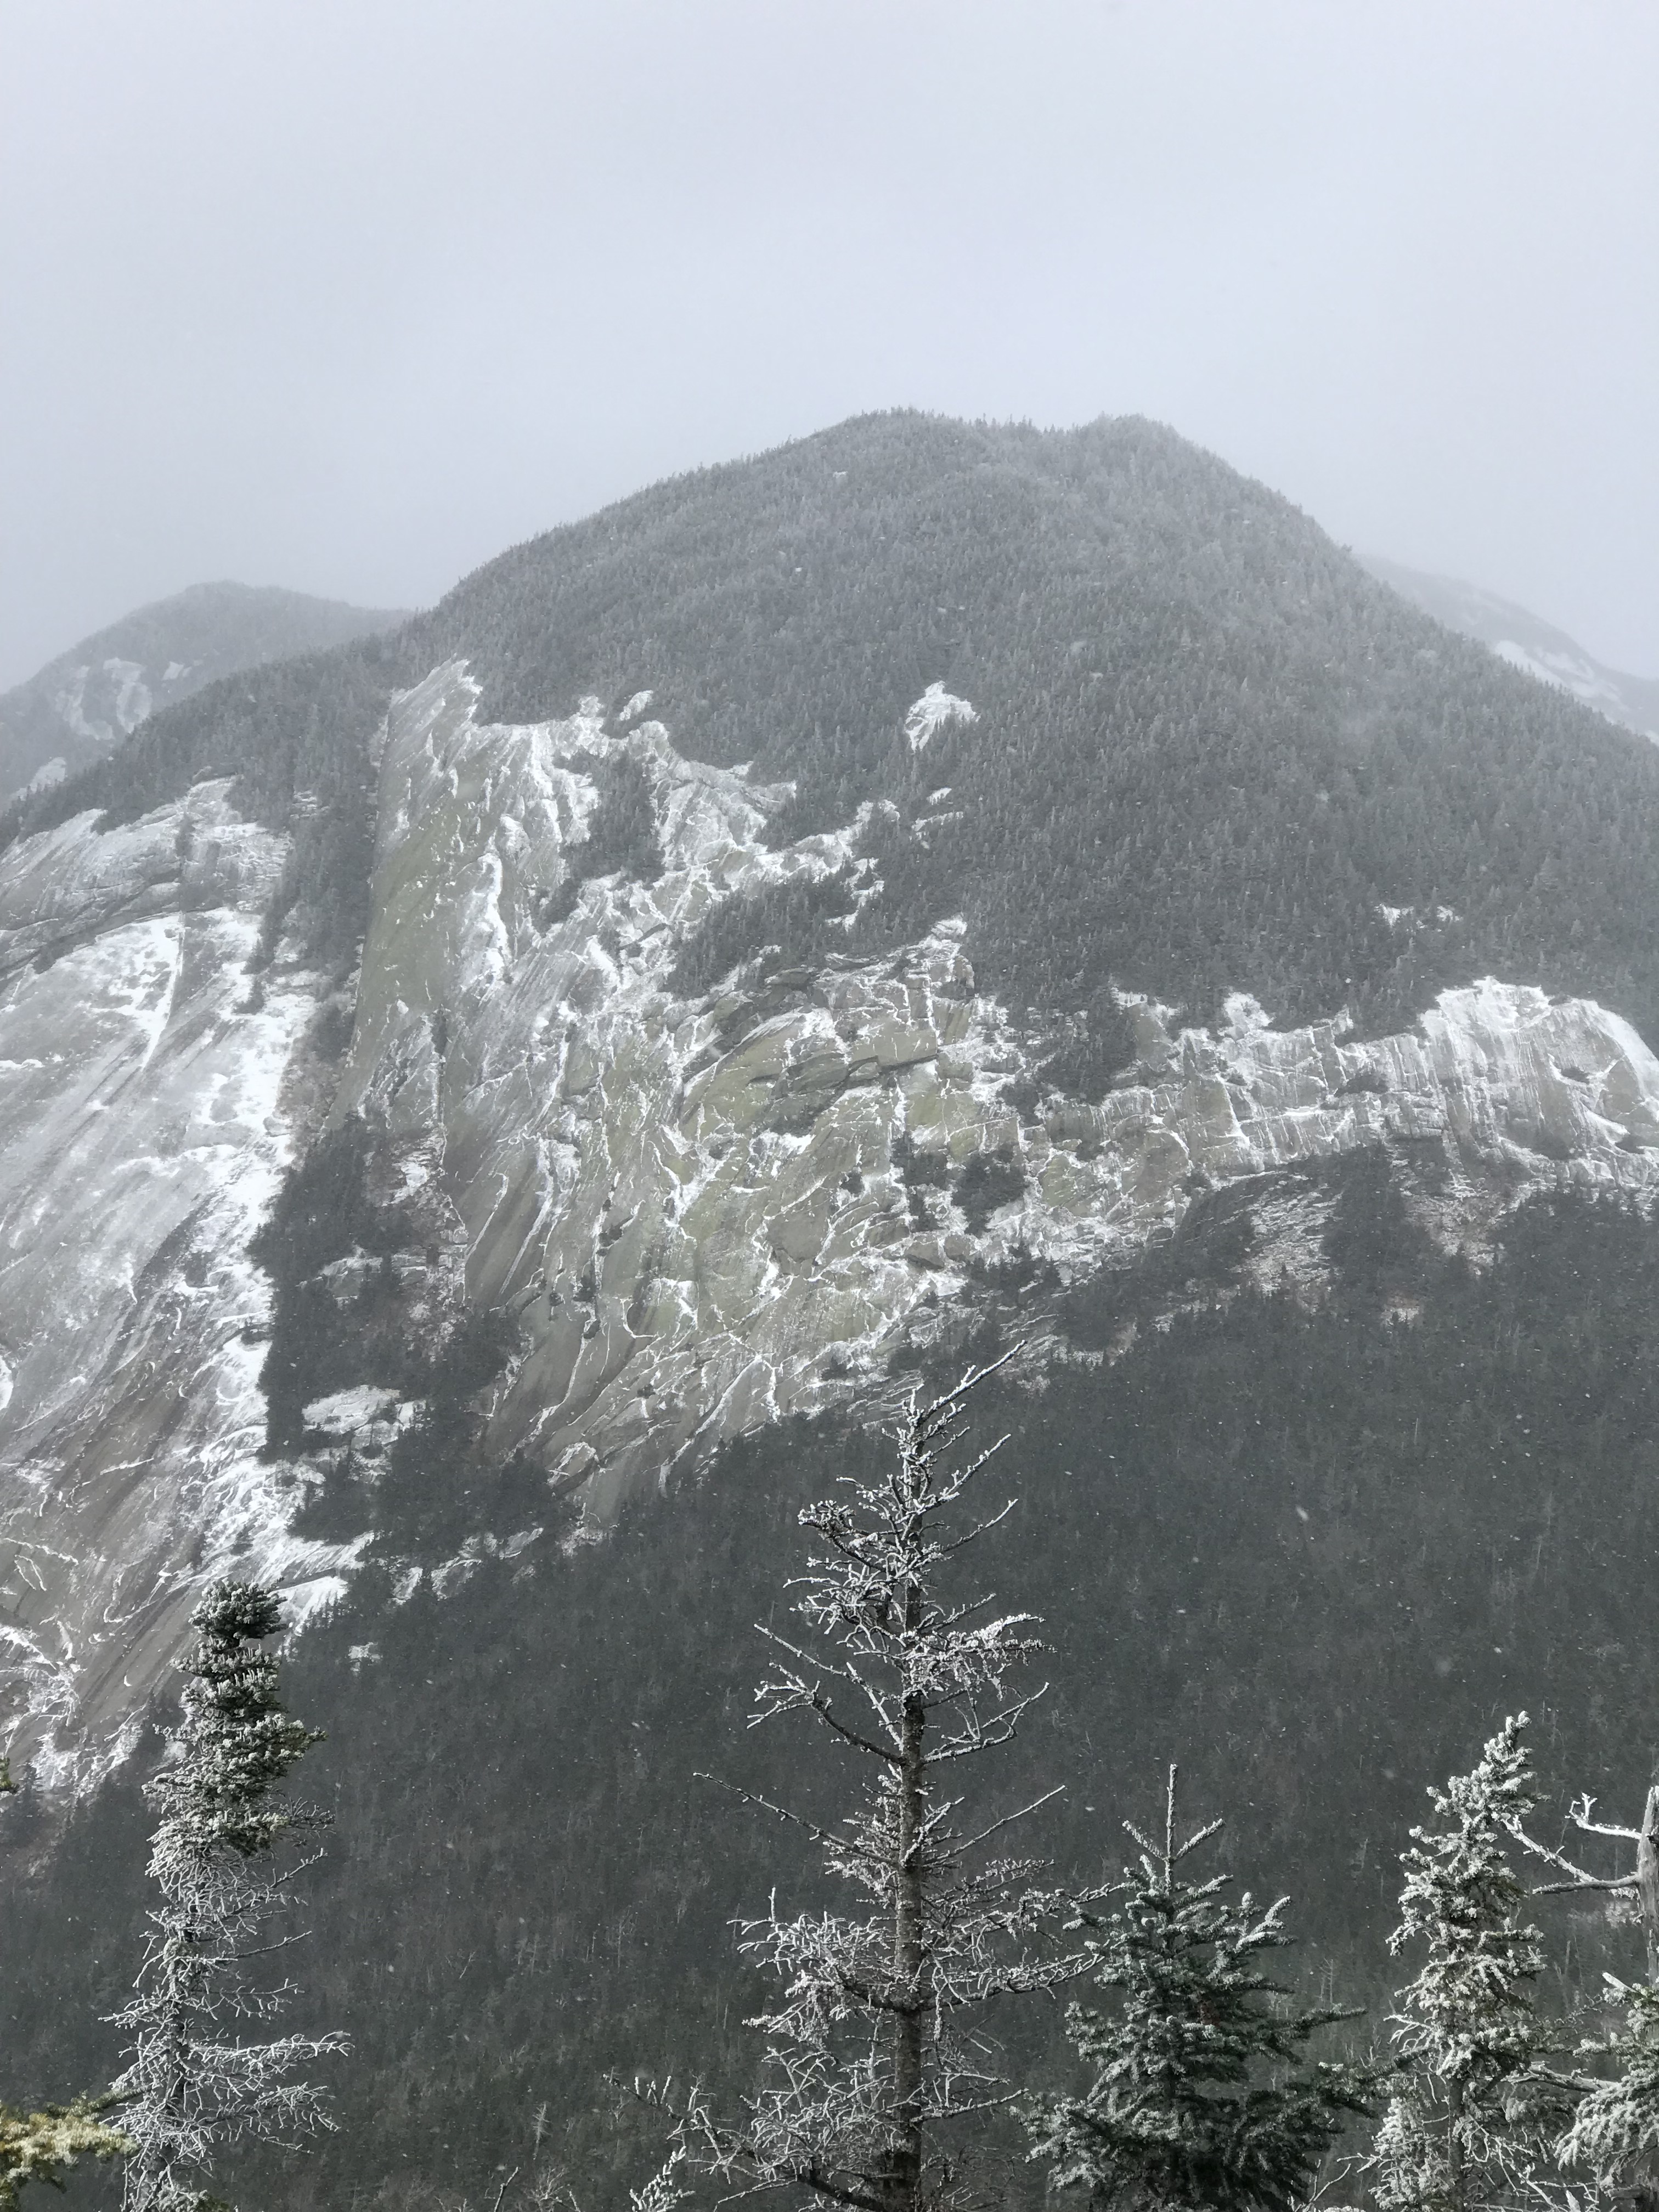
I had read that the summit of Sawteeth was wooded and the view would not be that spectacular. I was glad that a majority of what I read was wrong. Whilst on this summit, Gothics Mountain towers above in the near distance.
This summit is not that large, but we had it to ourselves which was great. Not many other people are willing to hike 6.9 miles through wind and snow, but we’ve always been a group known for our commitment. We hung out for fifteen minutes or so to snack, rehydrate, and take some pictures. Also, there is a sign on the summit of this mountain that states how far it is to get back to the St. Hubert’s parking area. If you head back down the scenic route, it will be 6.9 more miles. If you continue forward, it will be 6.1 miles.
The Descent Down to Rainbow Falls
Around this time of year (Late October to mid April), it will be icy once you’re up in the mountain ranges. This was the case for our hike down. Most of the large rocks had become covered in an inch or more of slippery ice. Take your time and watch your footing so you do not get hurt. Crampons or ice spikes would have been helpful in this scenario.
After gaining some distance, you will hit a sign pointing you in the direction of St. Hubert’s parking area. I apologize for not having a high-quality photo of the sign. Take notice that at this point, you will be following blue trail markers on your way down like the one on the sign.
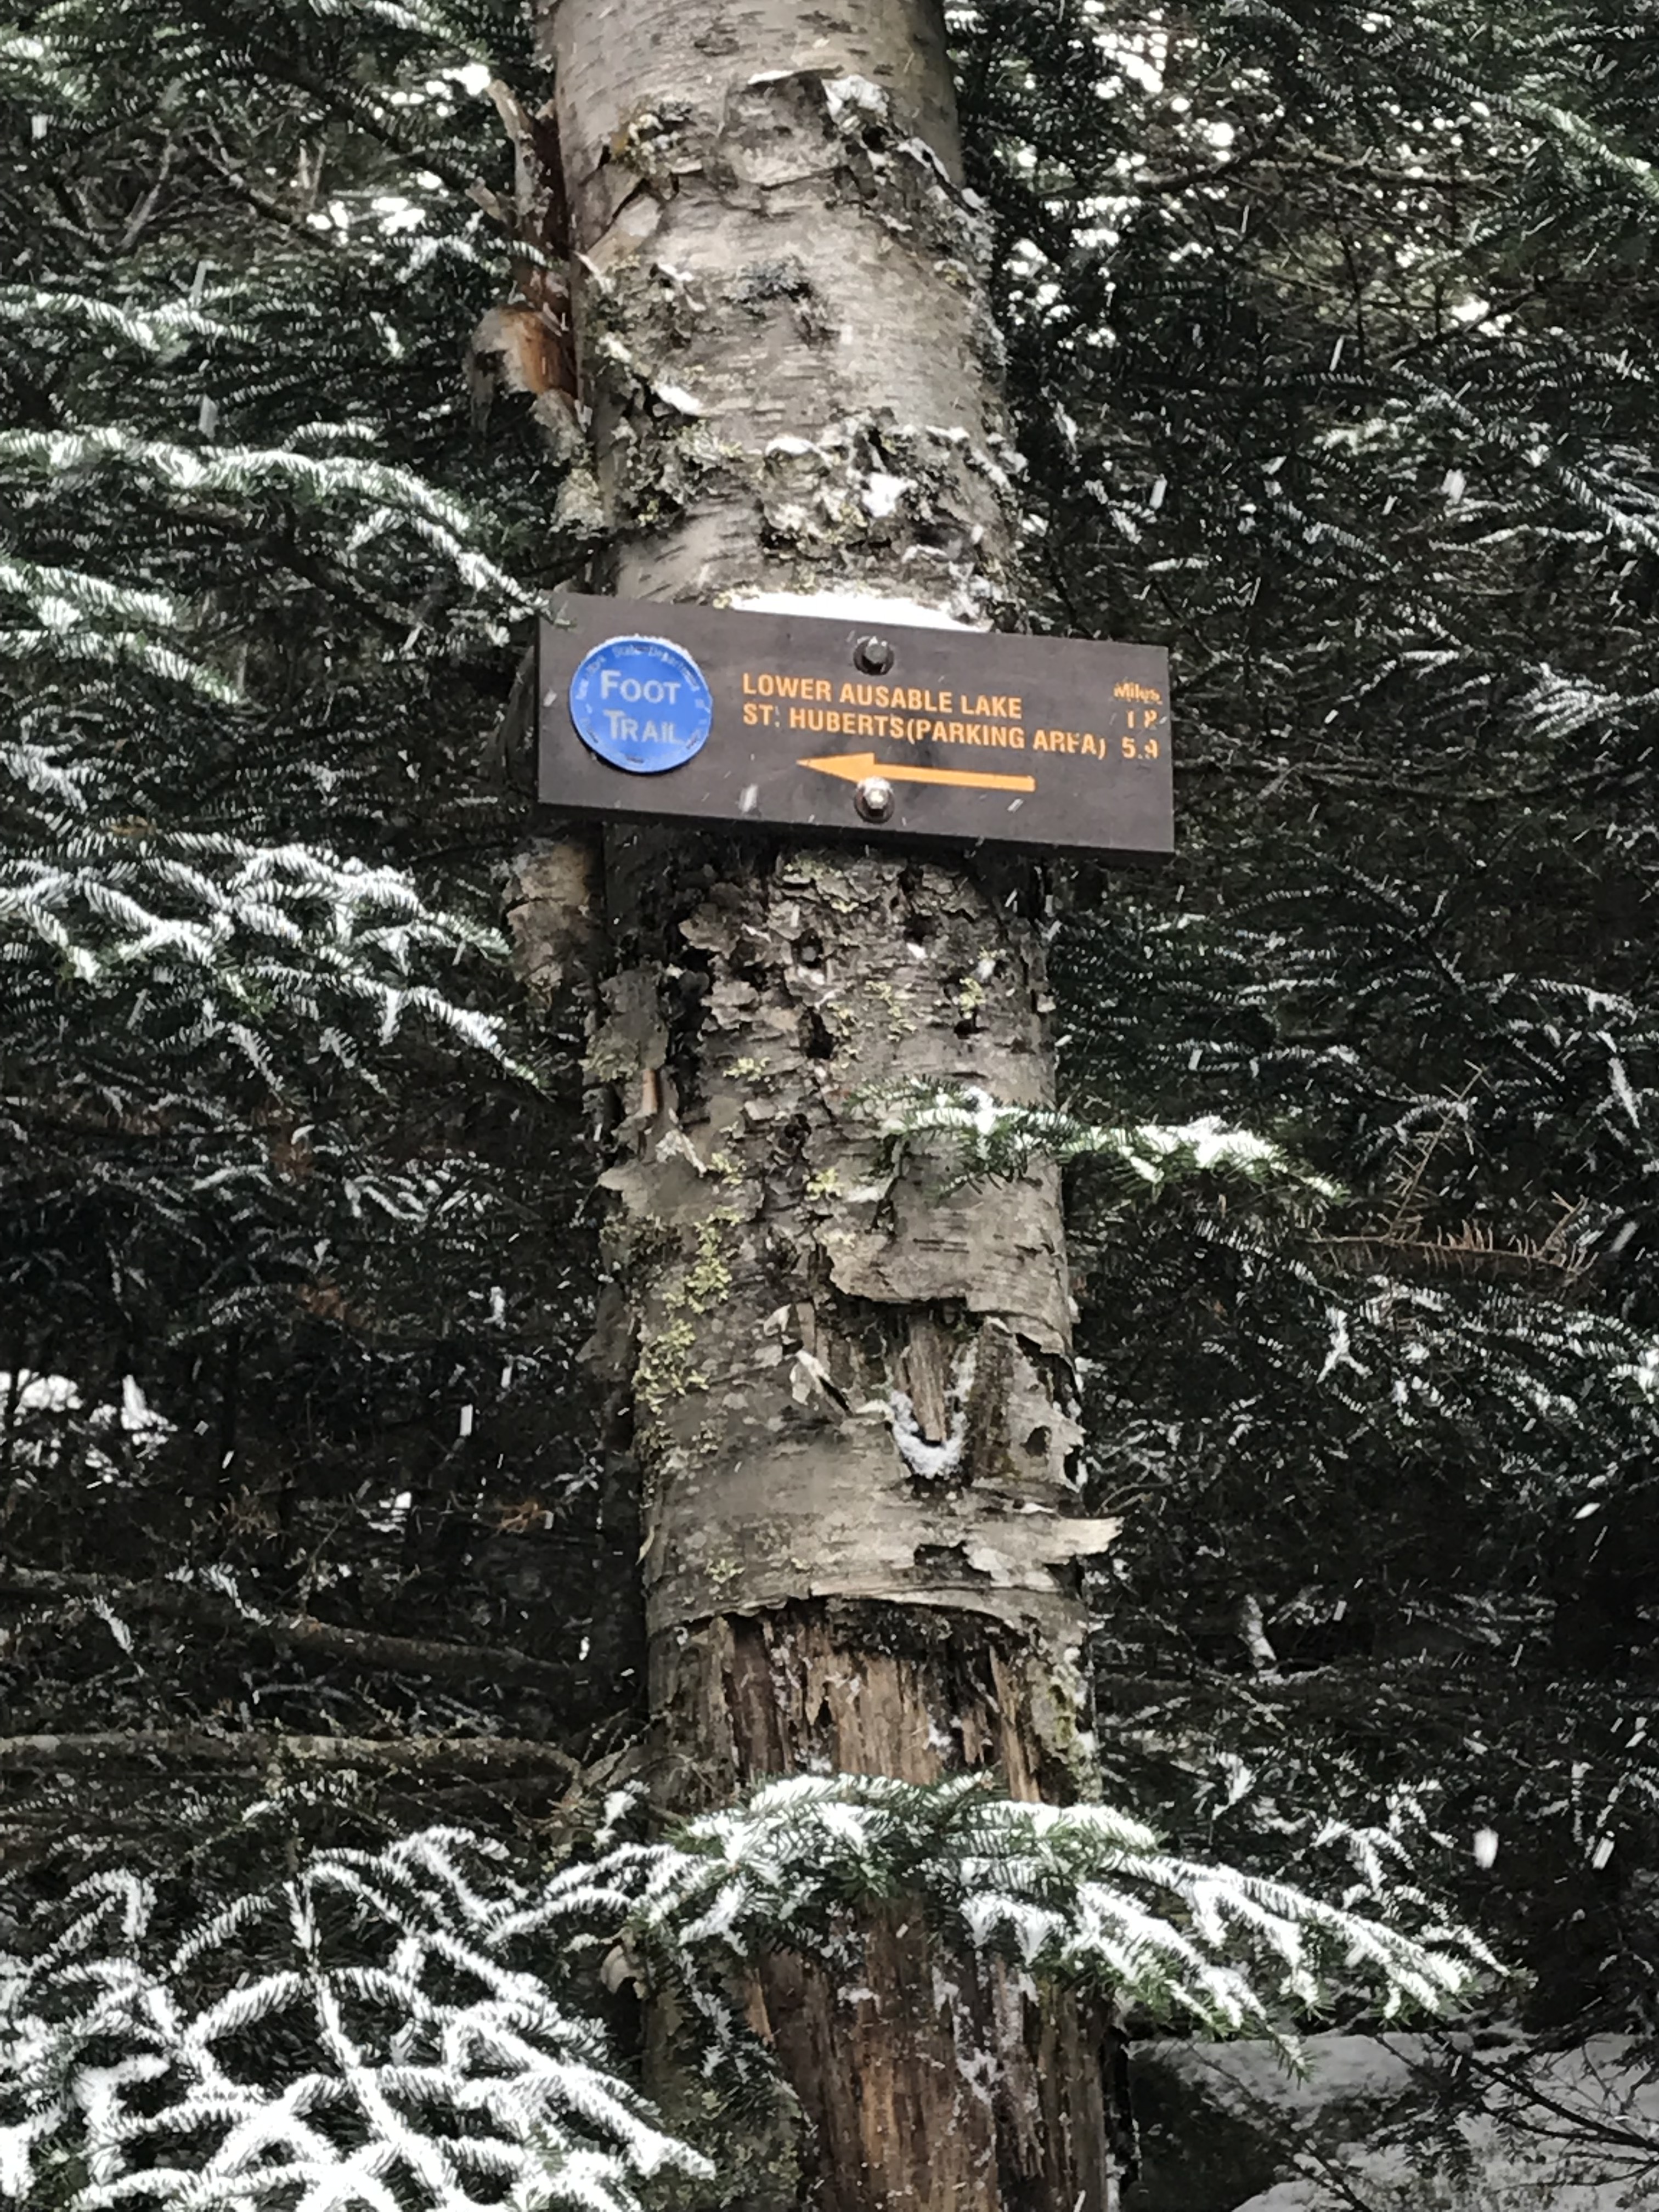
Keep following the blue trail markers and after about roughly an hour of hiking, you will hit my favorite sign in the Adirondacks. It is a cliff that overlooks Rainbow Falls that has a hand-built railing.
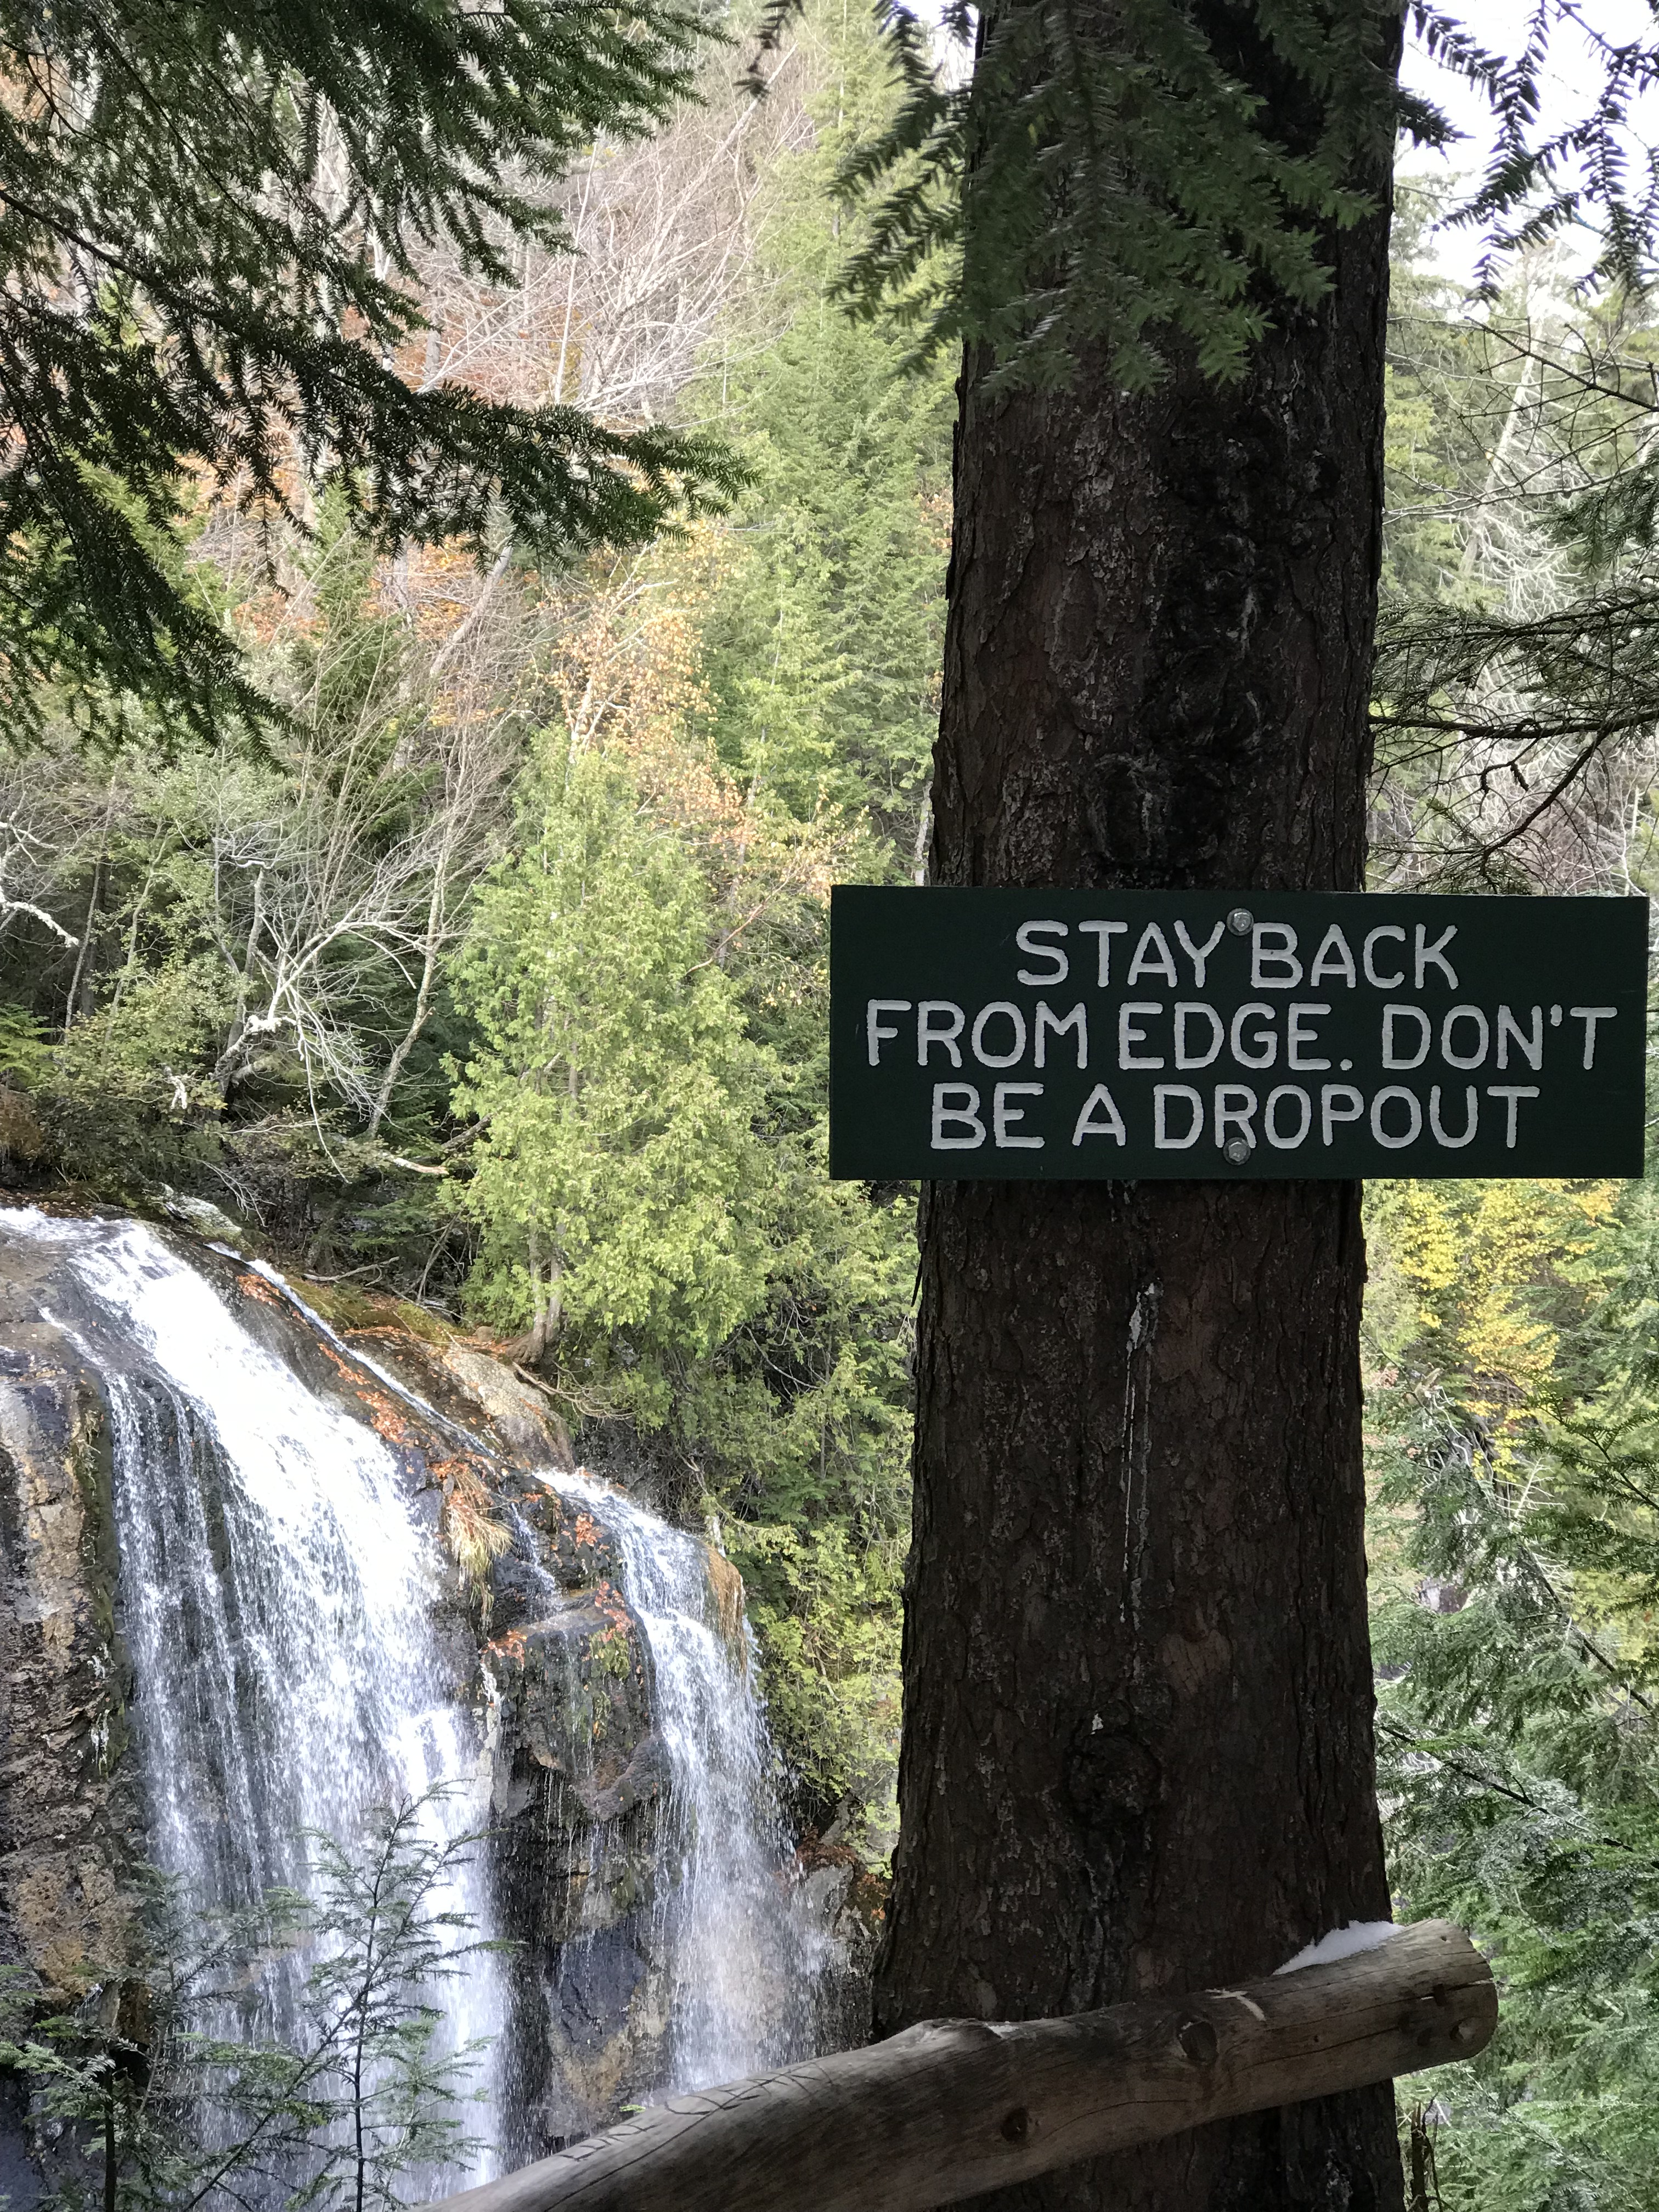
Please do be careful here as the drop-off from this cliff is very steep and falling would most likely result in…well…you know.
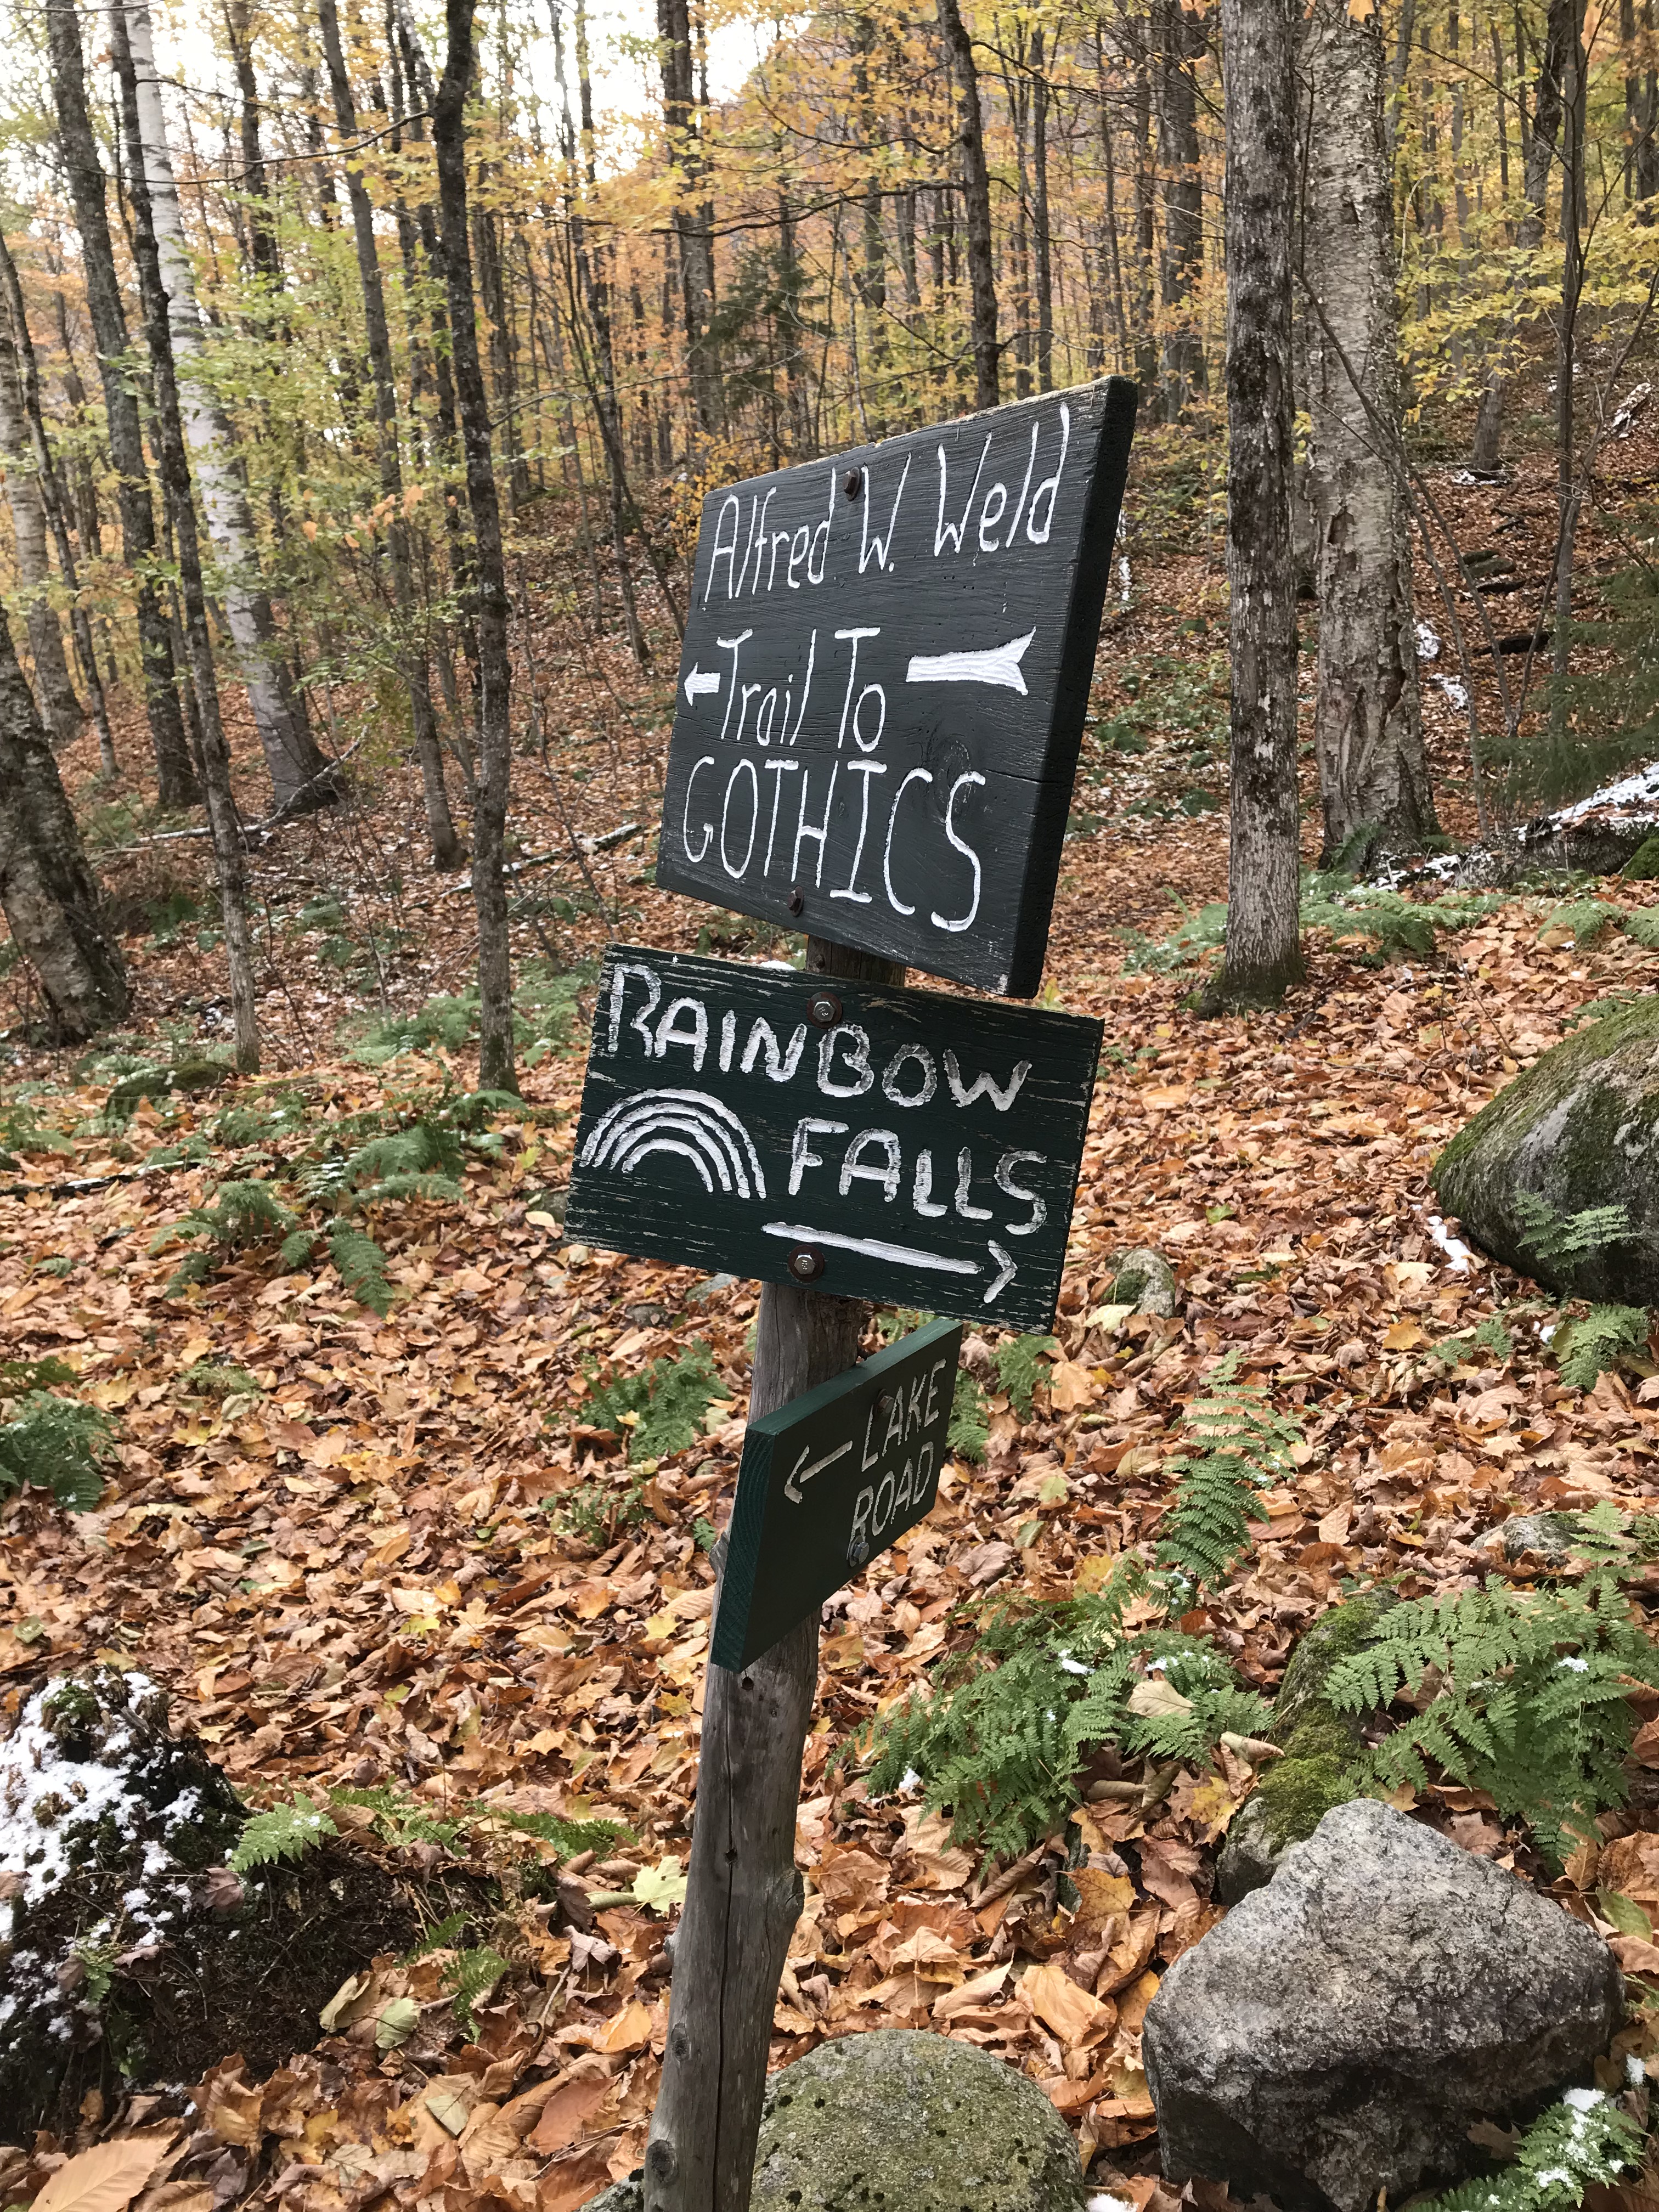
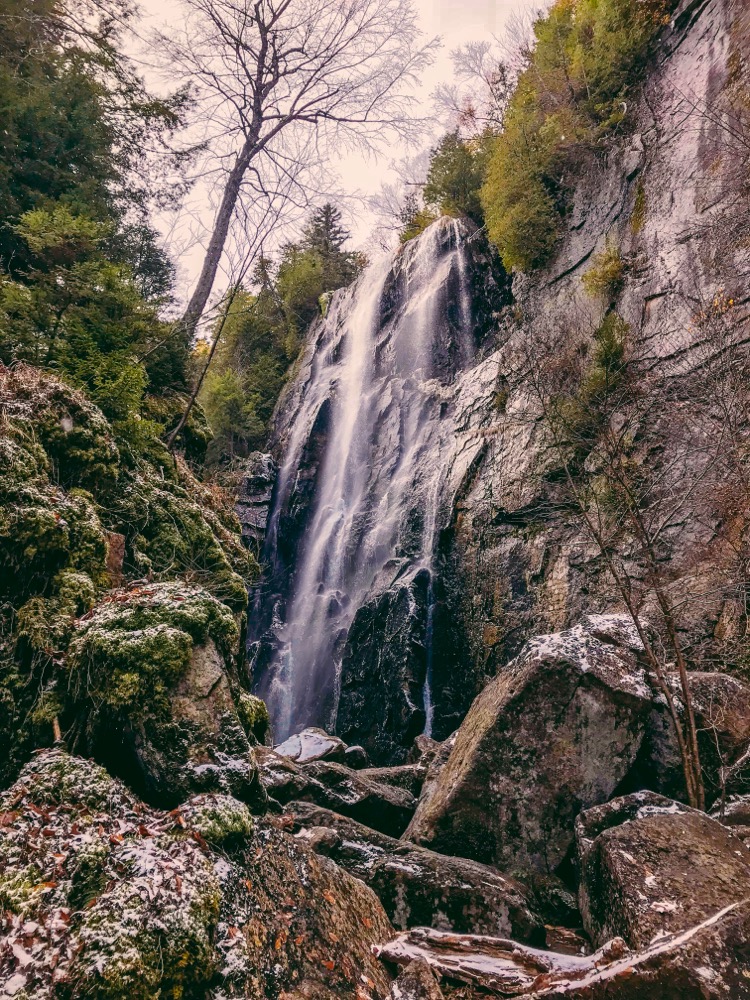
Hike ten more minutes down the trail and you will reach the sign that will point you in the direction of Rainbow Falls. It is about a five minute walk to the falls from this sign and I highly recommend visiting it. The waterfall is nearly 150 feet tall and it truly is amazing.
Rainbow Falls
Rainbow Falls is roughly 150 feet tall and is one of the coolest waterfalls I have seen to date. In all honesty, and this is my opinion, I liked it more than Niagara Falls just because it is not in a developed environment and not commercialized.
Also, if you would like to just walk to this waterfall, it is a very short walk from that bridge mentioned earlier in this post. It would not be anything too strenuous besides walking the entirety of Lake Road and a little bit of distance in the woods.
Back to St. Hubert’s Parking Area
At this point, it is very easy to get back to the lot. You will walk back to the Rainbow Falls sign shown above and it shouldn’t take you more than ten to fifteen minutes to emerge from the trail to the bridge. At this point, you will just have the 4 – 4.5 mile walk down Lake Road back to your vehicle.
Dog-Friendly
Dogs are absolutely PROHIBITED on the AMR property. I do not want to see anyone getting in trouble for having their furry friends with them. There are many other trailheads in the Adirondacks where you could bring your pal and have a great time.
Fam-Friendly
I would say that this is not a hike that is entirely family-friendly. The distance of 13.1 miles alone would be difficult for young ones and out-of-shape hikers. There are also some spots that will involve having to do a little climbing with your hands. However, if you want to bring the fam to Rainbow Falls, it would be about 8 miles total and the entire trek would be relatively flat terrain.
Clothes Worn
- Timberland Boots
- Nike Compression Shorts
- Long-johns
- Adidas Sweatpants (joggers)
- Adidas T-shirt
- LL Bean Jacket
- Beanie
- Ushanka hat
- Gloves
Gear Brought
- 3L of water
- Granola bars, trail mix, peanut butter sandwiches
- Wind/Rain pants
- Extra layers (UnderArmour)
- Extra hiking socks
- Knife
- Paracord and two carabiners
- Water-proof matches
- LifeStraw (water filtration, costs about $20)
- Adhesive body warmer
- Balaclava
- Trekking poles (A MUST => weight off knees, helpful when dealing with ice)
- First-Aid Kit
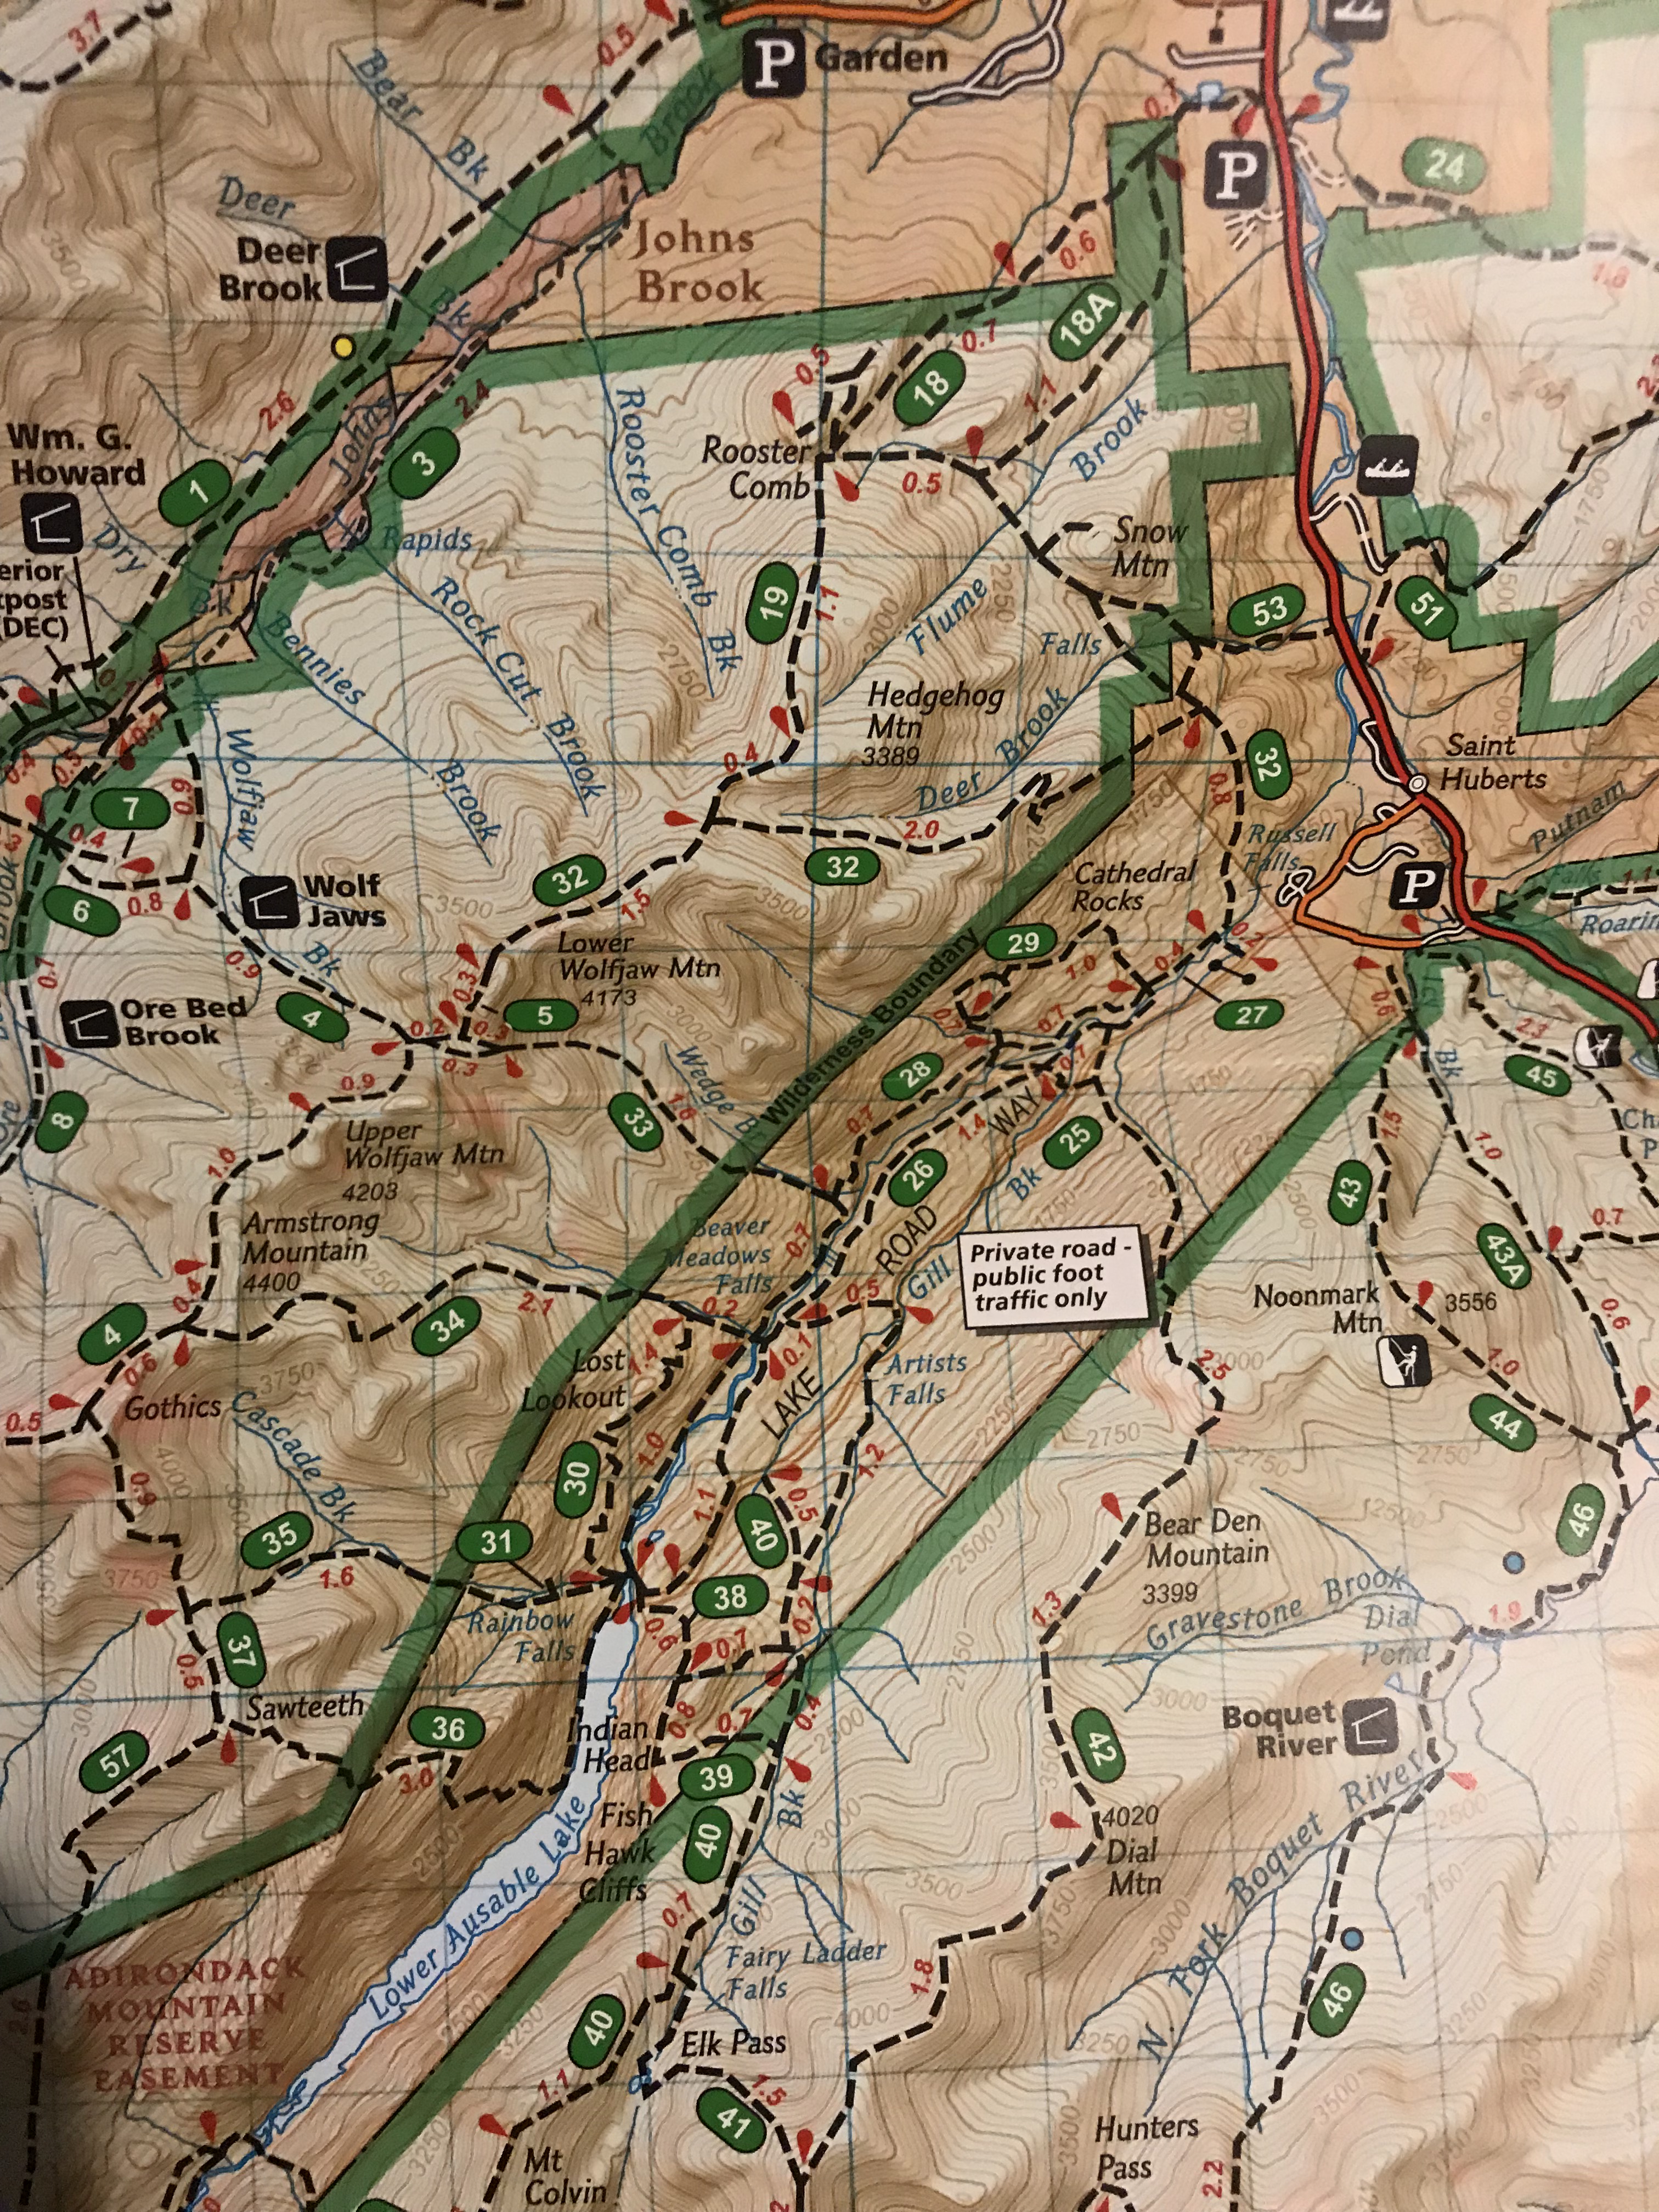
Map
RTW Note
Thanks for taking the time to check out this trek to the summit of Sawteeth Mountain. This was a great adventure and I highly recommend it. The views of the mountains, trees, and waterfalls are what make hiking one of the best activities out there. This Adirondack High Peak was number 19/46 for me and I look forward to completing and writing about more. I wish you all the best, and remember to leave no trace! Keep on adventuring!
-Ant

Awesome photos! Looks like a fun day!
Thank you! We had a blast!